
Creating components requires the Starter plan or above. See Plans and billing. Only workspace owners and admins can open the component settings. See Roles and permissions.
Why components are their own dimension
Most boards start by squeezing the product area into whatever field is free. Both of the usual workarounds have a catch:- Using the category forces a choice. If your categories are Feature and Bug, they cannot also be Widget and API. You get one axis, not two.
- Using tags looks tempting, but tags are disposable by design: optional, unlimited, and applied inconsistently. A component is only useful if it is on every post, so the numbers add up when you ask which part of the product generates the most demand.
Components are optional
A post never has to have one. New workspaces start with an empty list, and nothing breaks if you never add a component: the field simply does not appear. Add components when you actually have parts worth separating, not before. Each post has at most one component, the same way it has exactly one category.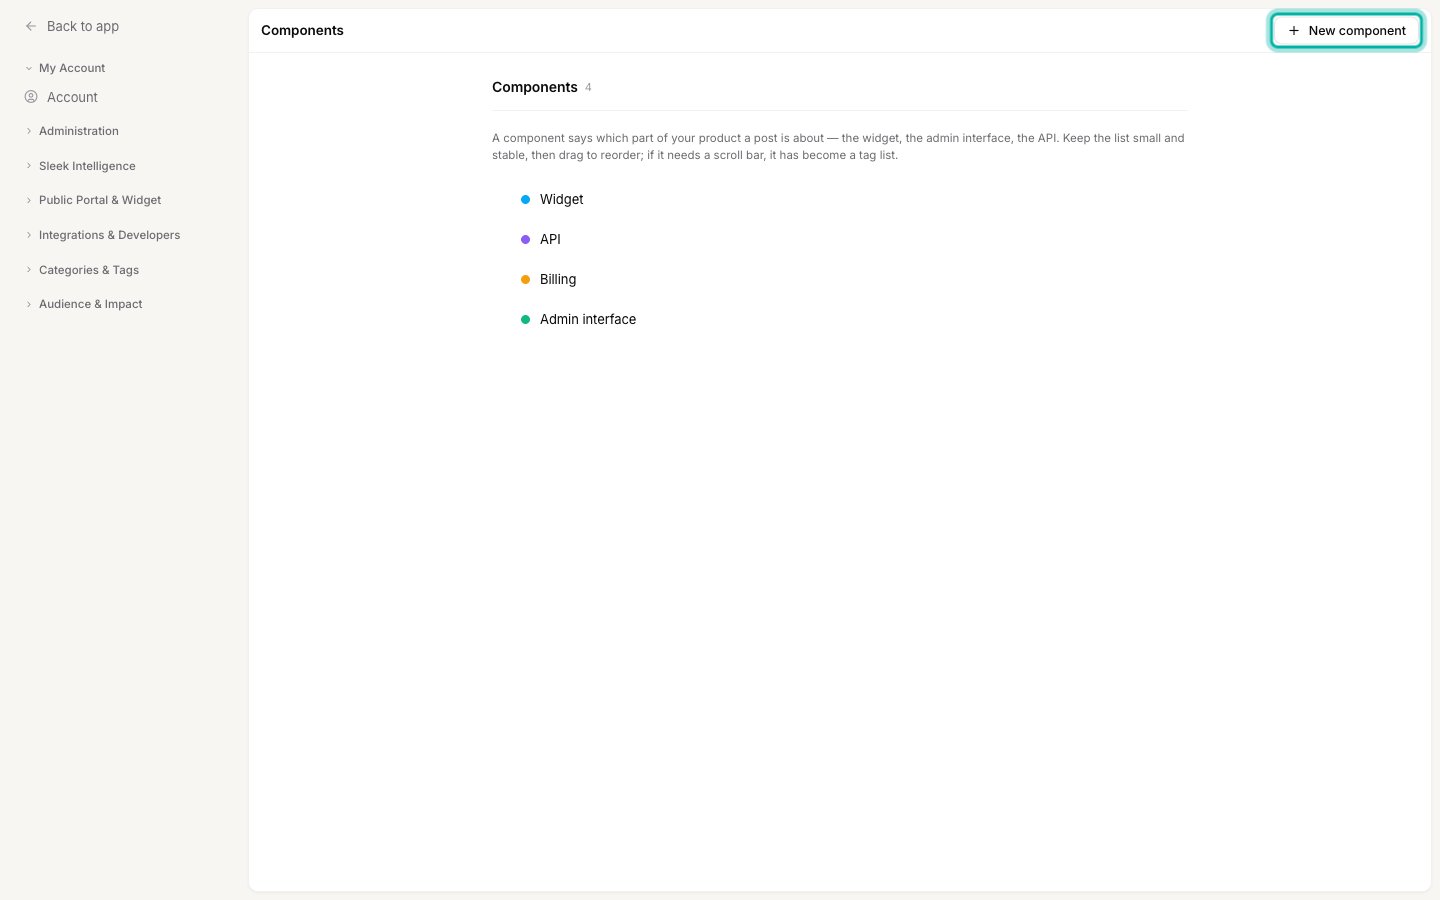
Add a component
1
Open the component form
Go to Settings → Components and click New component in the top right.
2
Name it and pick a color
Give the component a short name and choose a color. The color is the dot shown next to it everywhere the component appears.Name it after a part of your product, not after the team that owns it. Teams get reorganized, while the shape of the product changes far more slowly.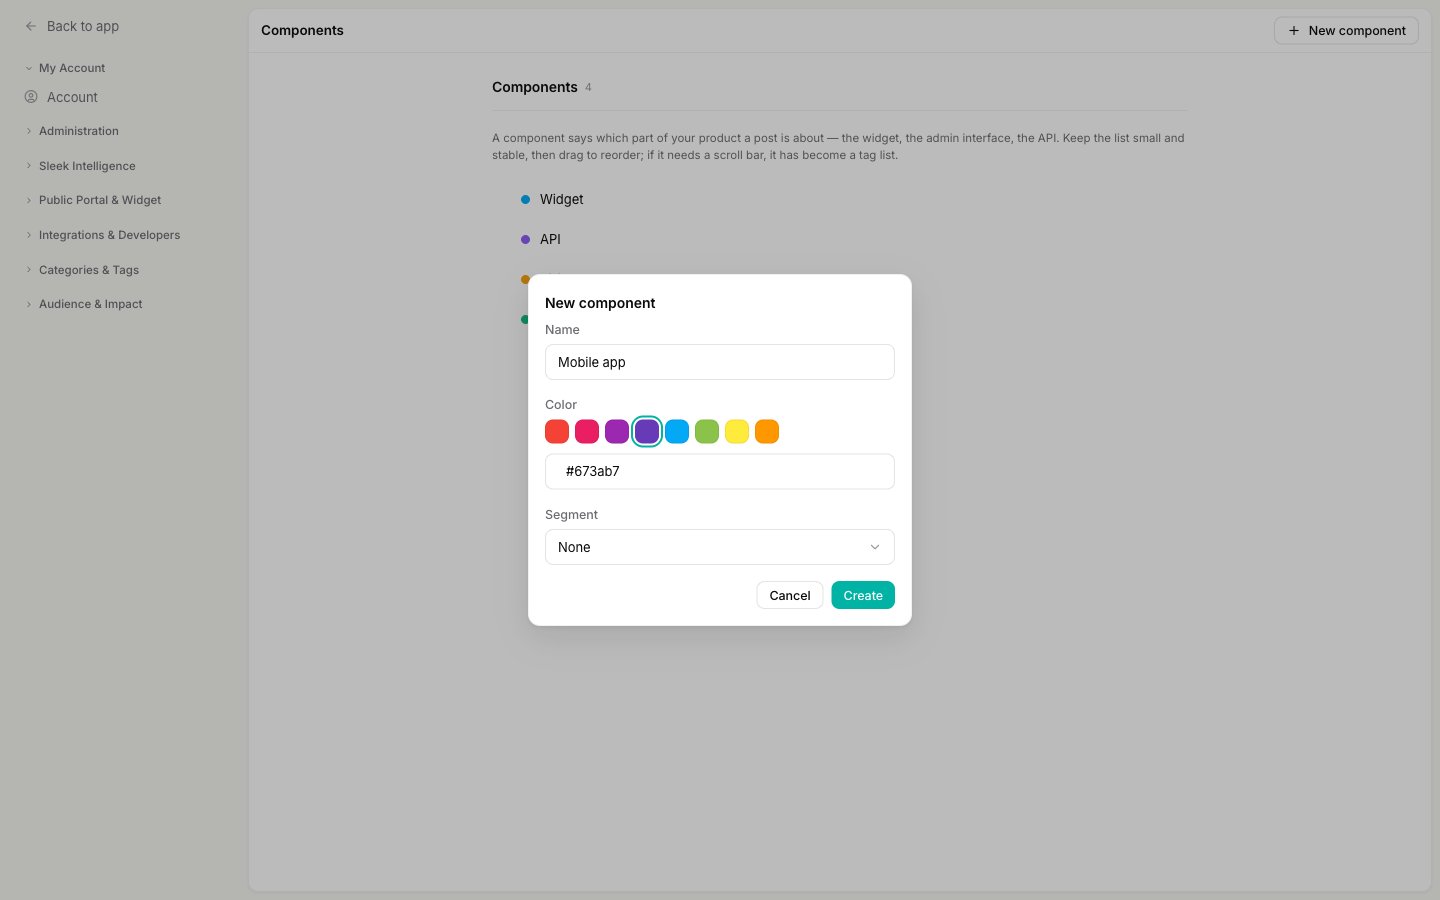
3
Restrict it to an audience (optional)
If your workspace has segments, a Segment dropdown appears. Leave it on None to show the component to everyone, or pick a segment so only matching customers see its posts. This works exactly like it does for a category, see Show a category to only some of your customers.
4
Create it
Click Create. The component is available right away.
Reorder components
The order here is the order components appear in the picker and in filters. Put the ones you reach for most at the top.1
Grab the drag handle
Hover a component row to reveal the drag handle on its left.
2
Drag it into place
Drag the row up or down and drop it where you want it. The new order saves on its own.
Edit a component
Click a component name, or the pencil icon that appears when you hover its row, to reopen the same form and change its name, color, or segment.Delete a component
1
Open the delete confirmation
Hover the component you want to remove and click the trash icon on the right.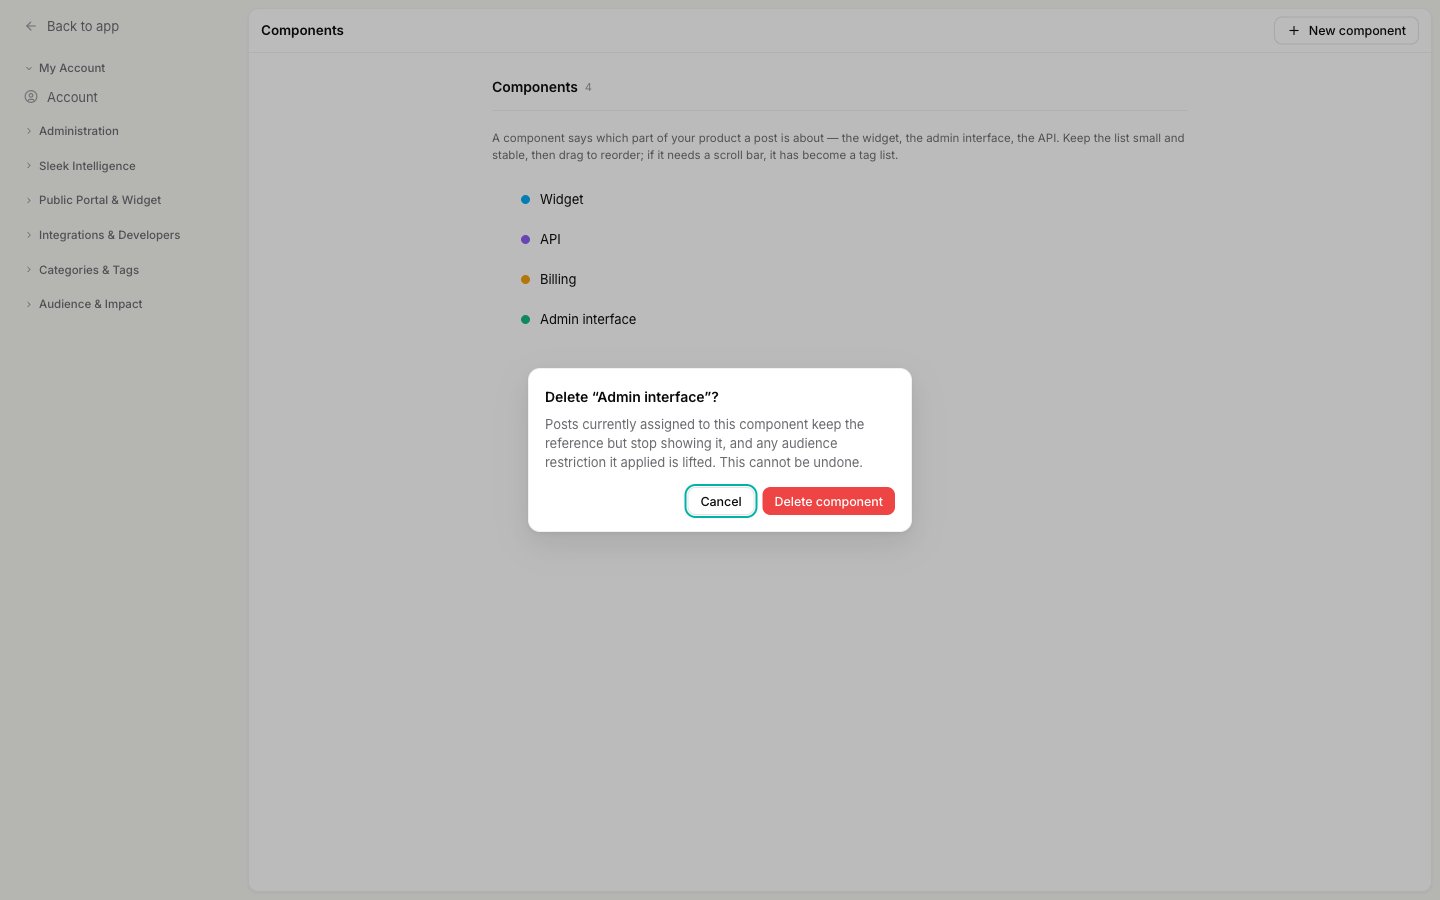
2
Confirm
Click Delete component.
- Posts are never deleted, and they do not move to a replacement. They keep the deleted component’s reference internally but stop showing a component anywhere.
- Any audience restriction is lifted. If the component was scoped to a segment, its posts become visible to everyone who could otherwise see them. Check that before deleting a segmented component.
- This cannot be undone. Recreating a component with the same name does not reconnect the old posts, because a new component is a new entry. You would need to set the component again on the posts you care about.
Set a component on a post
Open any post and use the Component row in the right-hand inspector to set or change it, the same place you set the status, category, and owner. Pick No component to clear it. See Create a post. Your team can always see and set components in the dashboard, whatever the public settings say. To show components to your customers, or let them pick one when they post, see Show components on your public board.Filter by component
Once you have components, the feedback list gains a Component filter alongside Status and Category. Open the filter menu, choose Component, and pick one to narrow the list to posts about that part of your product. See Filter, sort, and search feedback.Related
Show components on your public board
Make components visible to customers and let them pick one when posting.
Add, remove, and reorder categories
The other axis: what kind of request a post is.
Categories, components, tags, and statuses
How the four ways of organizing feedback divide up the work.
Show a category to only some of your customers
How the Segment field behaves, which is the same for components.