
Bulk editing is available to any team member who can manage the workspace’s feedback. Changes to status and category are visible to your users on the public board, the same as editing a single post.
Select multiple posts
Every row on the feedback list has a checkbox on its left edge. It stays hidden behind the vote count until you hover the row or start a selection, so the list looks clean when you’re just reading.1
Select your first post
Hover a row and click the checkbox that appears on the left. The row highlights and a bulk action bar slides up from the bottom of the screen.
2
Select the rest
Once a selection is active, every row shows its checkbox. Click each post you want to include. The bar keeps a running count of how many are selected.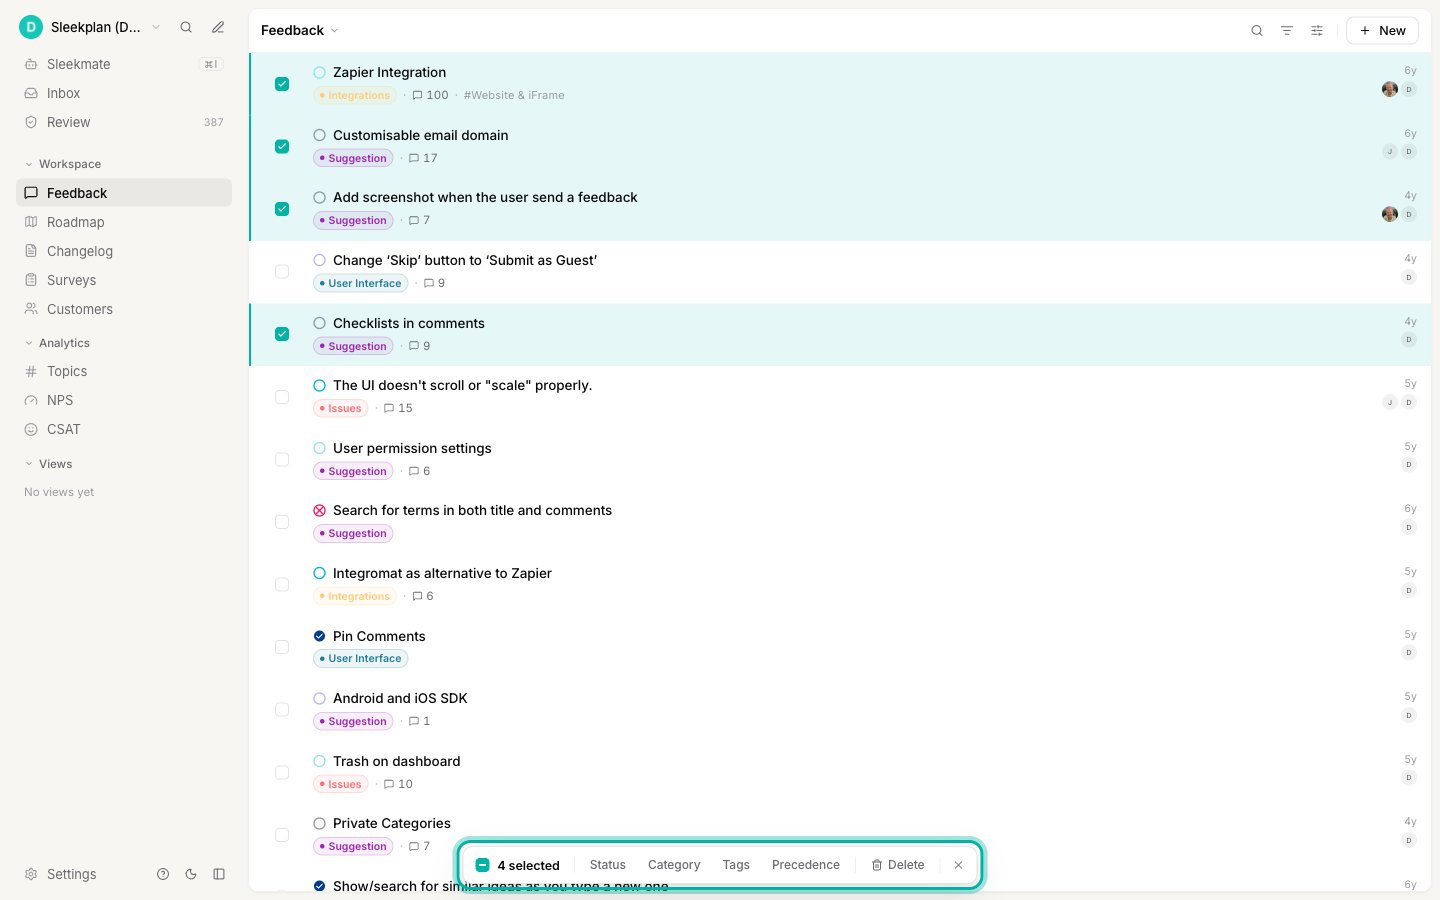
- Range select. Click one checkbox, then hold Shift and click another. Every post between the two is selected in one go.
- Select all. Click the N selected count on the left of the bar to select every post currently loaded in the list. Click it again to deselect them all.
- Keyboard. Move between rows with the arrow keys (or
j/k), pressxorSpaceto toggle the focused row, and pressEscto clear the whole selection.
Select all covers the posts that are currently loaded in the list, not your entire board. If you’ve filtered or searched the list first, it selects everything matching that filter that has loaded. Scroll to load more posts before selecting all if you need them included.
The bulk action bar
The bar floats at the bottom of the screen for as long as you have a selection. From left to right it shows the count, four ways to update the selected posts, and a delete action.
Click the ✕ on the right of the bar to clear your selection and close it.
Change status
Click Status and pick one of your workspace statuses. Every selected post moves to that status at once, which is the quickest way to clear a backlog into Planned, close a batch of duplicates as Rejected, or mark a group Completed after a release.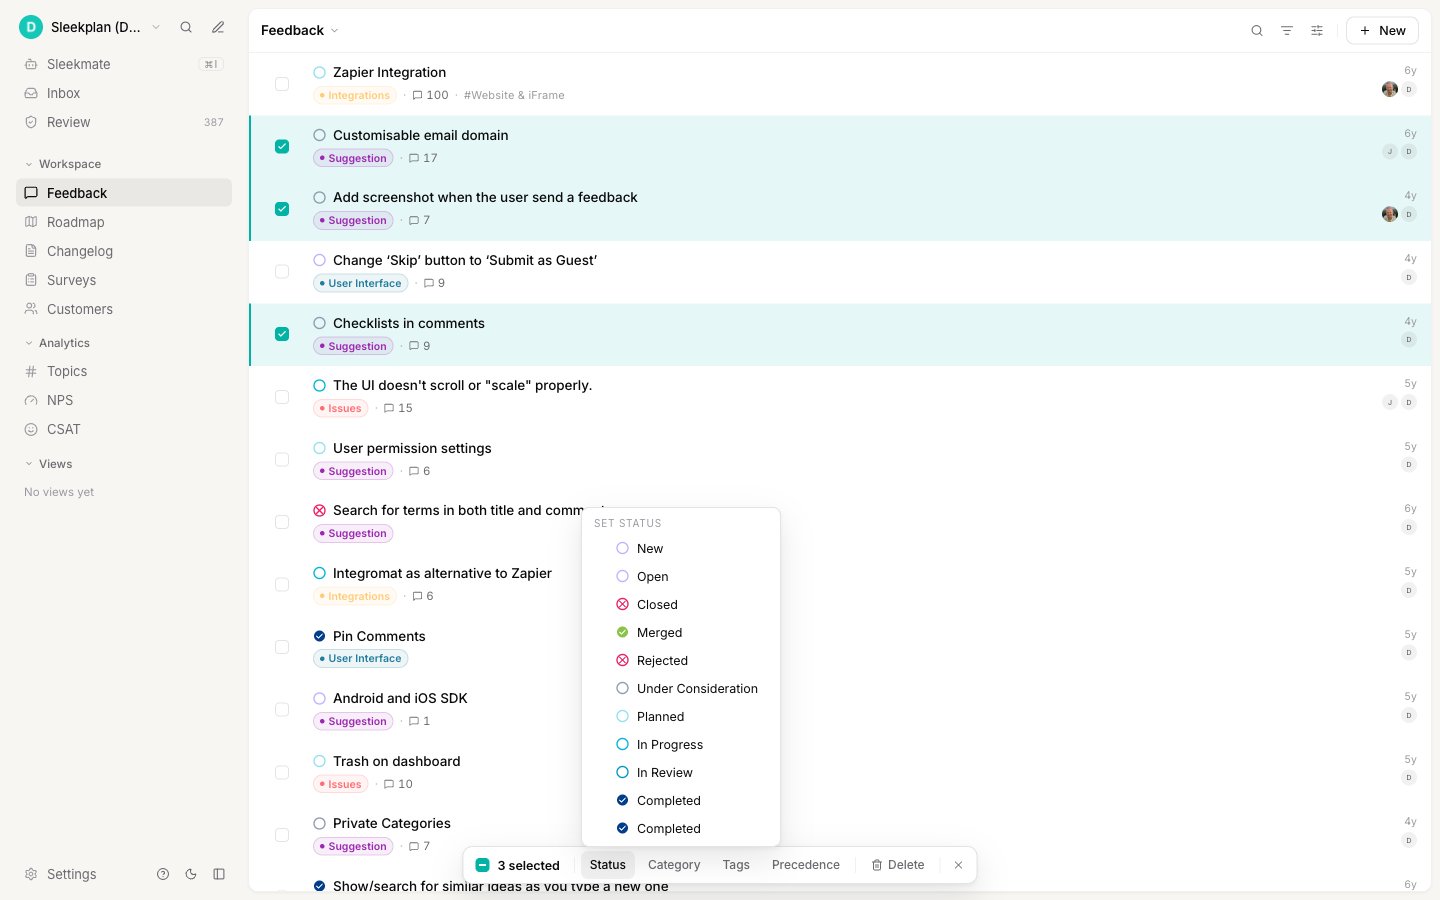
Change category
Click Category and choose a category to reclassify every selected post. Use it when a set of posts landed under the wrong category, or when you’re reshaping how you organize feedback and need to move a group into a new one.Add or remove labels
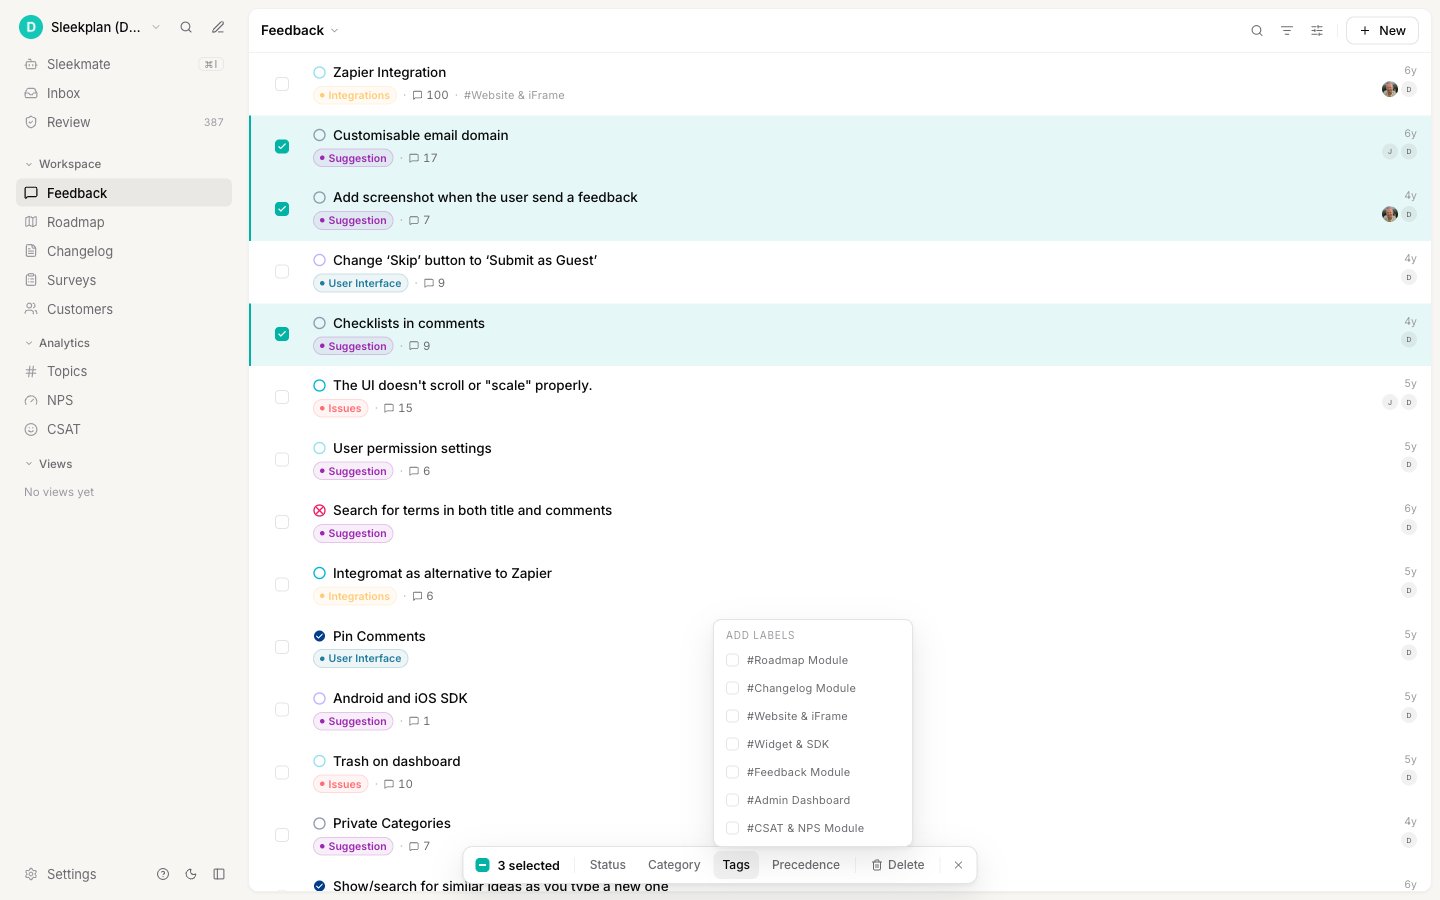
Click Tags to open the Add labels menu. Each label shows a checkbox with three possible states across your selection:- Filled means every selected post already has that label.
- Dash means some do and some don’t.
- Empty means none of them have it.
Set precedence
Click Precedence and choose High, Medium, Normal, or Later. Precedence is your team’s internal priority, separate from user votes, so this is a fast way to triage a batch of new posts into an order your team works through.Delete posts
Click Delete to remove the selected posts. Because this can’t be undone, a confirmation appears first, showing how many posts you’re about to delete.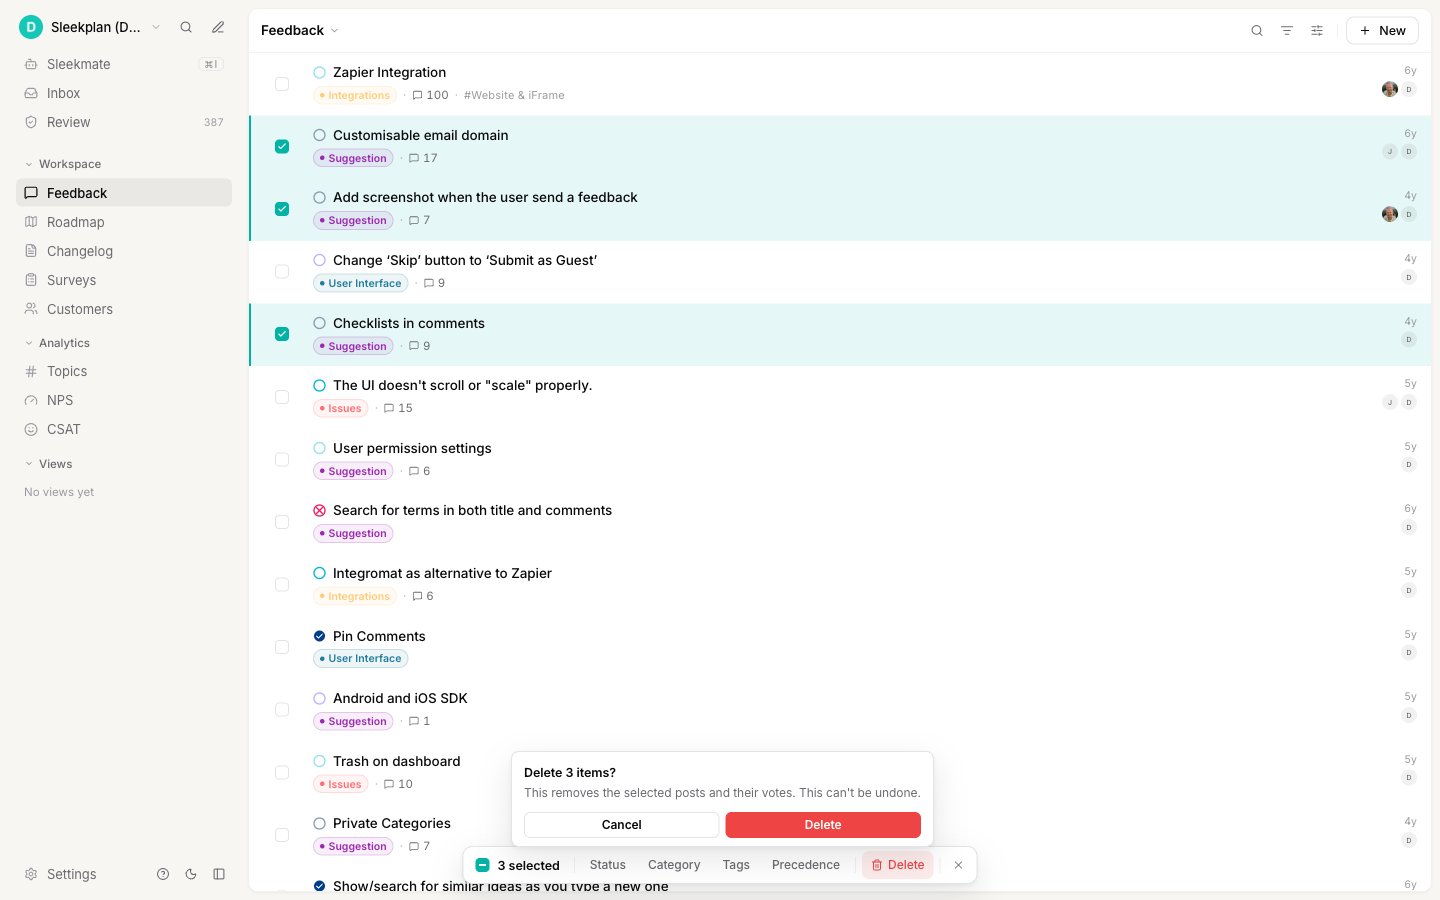
How bulk changes are applied
Bulk actions run through your posts one at a time, so a large selection takes a little longer to finish. While it runs, the bar shows a progress indicator counting through the posts. Every other action applies immediately with no confirmation, so double-check your selection before you click. Only Delete asks you to confirm.Related
Filter, sort, and search feedback
Narrow the list first, then bulk-edit exactly the posts you want.
Add, remove, and reorder statuses
Set up the statuses you assign in bulk.
Add and remove tags
Create the labels you toggle across a selection.
Categories, components, tags, and statuses
Decide which axis each bulk change should touch.