
Creating and editing surveys requires a plan that includes the Surveys module (Business plan and above). If your plan does not include it, saving prompts you to upgrade. See Billing.
Build a survey
1
Open the survey editor
Go to Surveys and select New survey in the list header. The editor opens with an empty survey and the add-question bar ready.
2
Name the survey
Type a name at the top. This is an internal name that only your team sees, so use something you will recognize later, like “Post-onboarding NPS” or “Churn reasons.” Respondents never see it.
3
Add your first question
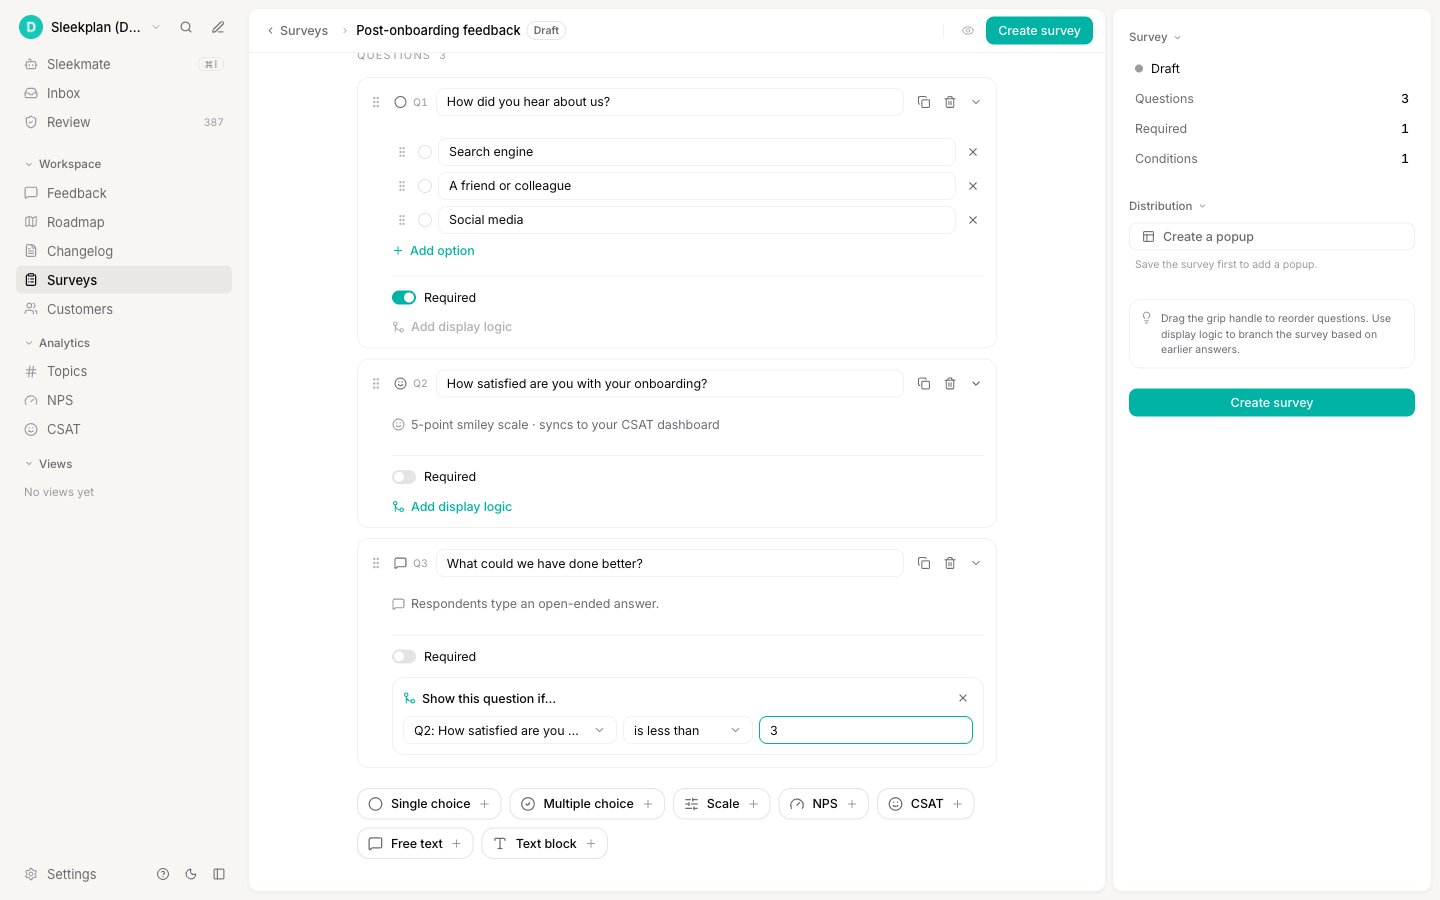
Use the add-question bar to add a question. Each button adds a question of that type: Single choice, Multiple choice, Scale, NPS, CSAT, Free text, or Text block. For what each one does, see Question types.
4
Write the question and its options
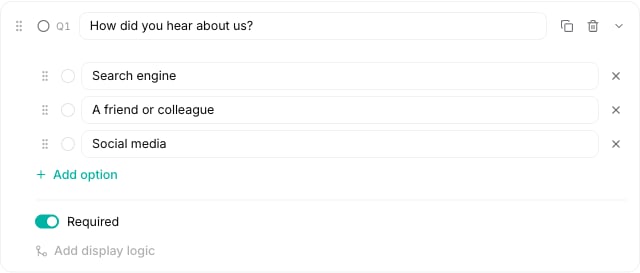
A new question opens expanded. Type the question text, then fill in the parts specific to its type:
- Single and multiple choice let you add and remove the answer options.
- Scale lets you set the number range and the labels for the low and high ends.
- NPS, CSAT, and Free text have no extra settings; their format is fixed.
-
Text block shows a message with no answer, for a heading or a note between questions.
5
Mark questions as required (optional)
Turn on Required to make a respondent answer that question before moving on. Text blocks have no Required toggle, since they collect no answer.
6
Add more questions and arrange them
Add as many questions as you need. Drag the grip handle on the left of a question to reorder it. Each question also has a Duplicate and a Remove action, and a chevron to collapse or expand it.
7
Save the survey
Select Create survey in the inspector on the right. The button stays disabled until the survey has a name and at least one question. After saving, the survey opens to its results.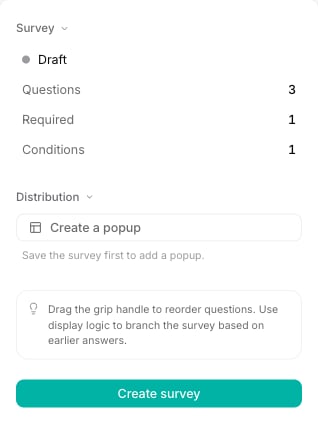
Edit a survey later
To change a survey, open it from the Surveys list and select the Edit (pencil) action, or Edit from its row menu. You can rename it, add or remove questions, change options, and reorder freely.Editing a survey keeps its existing responses. Answers stay linked to the questions people already answered, so past results are never lost when you change a survey. Removing a question hides it from new responses but does not erase answers already collected for it.
Show a question only sometimes
Any question can be shown based on an earlier answer, so a respondent only sees the questions relevant to them. For example, ask “What went wrong?” only when someone rates you poorly. This is set per question with display logic and is covered in Conditional display logic.Next steps
Question types
Understand each question type before you add it.
Conditional display logic
Branch a survey by showing questions based on earlier answers.
Share and target a survey
Publish your survey with a public link or a widget popup.
Read survey results
See how responses are summarized and how to read individual answers.