
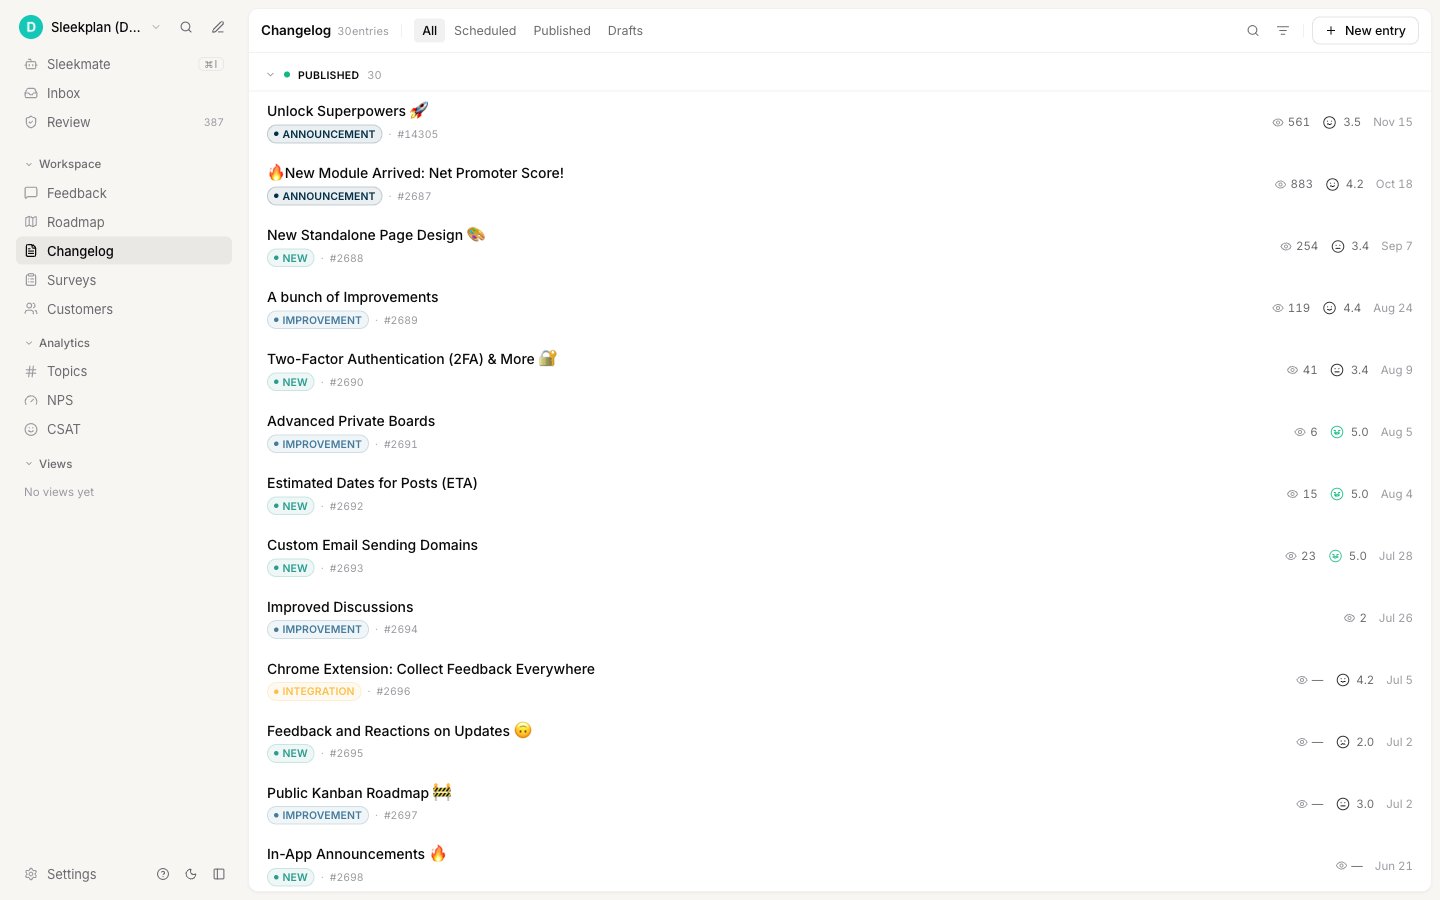
Read the changelog list
The Changelog screen lists every entry in your workspace, grouped by its state. The count next to the title tells you how many entries you have in total. Entries fall into four sections, shown in this order:
Each section header shows the number of entries in it, and you can collapse a section by clicking its header. Your collapsed or expanded choice is remembered on this device, so the list opens the same way next time.
What each row shows depends on the entry’s state:
- Published rows show the entry’s page views, the average reaction from users, and the publish date.
- Scheduled rows show a clock and the date the entry is set to go live.
- Draft rows are simply marked Draft.
- Archived rows are marked Archived.
Filter the list
As your changelog grows, the header controls narrow the list down to what you want to see. None of these filters change your entries or what your users see: they only change your own view of the list.Filter by status
The tabs next to the title switch the list between entry states.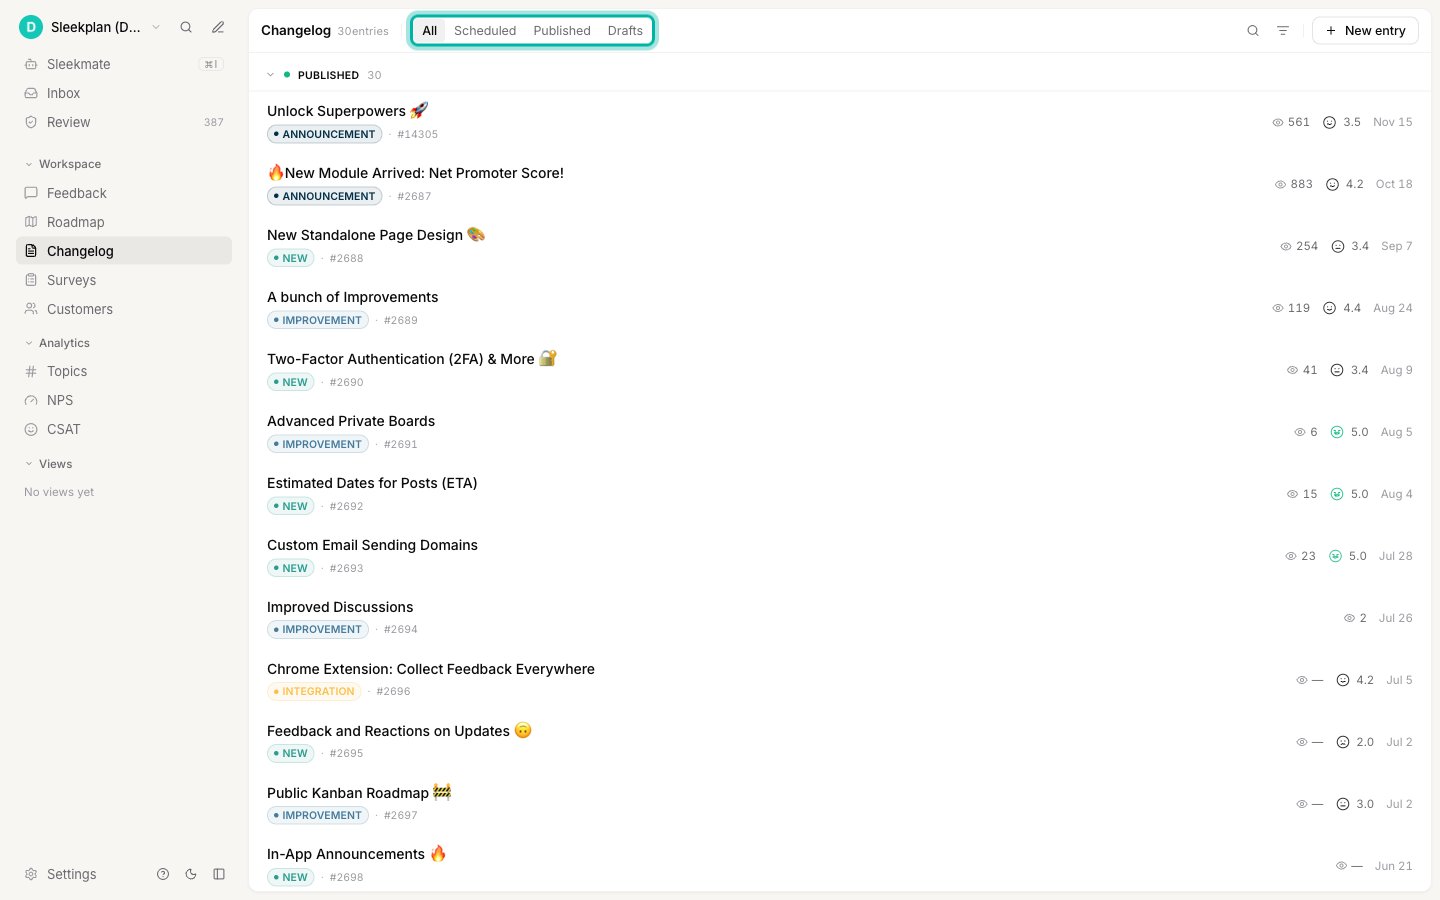
Your tab choice is remembered on this device.
Filter by category
If you sort your updates into categories (for example New, Improved, or Fixed), the filter icon in the header narrows the list to a single category. Click it, then choose a category, or choose All categories to clear the filter.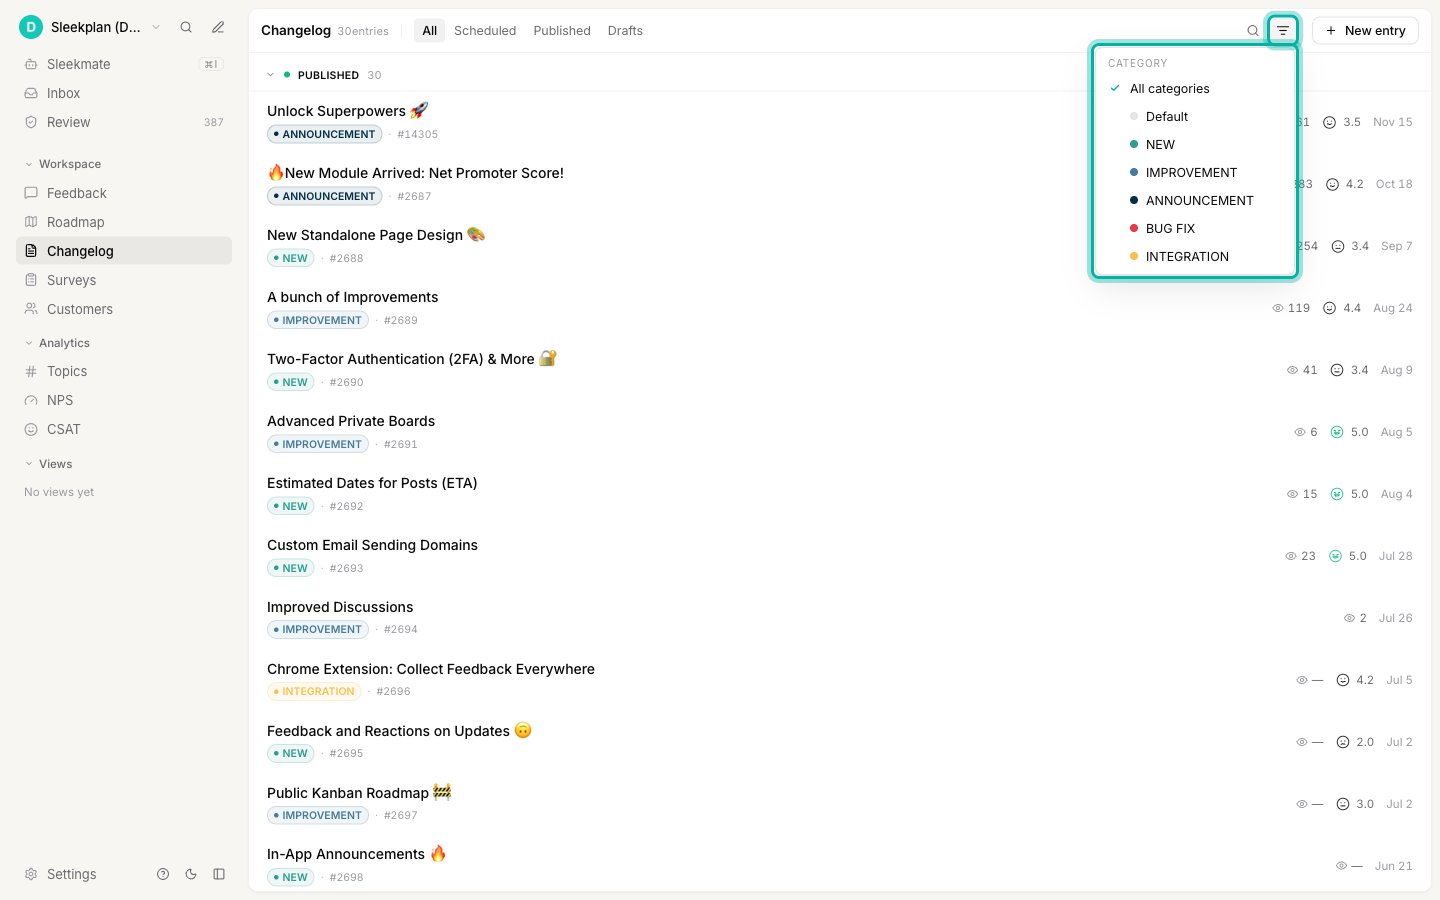
Search entries
Click the Search icon to open a search box and type to find an entry by keyword. Search combines with the active status tab and category filter, so you can search within a filtered list.Related
Create changelog entries
Write an entry, schedule it, target a segment, and notify subscribers.
Unpublish and duplicate entries
Take an entry down without deleting it, and copy it to publish again.
In-app announcements
Surface a new entry as a pop-up announcement inside your widget.
Changelog settings
Configure how your changelog looks and behaves on the public portal.
Changelog RSS feed
Let users and tools subscribe to your updates through an RSS feed.