
These settings act on the components you have already created. Set them up first, in Settings → Components.
Show components publicly
Turn on Public components in the Public board display section. Each post then shows its component, and visitors get a component filter so they can browse only the posts about one part of your product.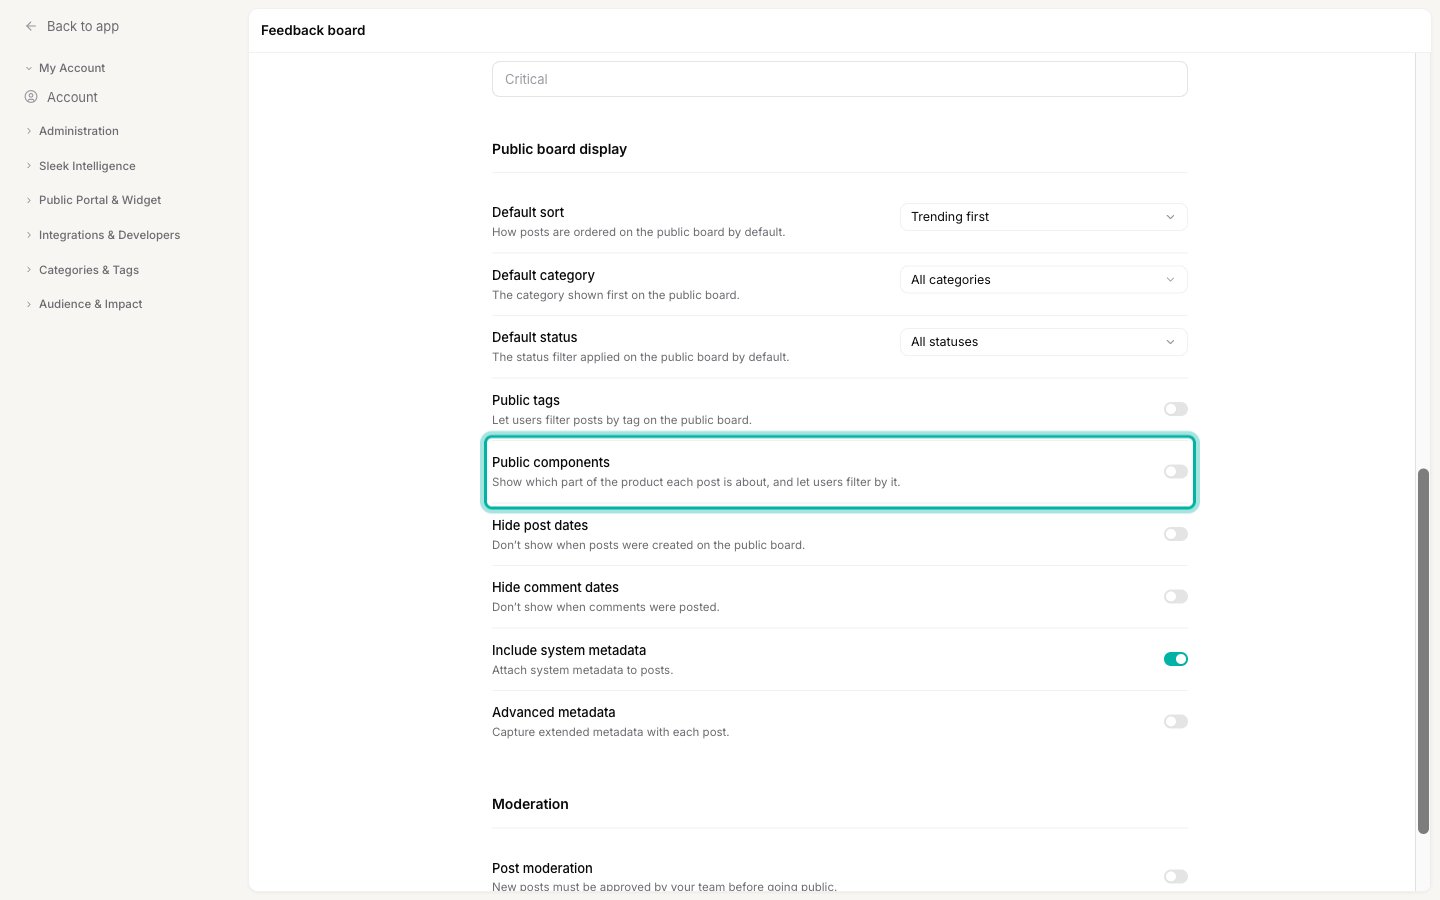
Let users pick a component when submitting
Turn on Let users set components in the Submission & voting section to add a component picker to the post form. Visitors can then say which part of your product their request is about, so feedback arrives already sorted.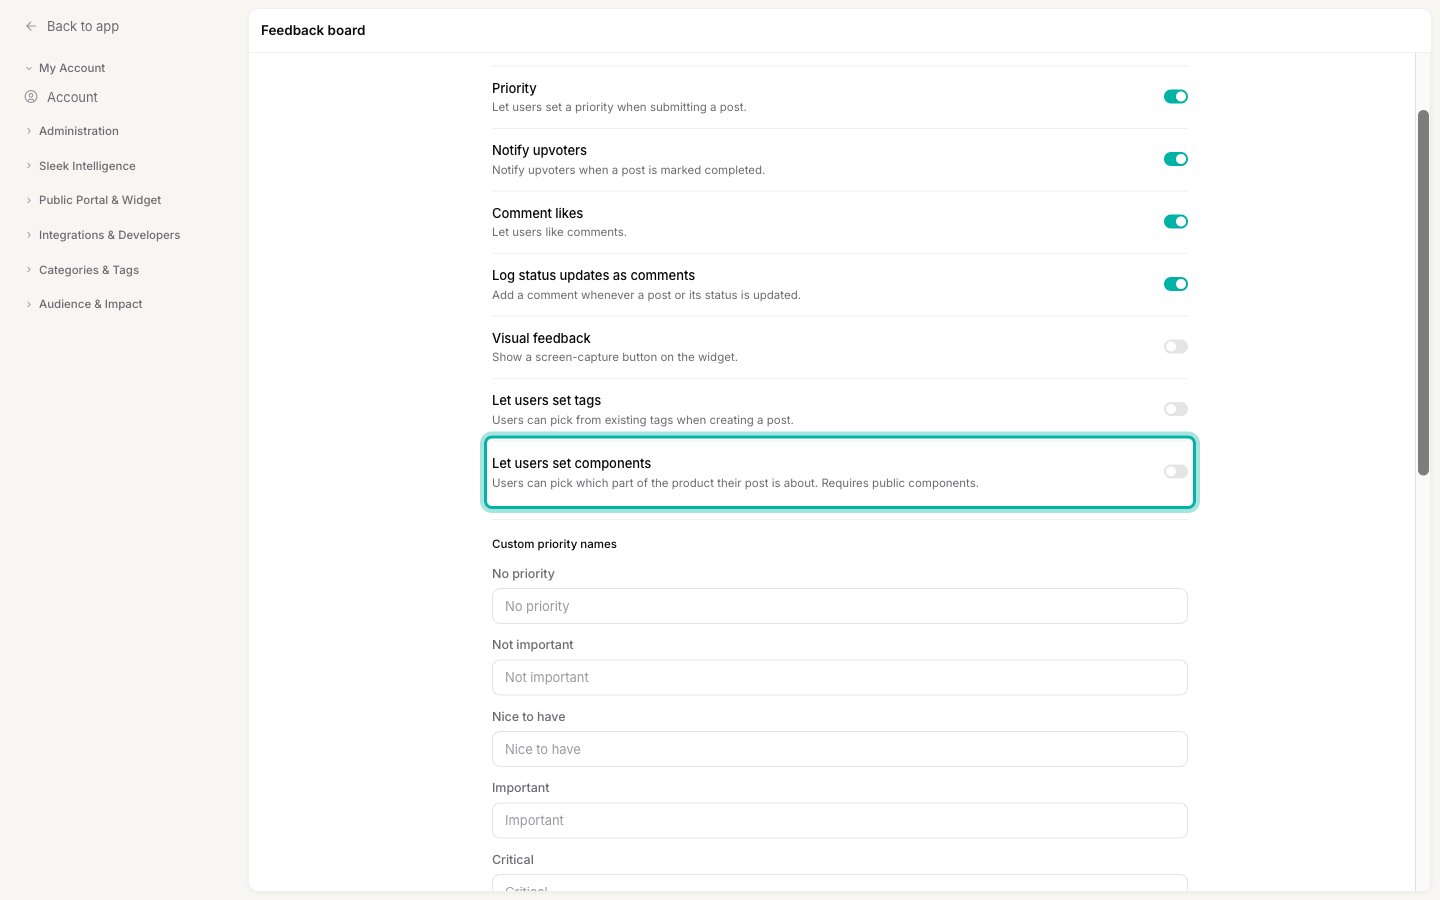
Mix and match
The two settings give you three useful combinations:- Both off keeps components fully internal. Your team still sets them on posts; customers see nothing. This is the default.
- Public components only shows the component on each post and lets visitors filter by it, without asking them to choose one. Your team stays in control of what goes where, which usually produces cleaner data.
- Both on gives you a fully public component axis: customers label their own posts and everyone can filter by those labels.
Whatever these settings say, your team always sees and sets components in the dashboard. They only control what your customers see.
Related
Add, remove, and reorder components
Create the components these settings expose.
Show tags on your public board
The same pair of settings for tags.
Categories, components, tags, and statuses
Decide which axes your customers should see and filter by.
Public board display
The other settings in this section.