
Editing templates means editing raw HTML, so you’ll be most comfortable here if you know some HTML and inline CSS. You don’t have to start from scratch: each template already contains a working default you can tweak.
Layout vs individual emails
There are two kinds of template, and it helps to understand the difference before you edit:- Email layout. This is the wrapper shared by every email: the outer HTML, the header with your logo and workspace name, the footer, and the CSS styles. Editing it changes the look of all your notification emails at once. It has no subject line of its own.
- Individual notification emails. These are the messages themselves, such as New comment, Post status updated, or New changelog update. Each one has its own subject line and body, and each is dropped into the layout when it’s sent.
Edit a template
Everything on this page lives in Settings → Public Portal & Widget → Email templates.1
Open the Email templates settings
Go to Settings → Public Portal & Widget → Email templates. The page opens on the Email layout template by default.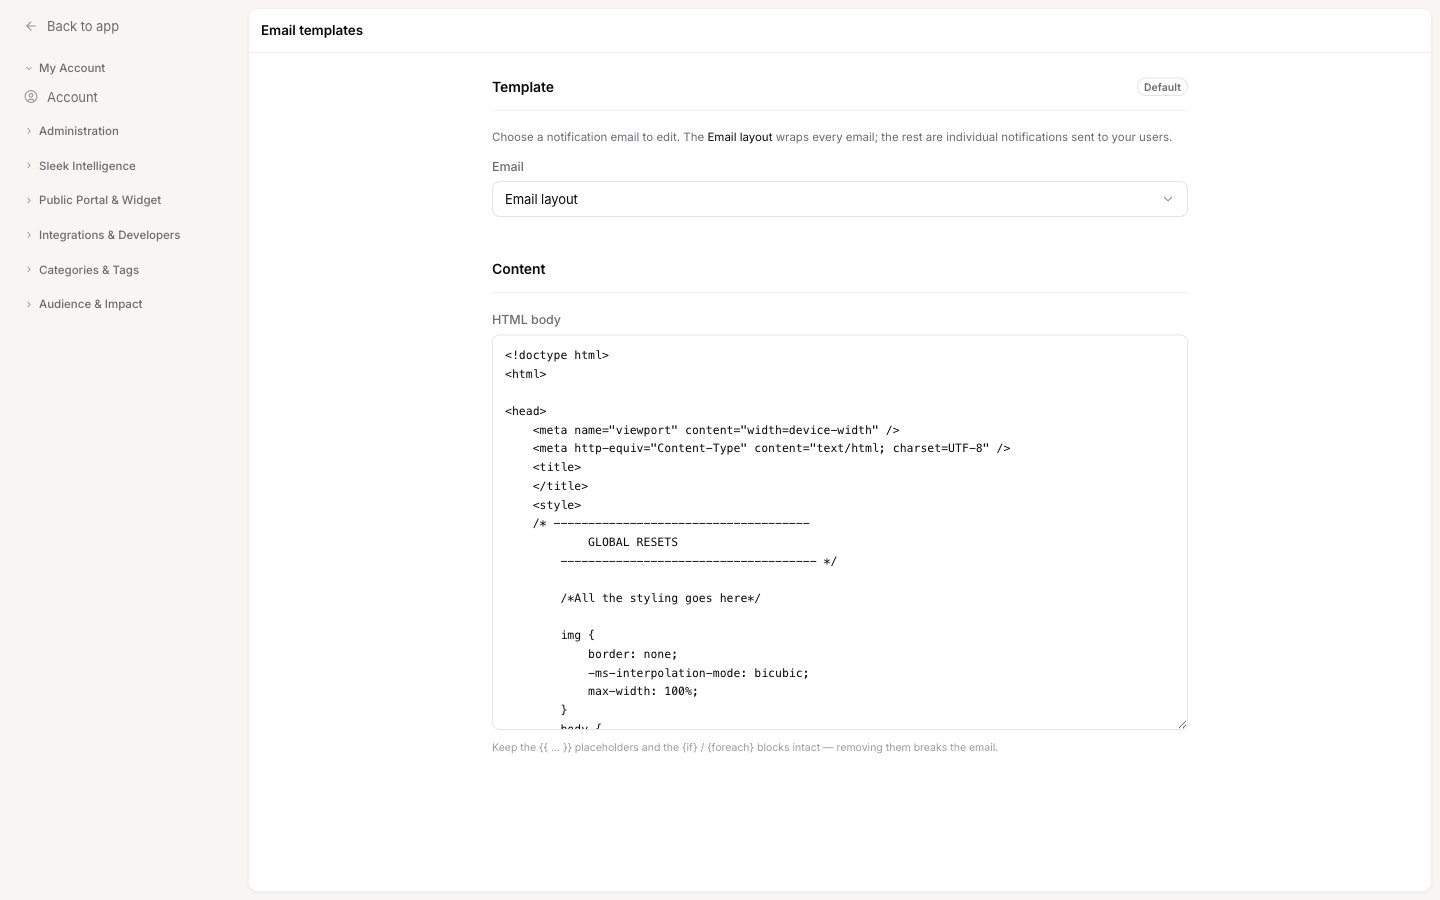
2
Choose the email to edit
Open the Email dropdown and select the template you want to change: the Email layout wrapper, or any single notification such as New comment or Post status updated.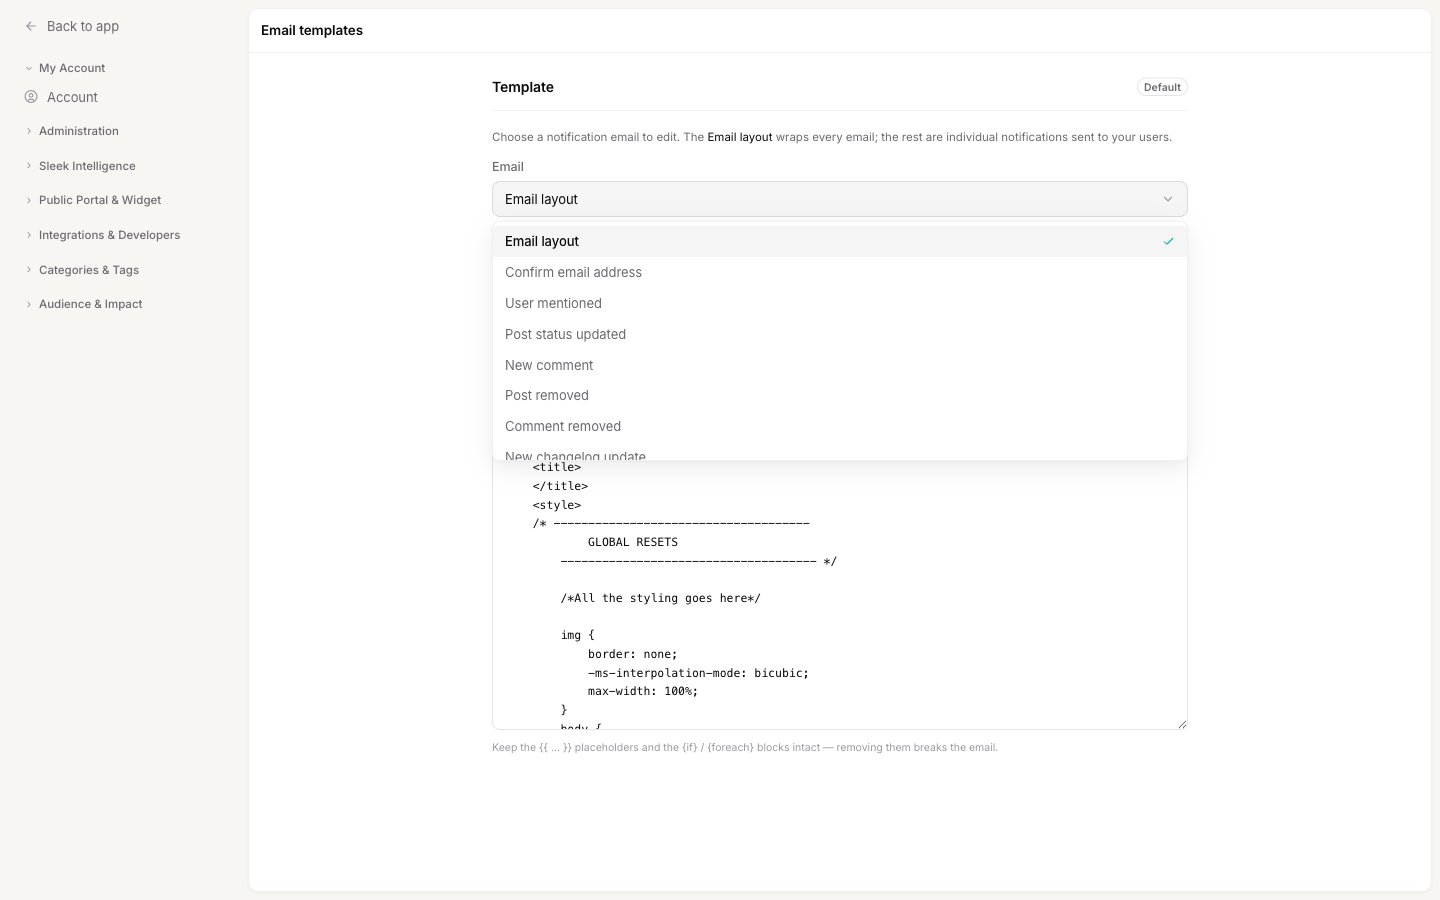
3
Edit the subject and body
For an individual notification, edit its Subject line and its HTML body. The Email layout has no subject, so you’ll only see the HTML body for it.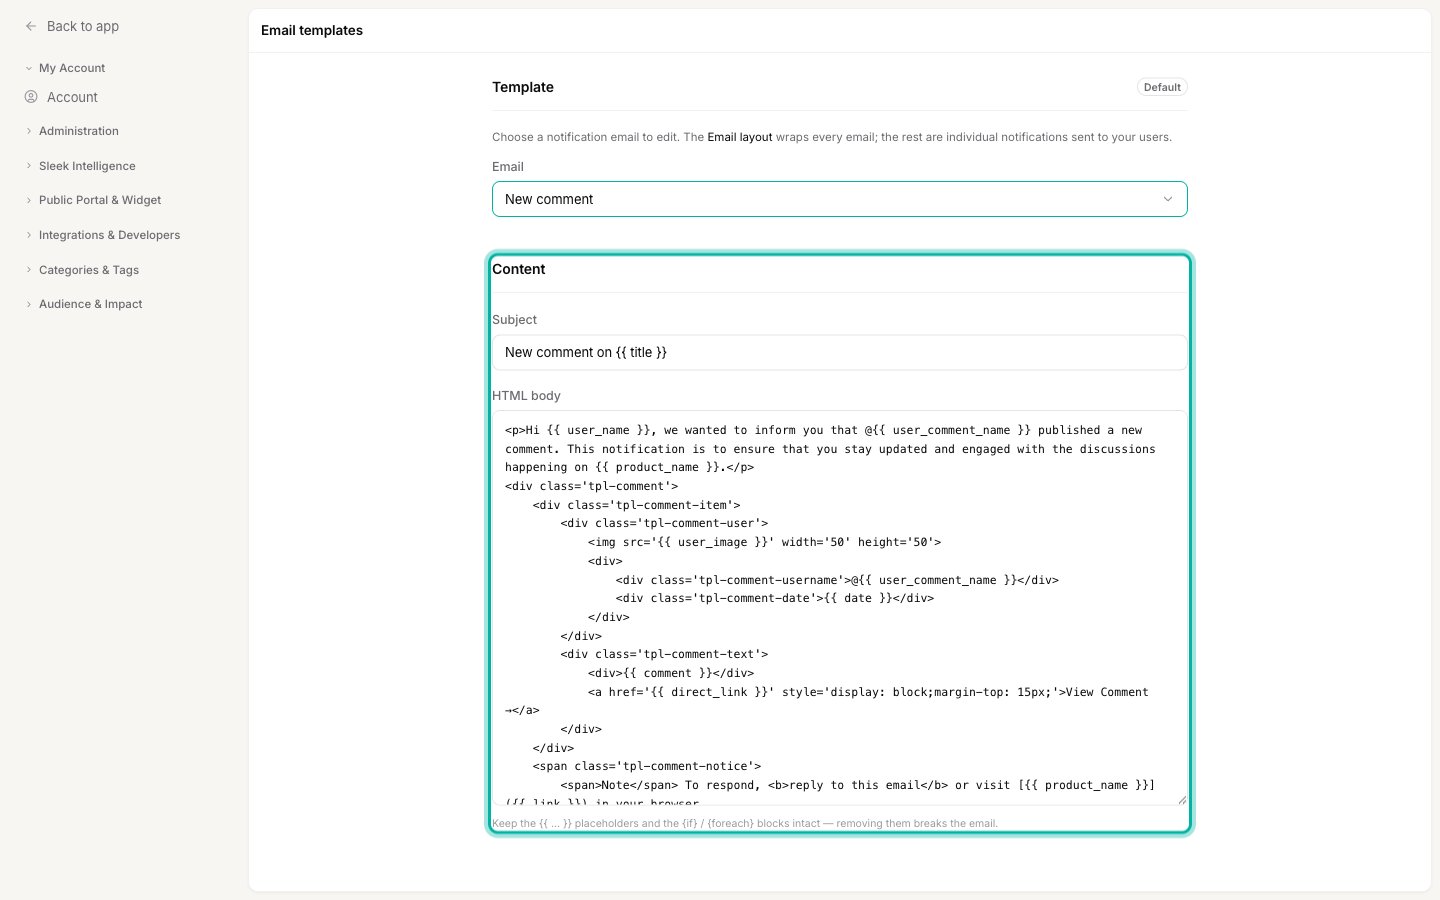
4
Save your changes
A save bar appears at the bottom of the page as soon as you make an edit. Click Save to publish the template, or Discard to revert to the last saved version. Your next matching notification uses the updated template right away.
Default and customized templates
Each template shows a badge next to the Template heading:- Default means the template is still Sleekplan’s original version.
- Customized means you’ve edited and saved it.
Related
Emails Sleekplan sends
See every notification your users can receive and who gets each one.
Custom email domain
Send these emails from your own address, like feedback@yourcompany.com.