
Popups are managed by workspace Owners and Admins, and they are a paid feature. Some types and options depend on your plan: CSAT and NPS popups need the matching module enabled, and targeting a user segment requires a Business plan. See Billing and Add-ons for what your plan includes.
The five popup types
When you create a popup you pick one of five types. Each asks for a different thing and renders its own way in the widget.-
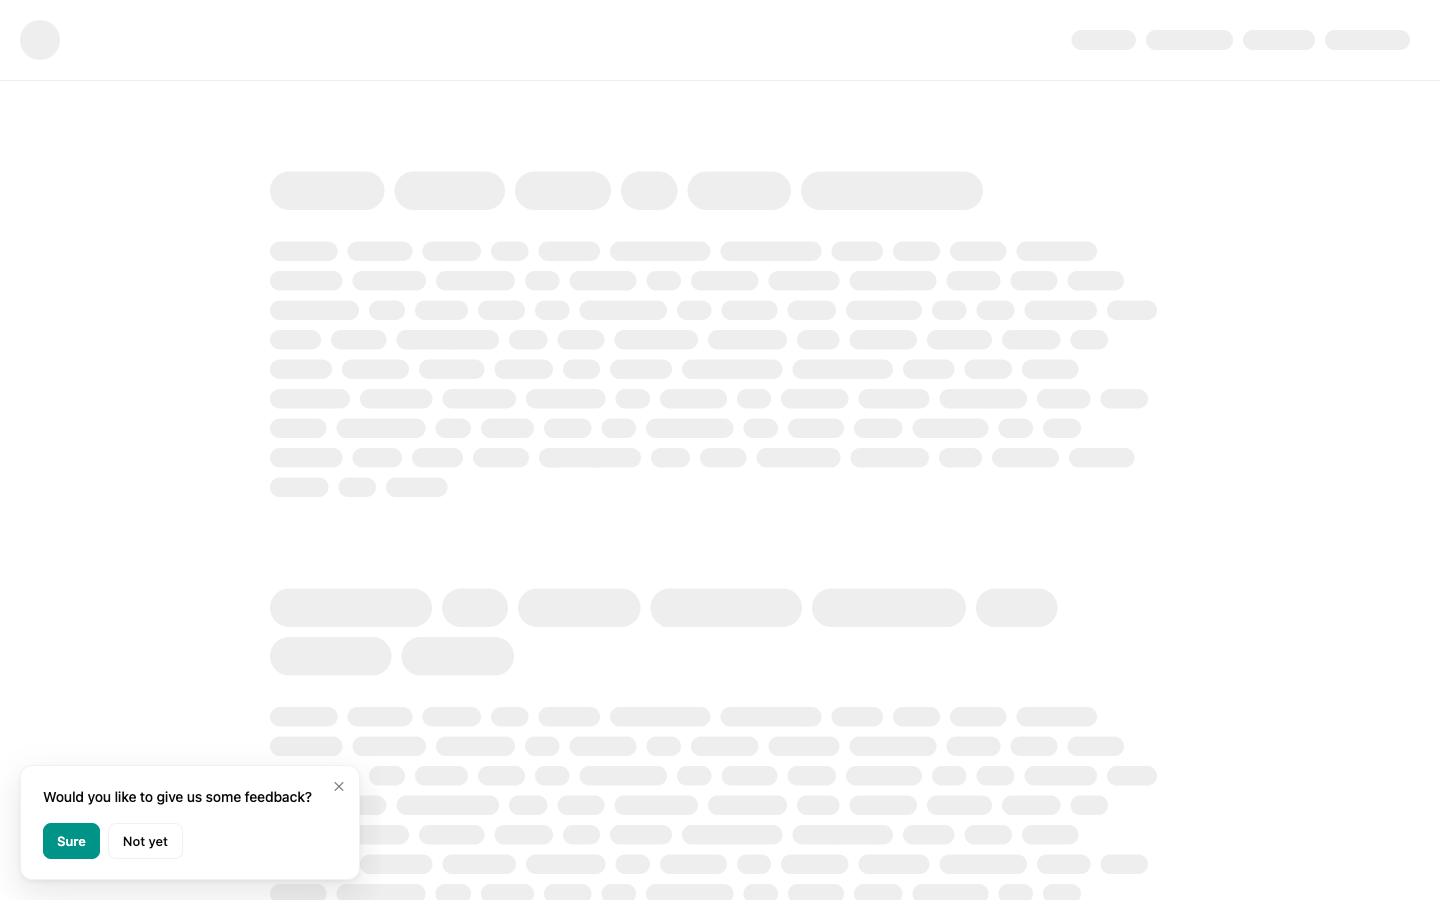
Feedback asks users to submit feedback to your board. It appears as a short prompt, and answering it opens the feedback form.
-
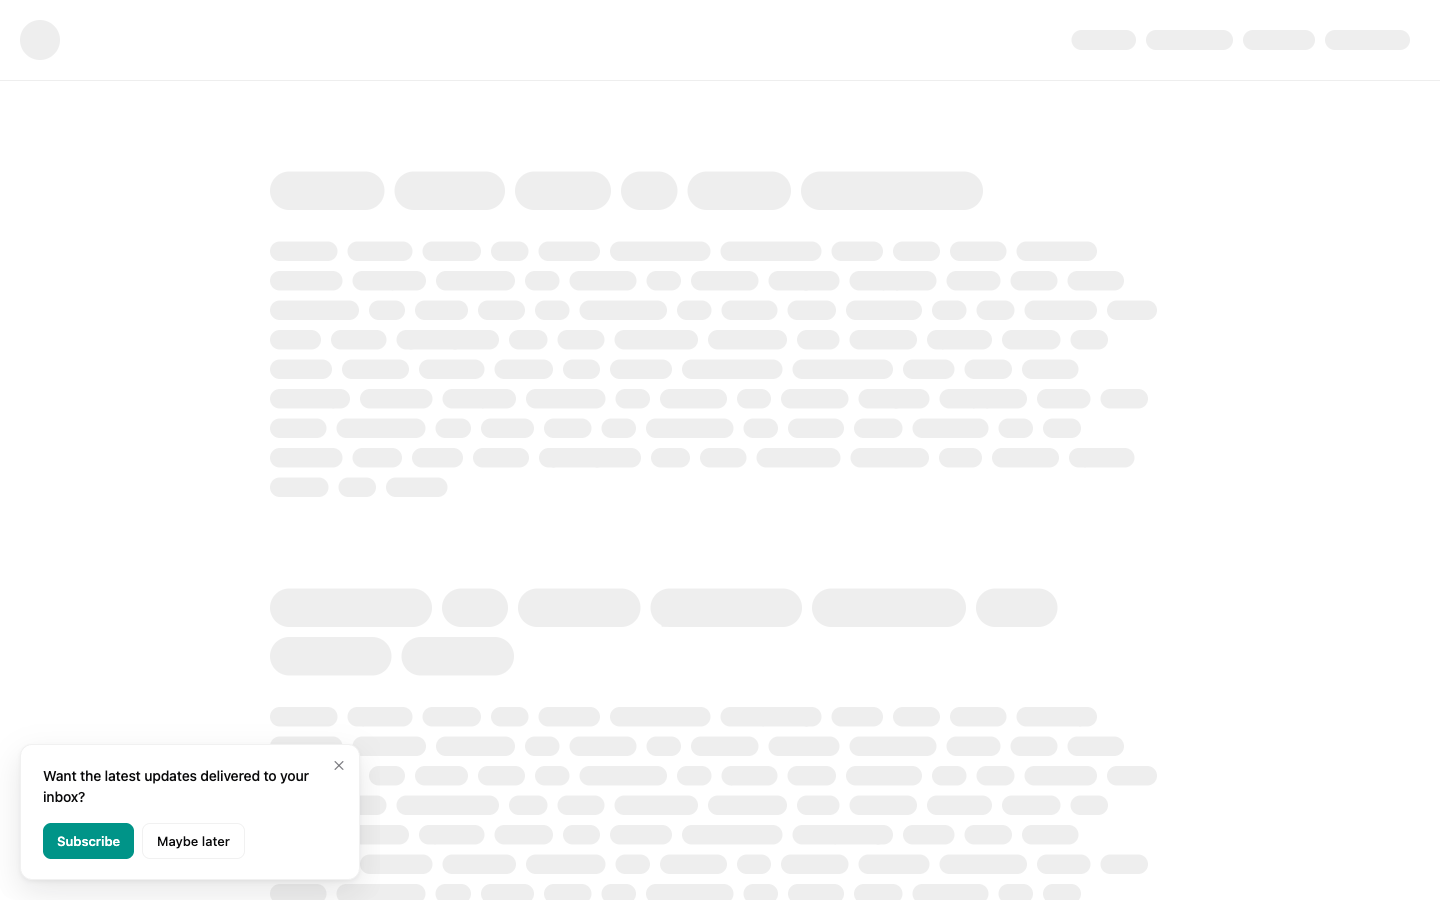
Subscribe asks users to subscribe to your changelog so future updates reach their inbox.
-
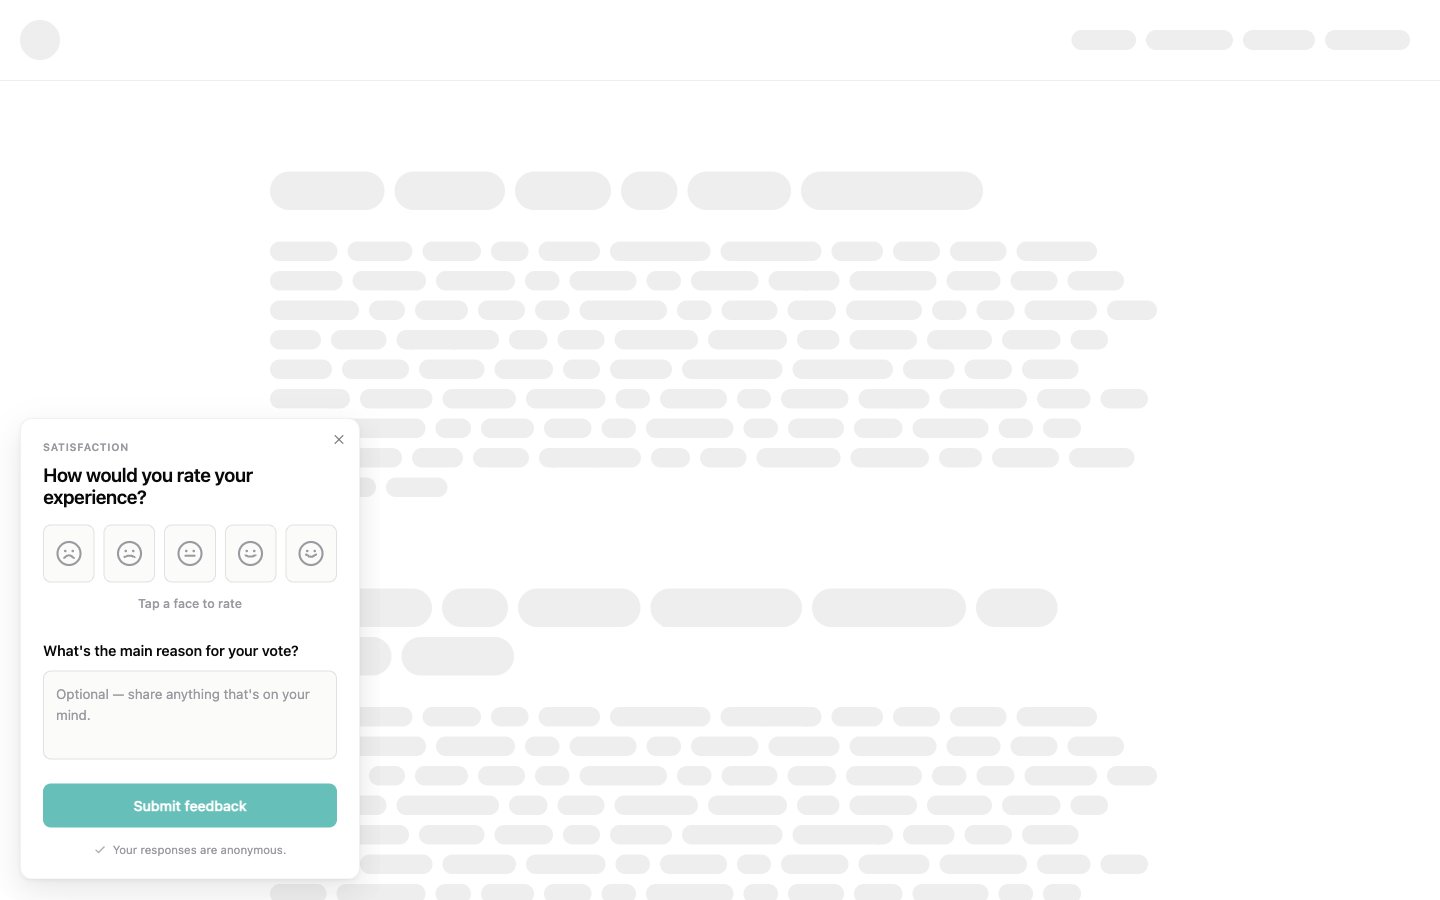
CSAT (Customer Satisfaction) asks users to rate your product or a specific feature on a five-face scale, with an optional comment.
-
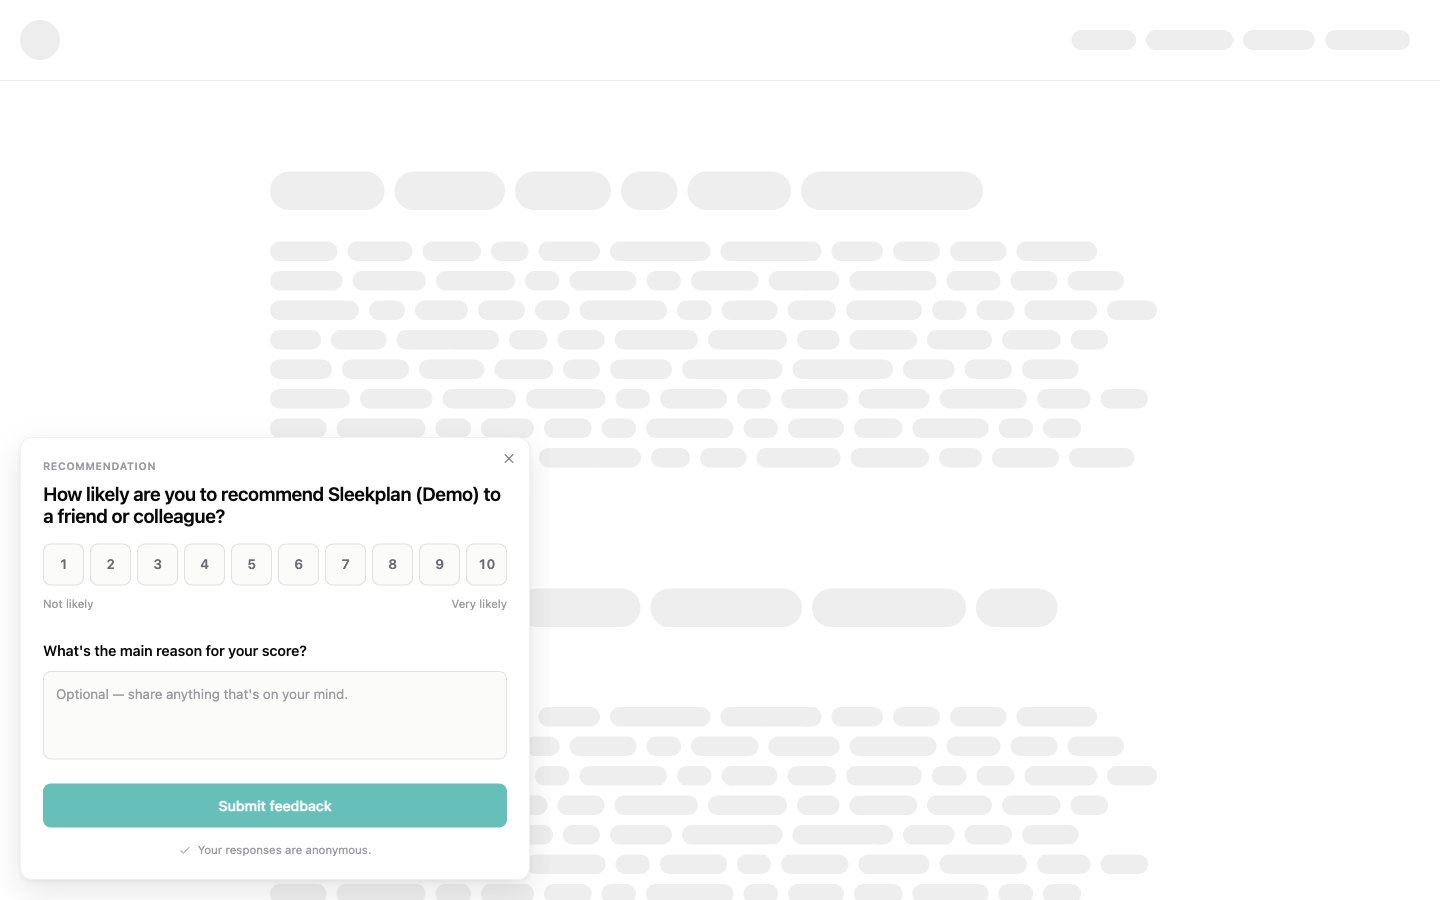
NPS (Net Promoter Score) measures loyalty by asking how likely someone is to recommend you, on a scale from 1 to 10, with an optional reason.
-
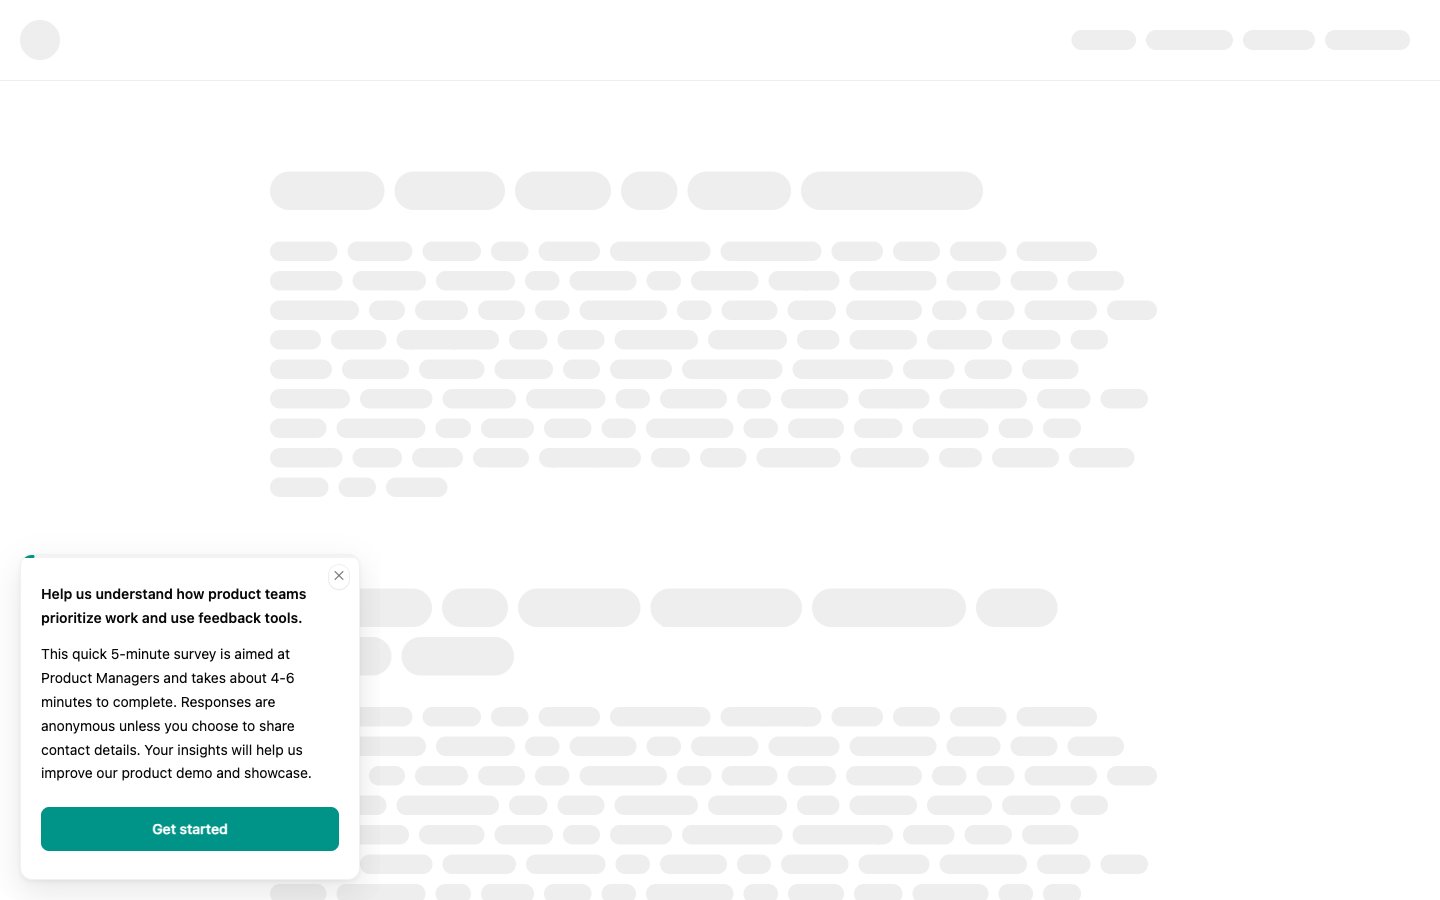
Survey prompts users to take one of your existing surveys. This type links to a survey you have already built, so it is a little different from the others (see below).
Two special cases
Two kinds of popup are set up differently from the five types above.In-app announcements come from the changelog
An in-app announcement is also a popup, but you do not create it on the Outbound messages screen. Instead, you turn it on per changelog entry: when you publish an entry with In-app announcement enabled, it appears in the widget as a “New Updates” popup. This keeps each update tied to the entry it announces.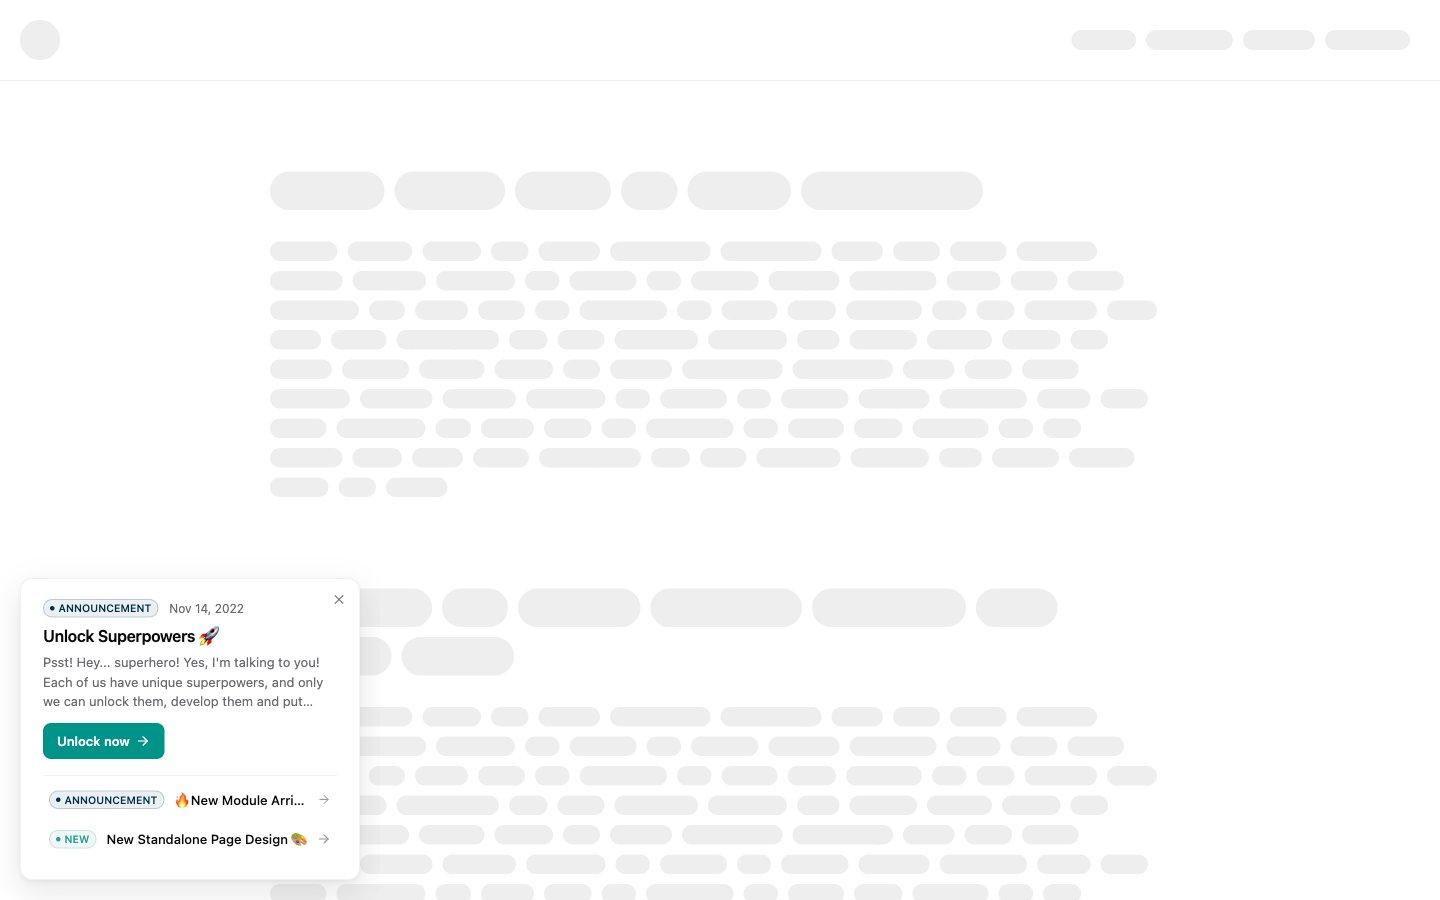
Survey popups are usually created from the survey
A Survey popup points at a survey you have already built. You can create it from the Outbound messages screen and pick the survey there, but the common path is to open the survey in the Surveys area and attach a popup to it directly, so the survey and its prompt stay together. See Share and target a survey for that flow, and Surveys to build the survey itself.Create a popup
1
Open Outbound messages
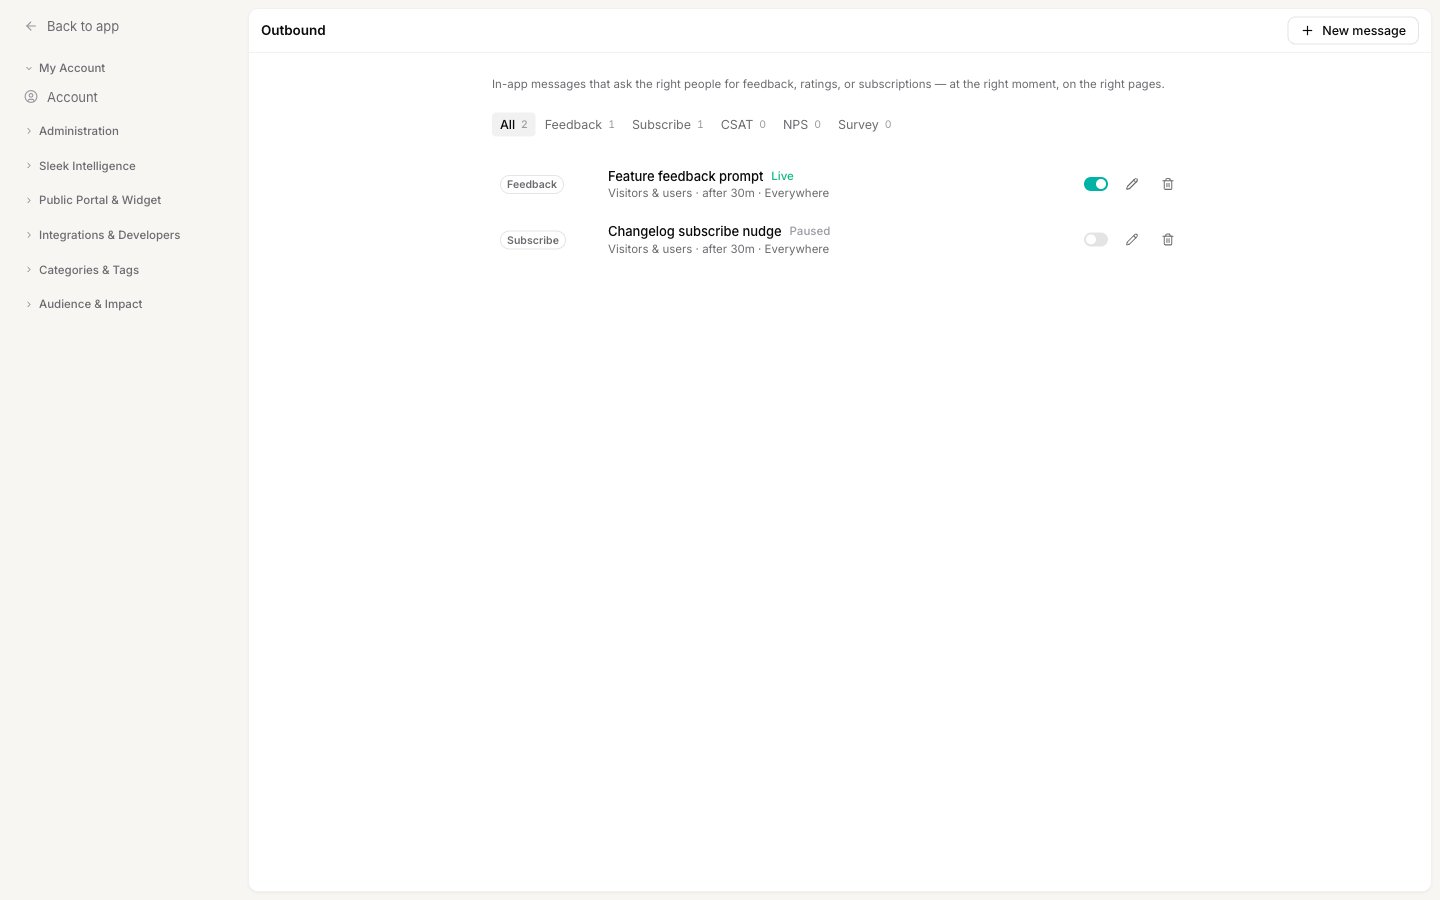
Go to Settings → Public Portal & Widget → Outbound messages. This screen lists every popup in your workspace, filtered by type along the top.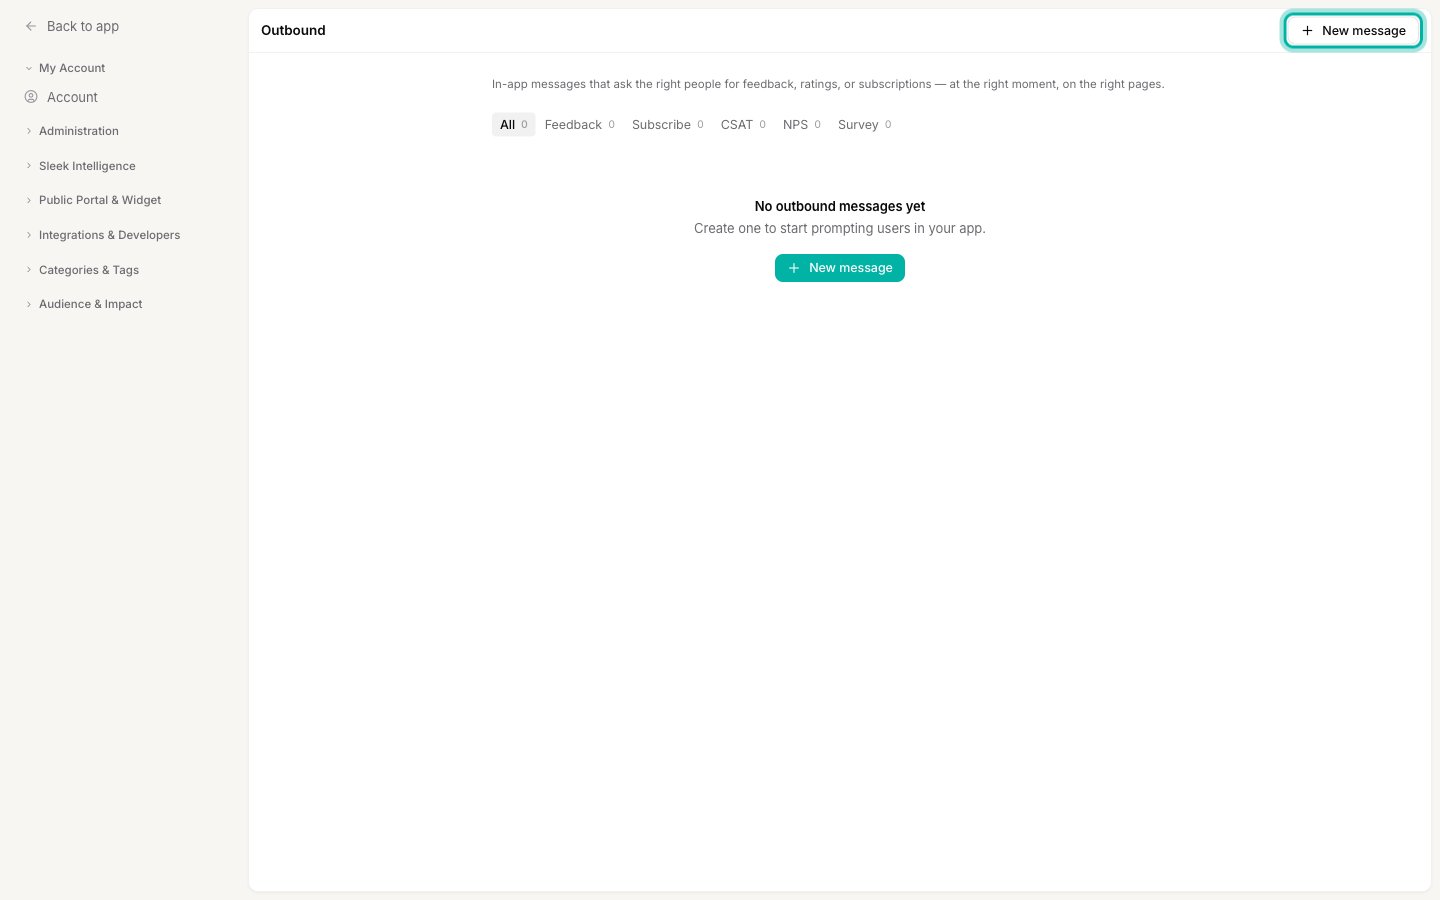
2
Click New message and choose a type
Select New message, then pick one of the five types: Feedback, Subscribe, CSAT, NPS, or Survey. Your choice decides what the popup asks for and cannot be changed later, so create a new one if you need a different type.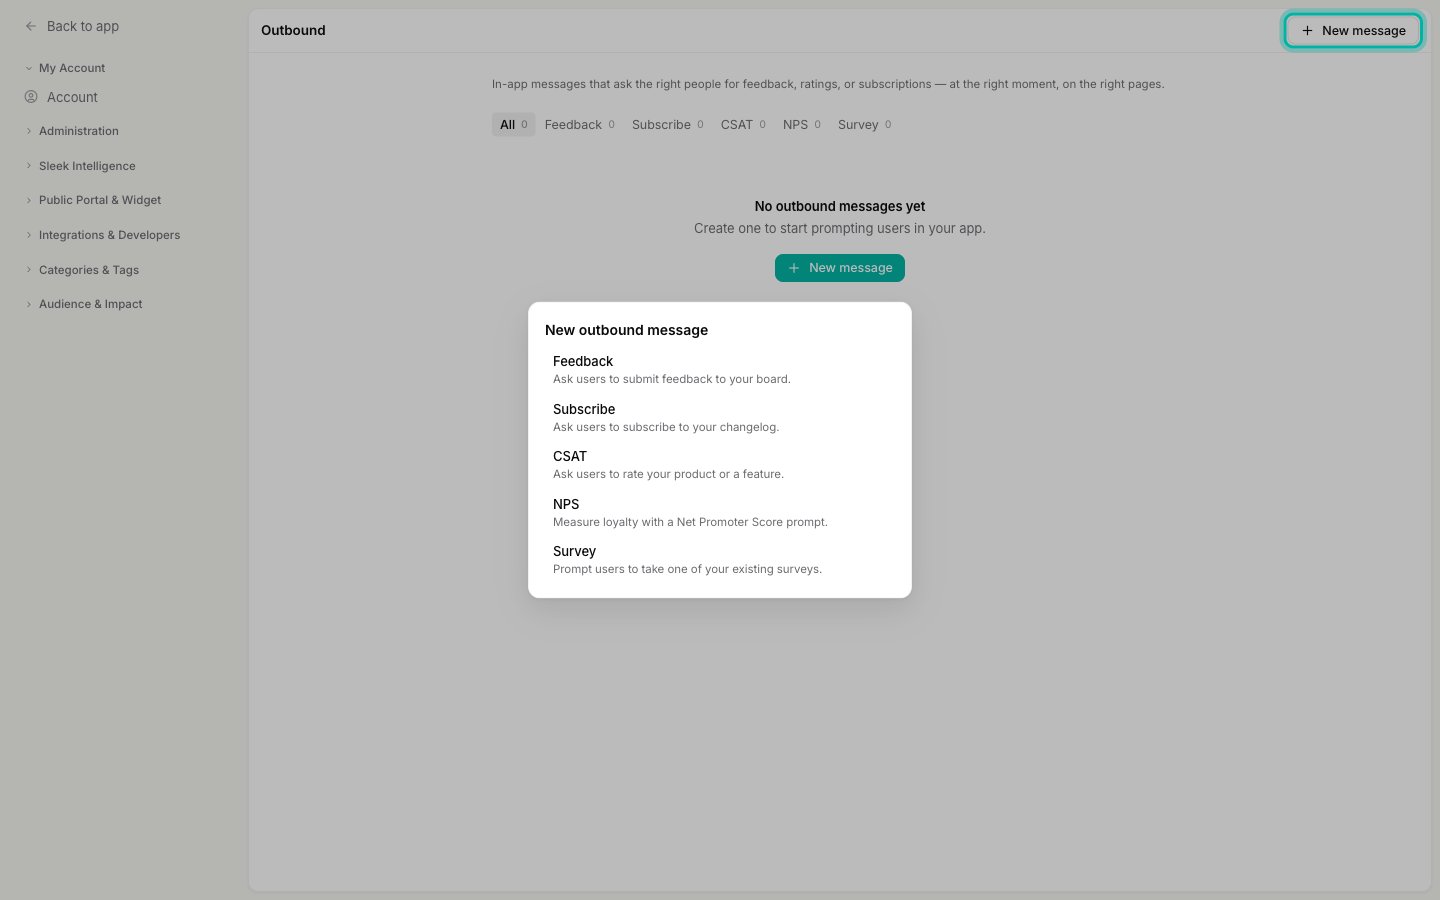
3
Name it and write the content
In Message, give the popup an internal Name (only your team sees it). Use the Content section to write what users see: a short Message for Feedback and Subscribe, a Question for CSAT and NPS, or the linked Survey for a survey popup.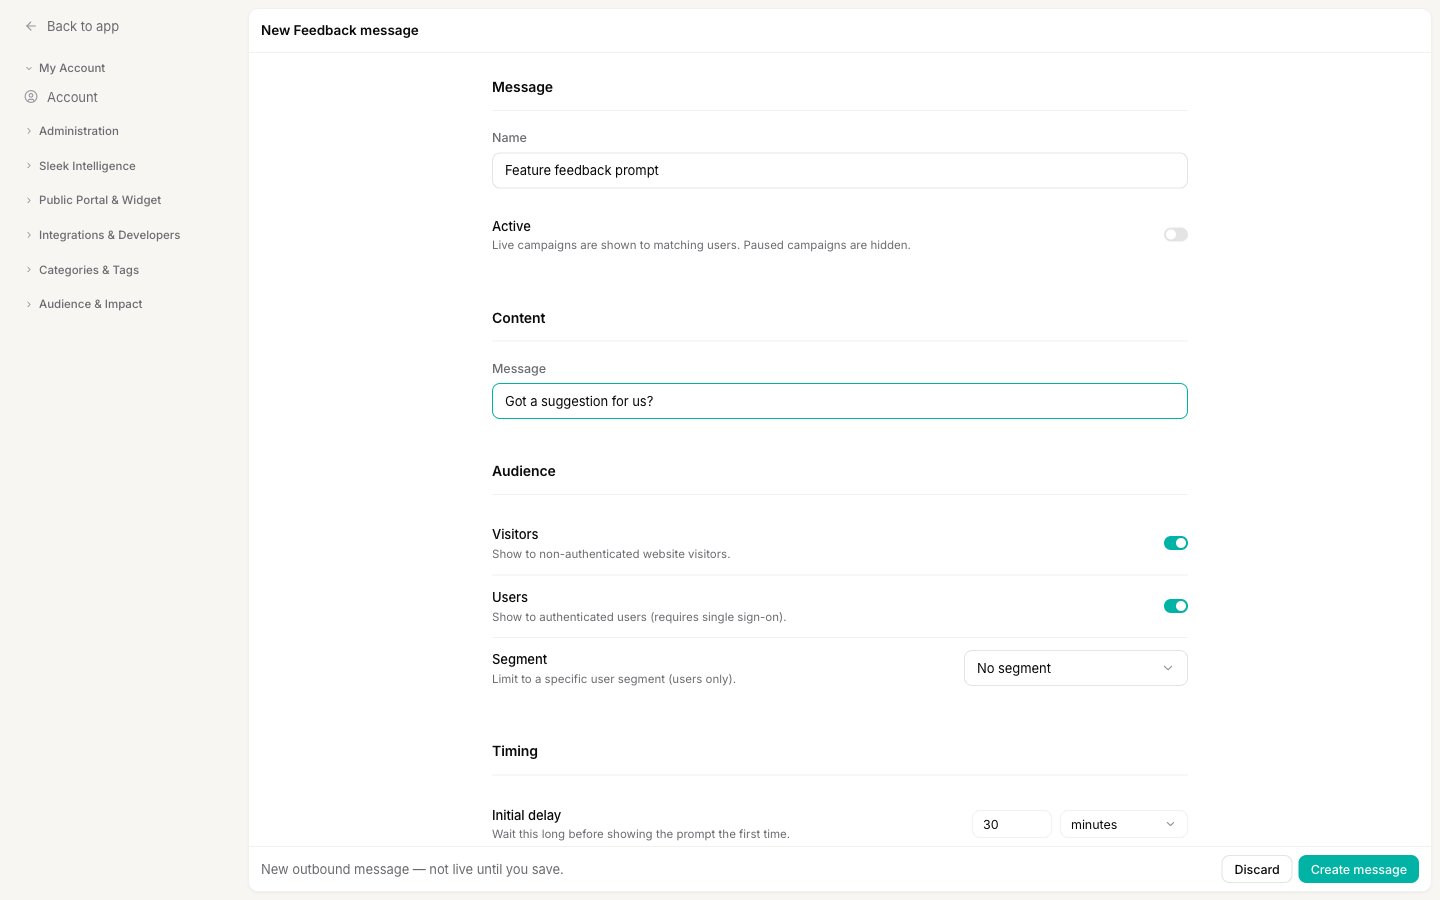
4
Choose who sees it
In Audience, decide who the popup reaches:
- Visitors shows it to non-authenticated website visitors.
- Users shows it to authenticated (signed-in) users, which requires single sign-on.
- Segment limits it to a specific user segment. Segments apply to signed-in users only.
5
Set the timing and pages
In Timing, set an Initial delay before the popup first appears, and optionally turn on Follow up (ask again at intervals if unanswered) or Repeat (restart the whole flow after a delay). In Pages, leave the URL rules empty to show the popup everywhere, or add URLs to limit it to (or exclude it from) specific pages. Use 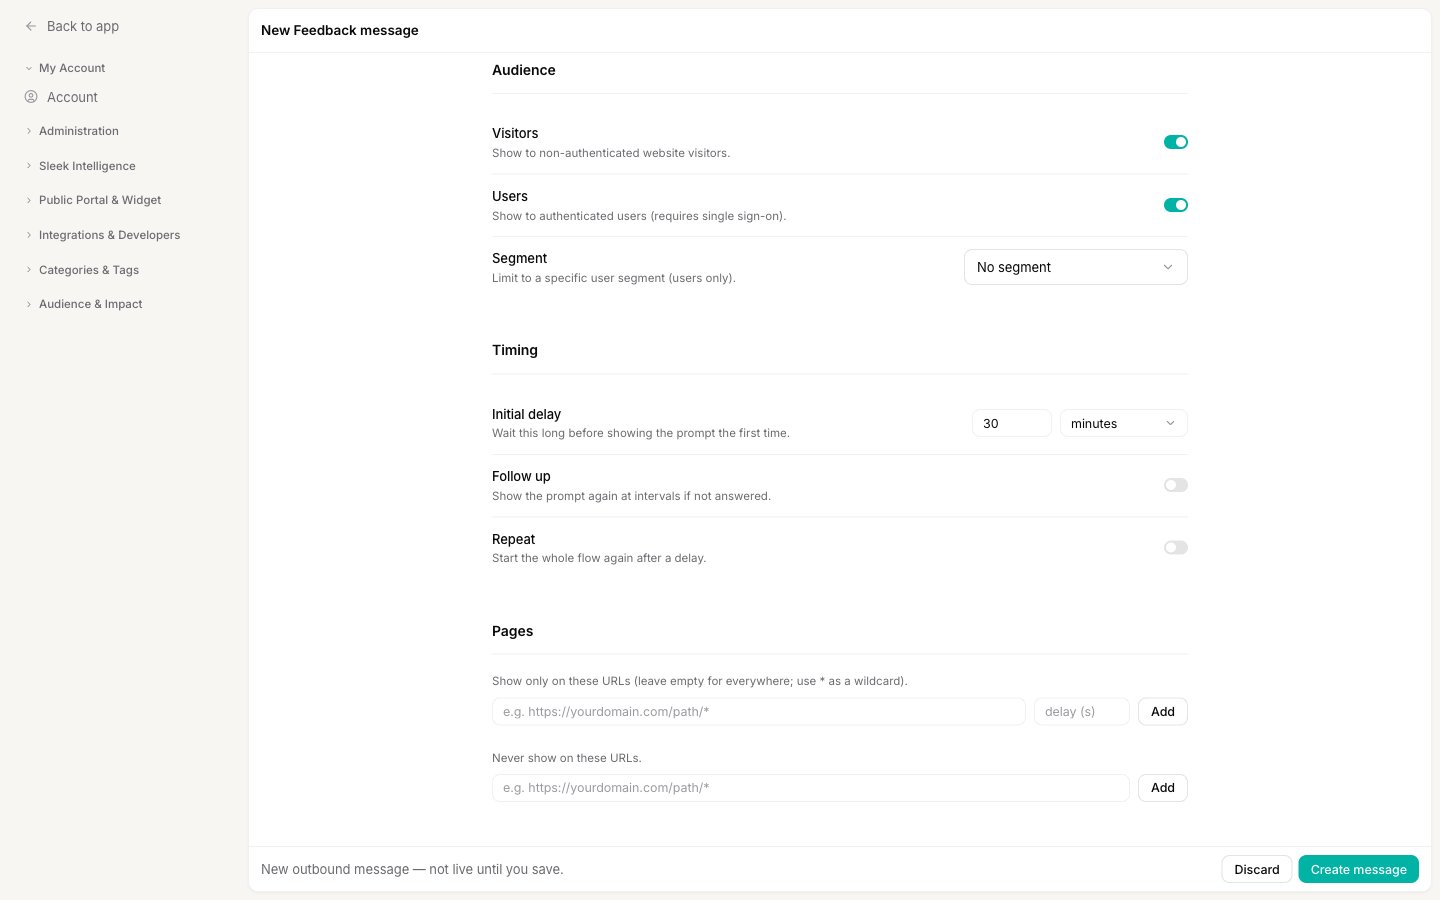
* as a wildcard.6
Turn it on and save
Switch Active on to make the popup live, then select Create message. A paused popup stays hidden until you turn it on. You can flip Active at any time from the list.
Edit a popup
Every popup on the Outbound messages screen shows its type, name, live status, and a one-line summary of its audience, timing, and pages.- To change a popup, select the pencil icon on its row. This reopens the editor with every field from create, and Save changes applies them.
- To turn a popup on or off without opening it, use the toggle on its row. Live popups are shown to matching users; Paused popups are hidden.
Delete a popup
Select the trash icon on a popup’s row, then confirm in the dialog. Deleting is permanent and cannot be undone, so pause a popup instead if you only want to stop showing it for now.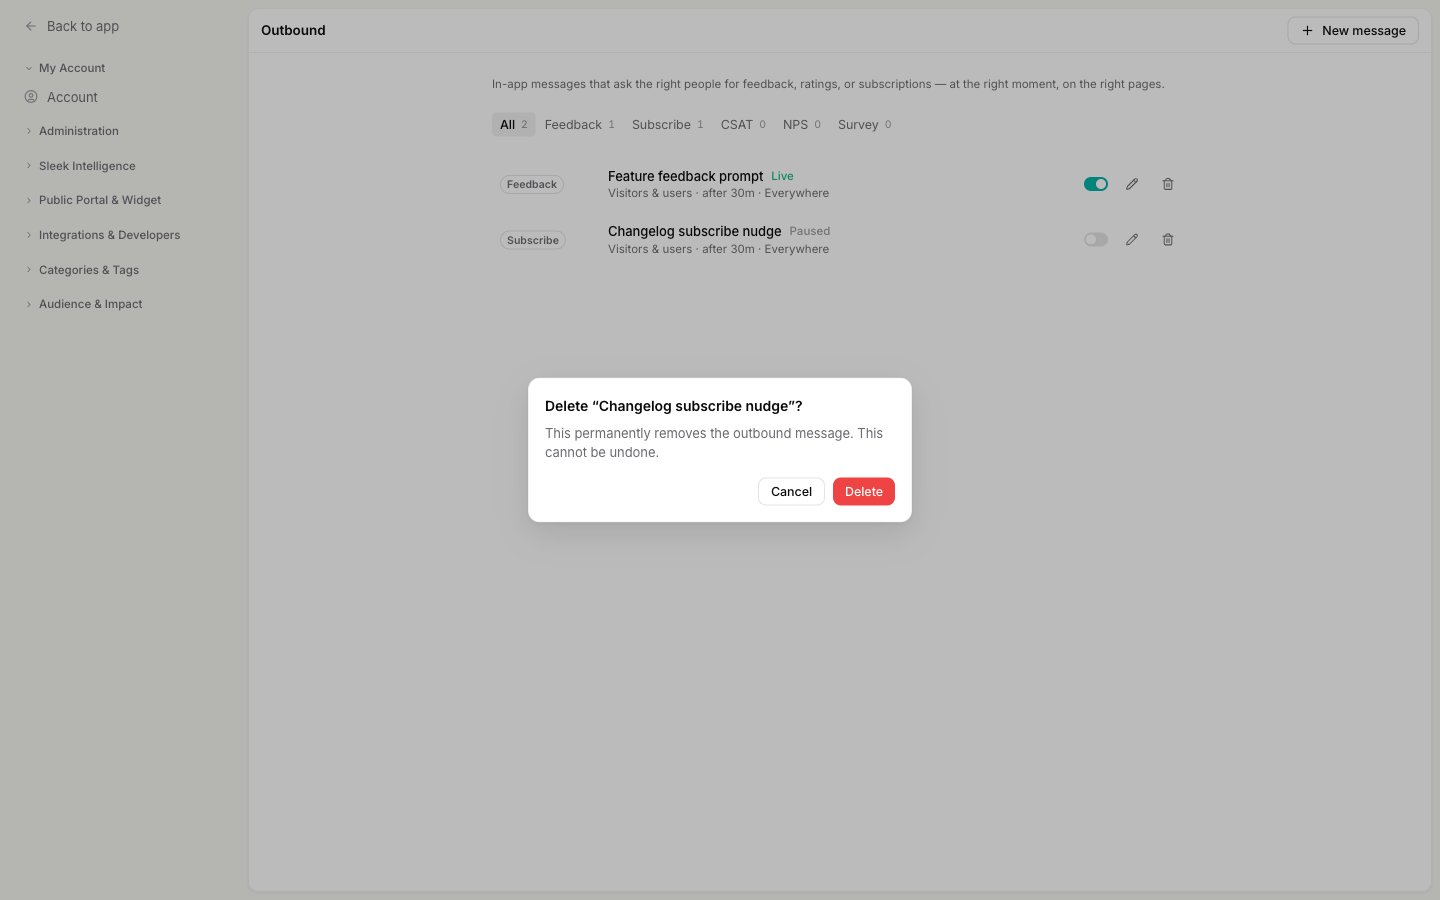
Related
Share and target a survey
Attach a survey to a popup and choose who sees it.
In-app announcements
Turn a published changelog entry into a New Updates popup.
User segments
Build the audiences that let a popup target specific users.
The changelog
Publish updates that Subscribe popups and announcements point to.
Billing
See which popup types and options your plan includes.