
Custom CSP rules are an advanced feature. They require an Admin or Owner role, a paid plan, and a connected custom domain. On a free
.sleekplan.app address the rules are saved but never applied. See Connect a custom domain first.How custom rules are applied
Sleekplan adds your rules to its default policy. It never replaces it. For each directive you list, your origins are appended to whatever the default policy already allows, and any brand new directive you add is included as well. This means:- You only write the extra origins you need, not the whole policy.
- You cannot remove or tighten Sleekplan’s own required sources. The portal keeps working no matter what you enter.
Add your rules
1
Open the Portal settings
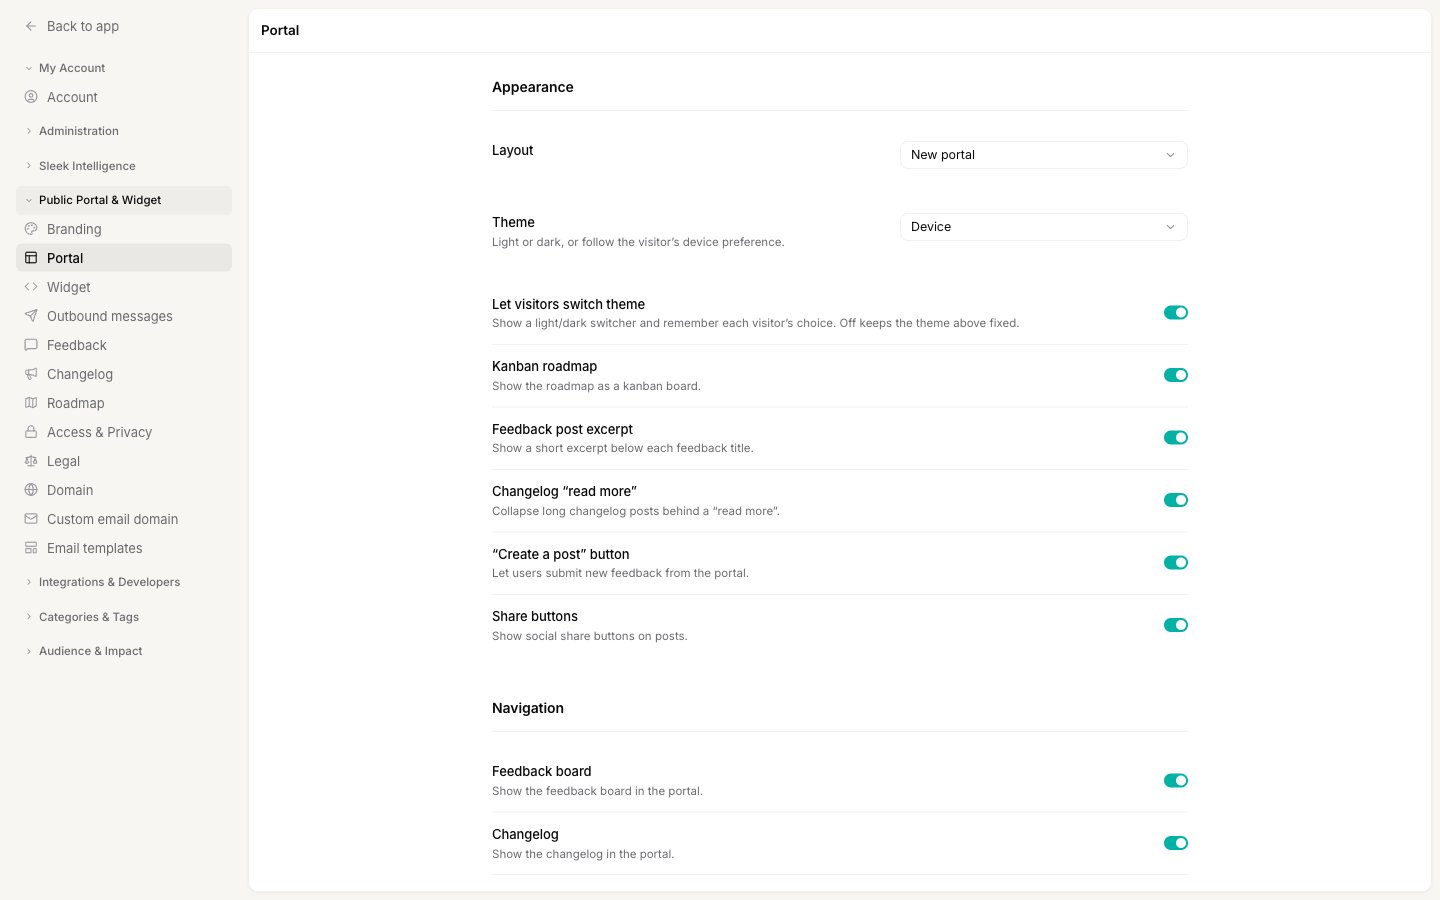
2
Expand Custom code and find the Content Security Policy field
Scroll to the bottom of the page and open the Custom code section. The Content Security Policy field is the last one, below Custom JavaScript.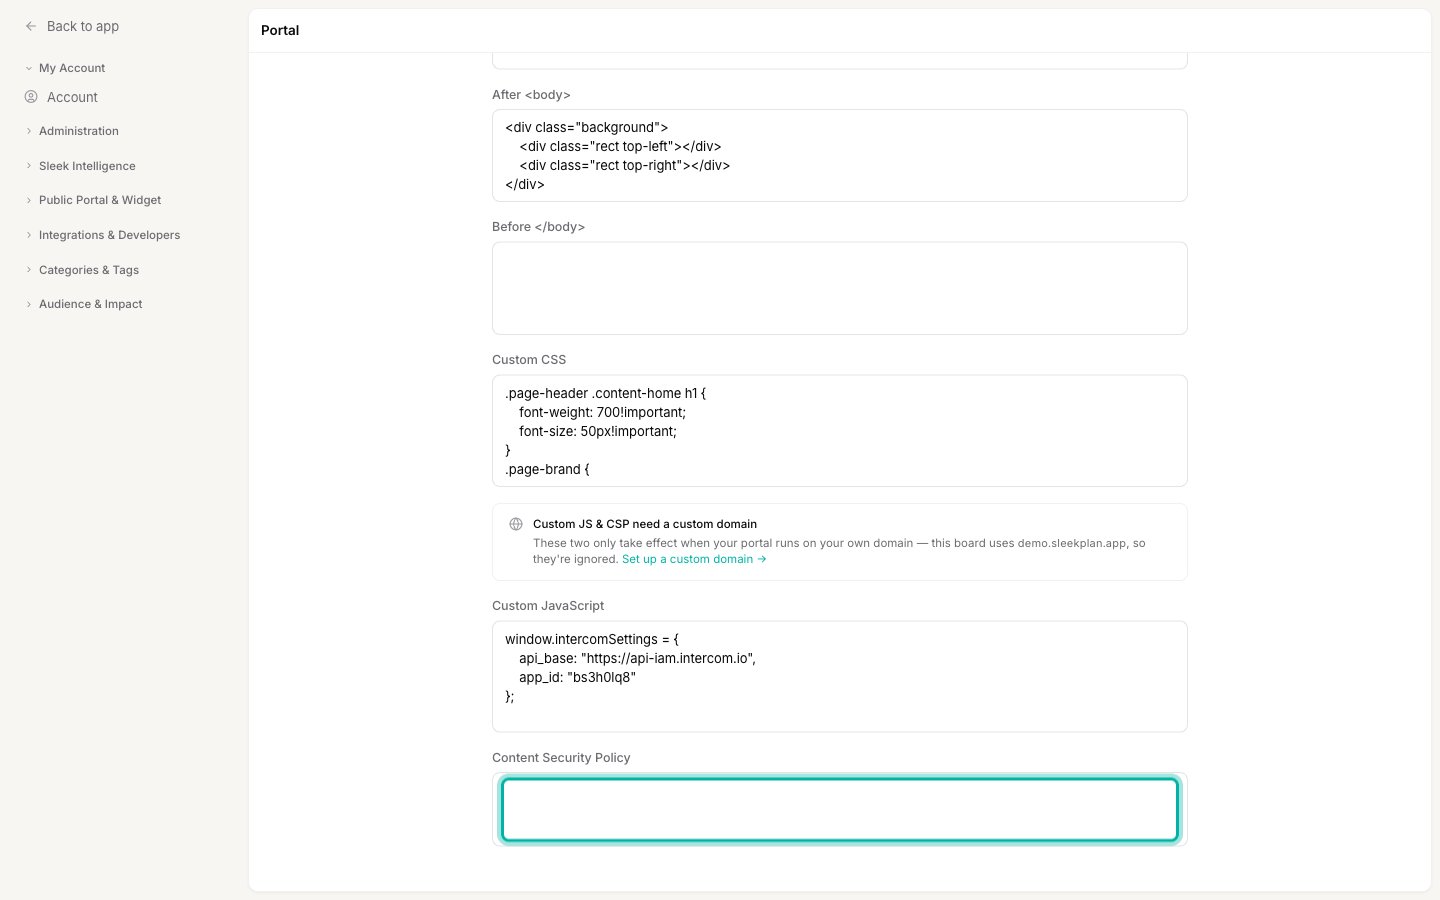
.sleekplan.app address, a notice reminds you that Custom JS and CSP only take effect on a custom domain. Connect one first for your rules to apply.3
Enter the origins you want to allow
Write standard CSP directives, each as a directive name followed by the origins to allow, separated by semicolons. For example, to allow a consent tool loaded through Google Tag Manager and an embedded YouTube video:Common directives are
script-src-elem (loaded <script src="..."> tags), style-src (stylesheets), img-src (images), font-src (fonts), connect-src (network requests, including WebSockets), and frame-src (embedded iframes). Alongside origins you can use standard CSP source keywords such as 'self', https:, data:, and blob:.4
Save
Click Save at the bottom of the page. Sleekplan validates your rules and, if anything is malformed, shows the error
CSP directives are not valid. In that case, check for typos in the directive names and remove any HTML tags: the field accepts policy directives only, not markup.Use script-src-elem for third-party scripts
This trips people up, so it is worth calling out. Sleekplan’s default policy sets both script-src and the more specific script-src-elem. When a policy sets script-src-elem, browsers use that directive (not script-src) to decide whether a <script src="..."> tag is allowed to load. So if you add a new analytics or consent host to script-src only, its script tag is still blocked.
Add the origins that load a script tag to script-src-elem. If the tool also sends data back (most analytics and consent tools do), add that endpoint to connect-src as well. A typical third-party tool needs both:
https://www.googletagmanager.com) is already allowed in the default script-src-elem, so any tool GTM loads for you still needs its own host added here.
Check that it worked
Open your portal on its custom domain and load the page that uses your custom code. Open your browser’s developer tools (right-click, then Inspect) and look at the Console tab. If a resource is still blocked, you will see a message likeRefused to load ... because it violates the following Content Security Policy directive. The message names the directive and the origin that was blocked, so add that origin to the matching directive and save again.
Related
Custom domain
Host your portal on your own domain, which is required for custom CSP rules to apply.
Widget with a CSP
Allowlist Sleekplan in your own site’s CSP when you embed the widget.