
feedback@yourcompany.com, so they look like they come from you and users can reply to your own inbox.
Setting this up has two parts: you verify that you own the address, and you add DKIM records so email providers trust messages Sleekplan sends on your behalf.
You’ll need access to the inbox for the address you choose (to click the verification link) and to your domain’s DNS settings (to add the DKIM records).
1
Enter your sending address
In the Sending domain section, enter the address you want emails to come from, for example 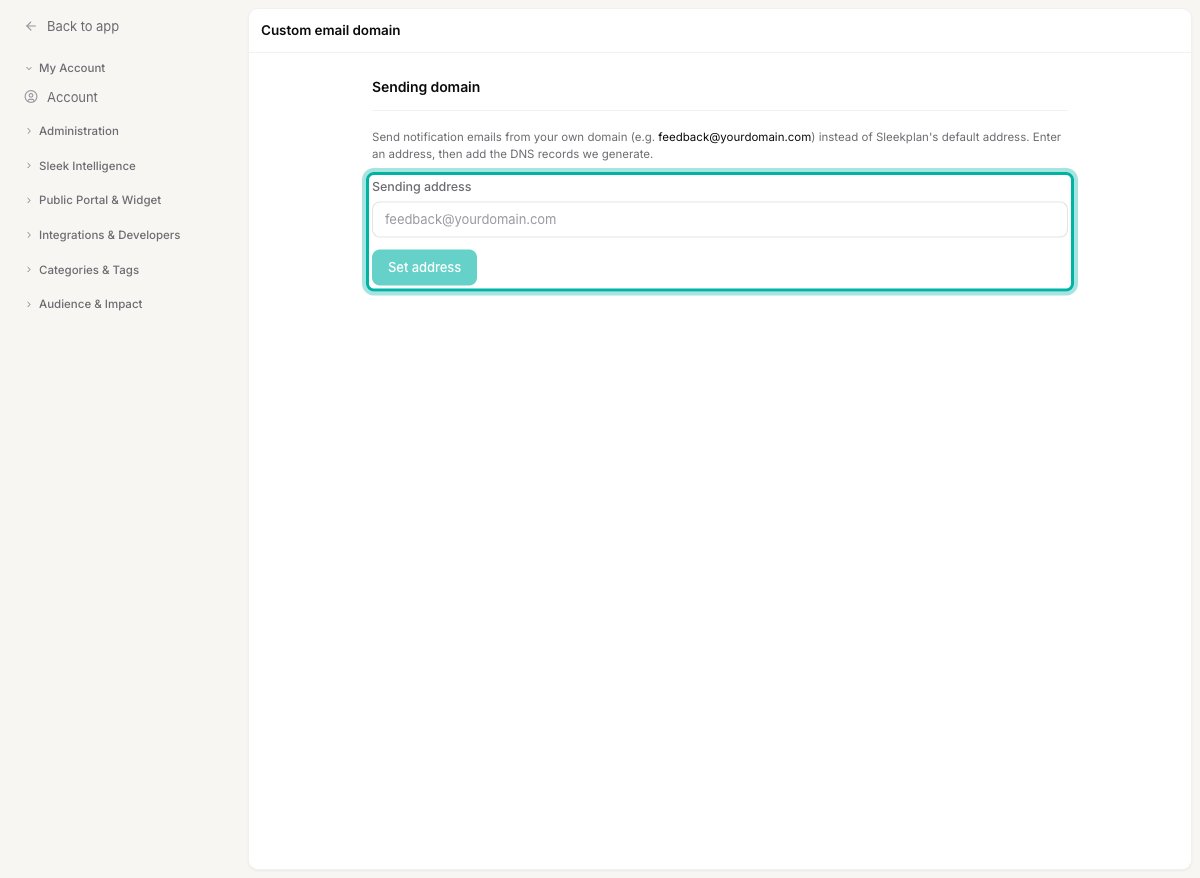
feedback@yourcompany.com, then click Set address.2
Verify the address
Open the inbox for the address you entered and click the verification link in the email we sent. The address then shows an Active badge on the settings page.If the email doesn’t arrive, use Resend verification email on the settings page to send it again.
3
Add the DKIM records at your DNS provider
After you set an address, Sleekplan generates a set of DKIM records (DomainKeys Identified Mail). These prove to email providers that Sleekplan is authorized to send for your domain, which keeps your messages out of spam.Sign in to your domain provider and add each record exactly as shown on the settings page. They are CNAME records that look like this:
Many providers only need the subdomain portion in the name field (for example
<token>._domainkey) rather than the full record name. Copy each value straight from the settings page, and check your provider’s documentation if you’re unsure which format they expect.4
Wait for DKIM verification
Sleekplan detects your DKIM records automatically. This usually completes quickly but can take up to 72 hours depending on your DNS provider. When the records are found, the DNS records section shows as Verified and your custom sending domain is ready to use.
Removing the sending domain
To go back to Sleekplan’s default sending address, click Remove next to your address on the settings page. Notification emails will be sent from Sleekplan’s default address again, and you can reconnect a domain later at any time.Related
Connect a custom domain
Host your public feedback portal on your own domain.
Email templates
Customize the layout and content of the notification emails Sleekplan sends.