
- Who can access this board? Is the portal open to everyone, or gated behind a password, an allowed list of email domains, or your own login?
- How do visitors sign in? Once someone reaches the board, what does Sleekplan ask of them before they can vote, post, or comment?
- What does the board reveal about them? Once they post, is their username, real name, and picture visible to everyone else?
spacex.sleekplan.app. The third is covered in Hide customer identity on your board.
Access & Privacy lives under Administration, and only workspace owners and admins see it. Board protection (password, email domains) and single sign-on are paid features: if the option you choose is not on your current plan, you will be prompted to upgrade when you save.
Open the Access & Privacy settings
Go to Settings → Public Portal & Widget → Access & Privacy.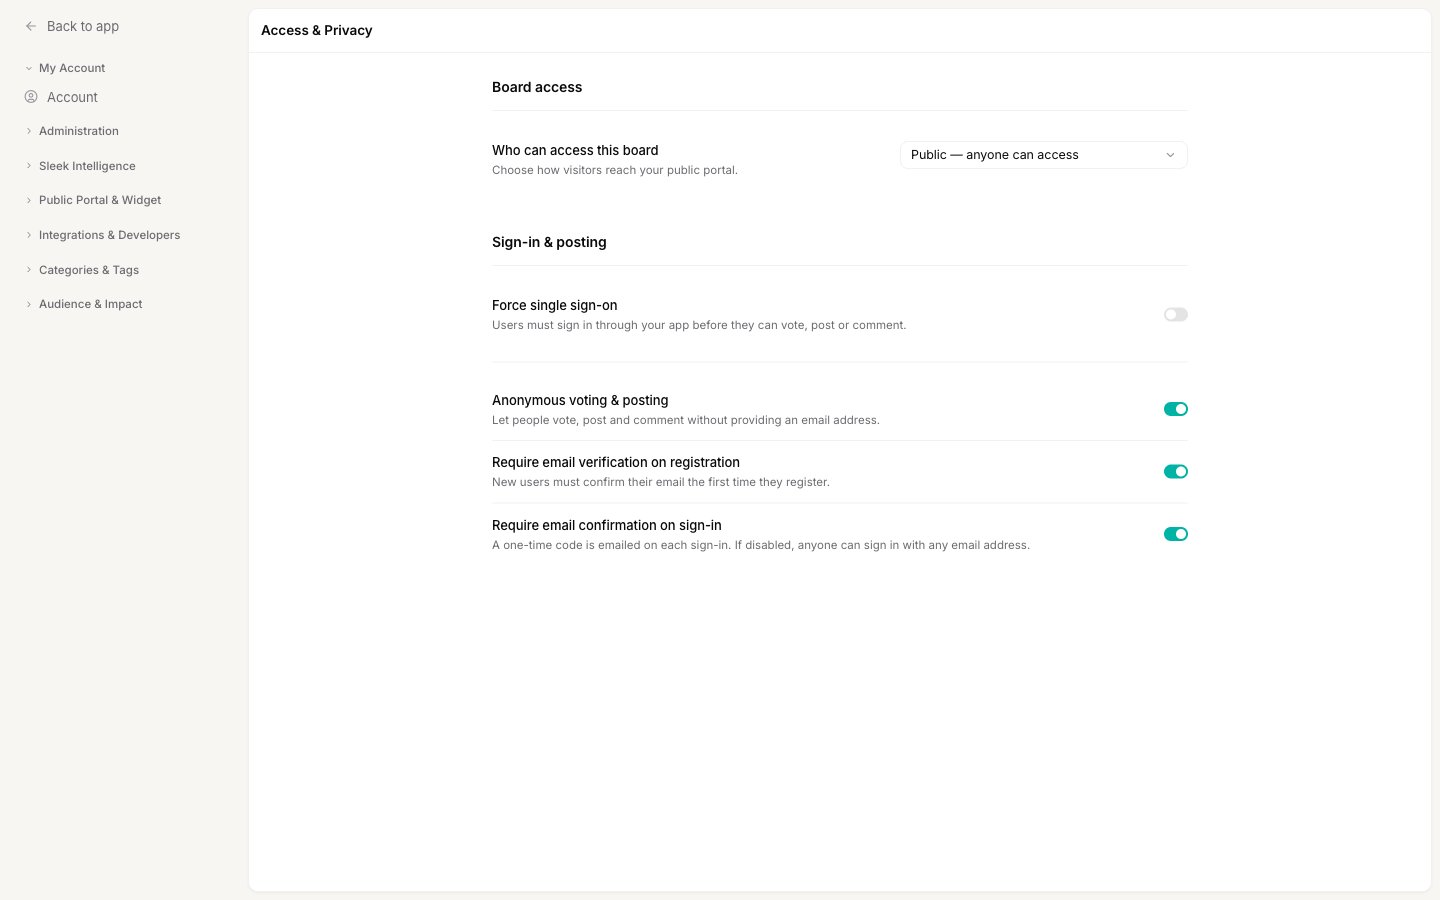
Choose who can access your board
The Who can access this board dropdown, at the top of the Board access section, is the single control that sets your portal’s front door. Pick one of five options.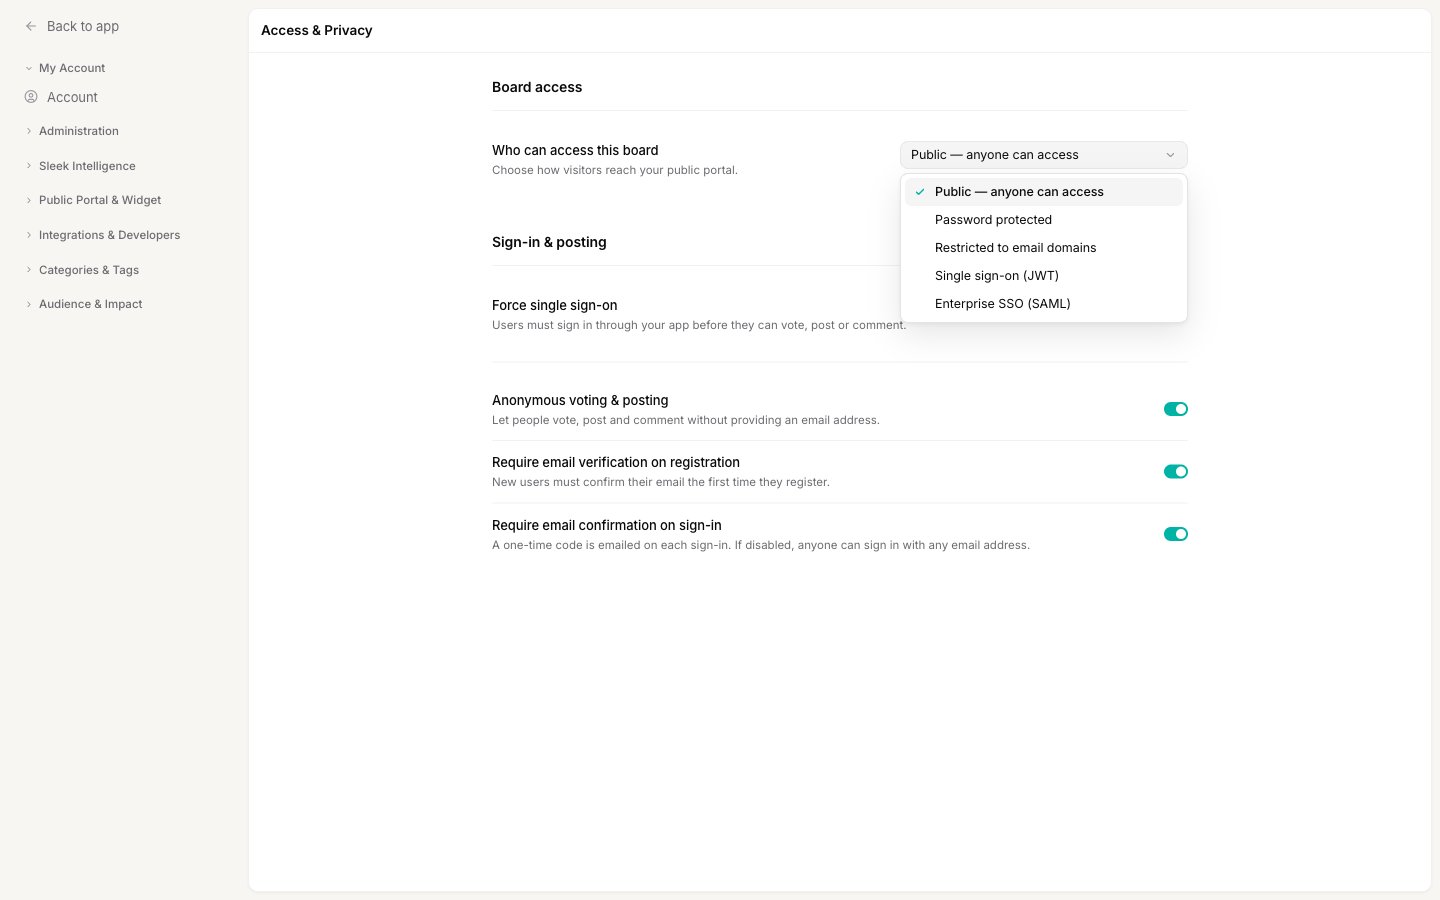
Public
Your portal and widget are open to everyone. This is the default and the right choice for public roadmaps and feature-request boards where you want the widest participation. Visitors land straight on the board with no gate, and a Sign in button in the corner lets them identify themselves when they choose to.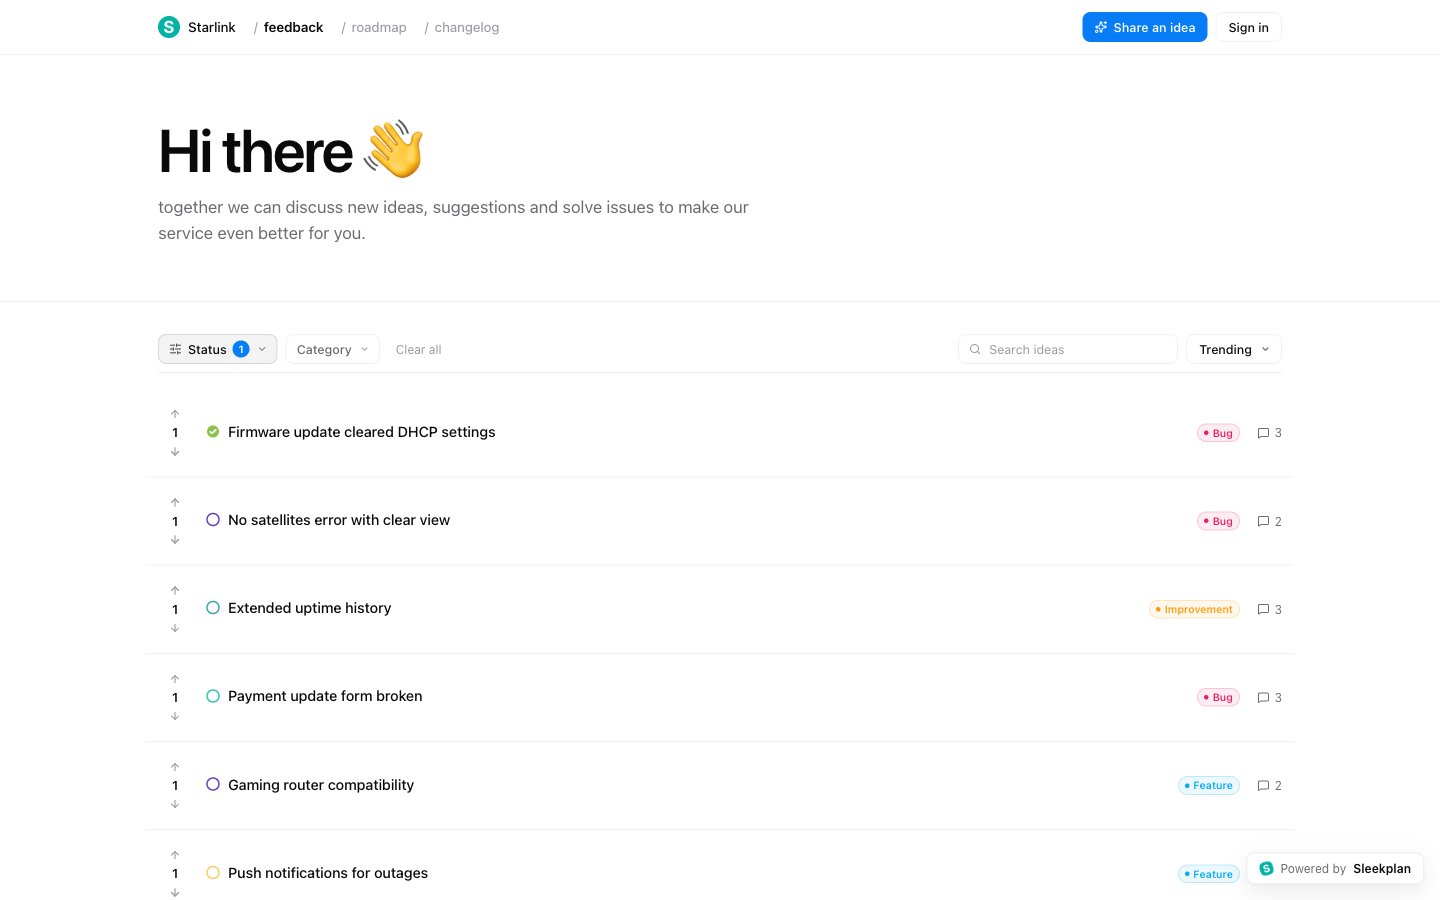
Password protected
Everyone shares one password to get in. Choose Password protected, then set the shared secret in the Access password field that appears.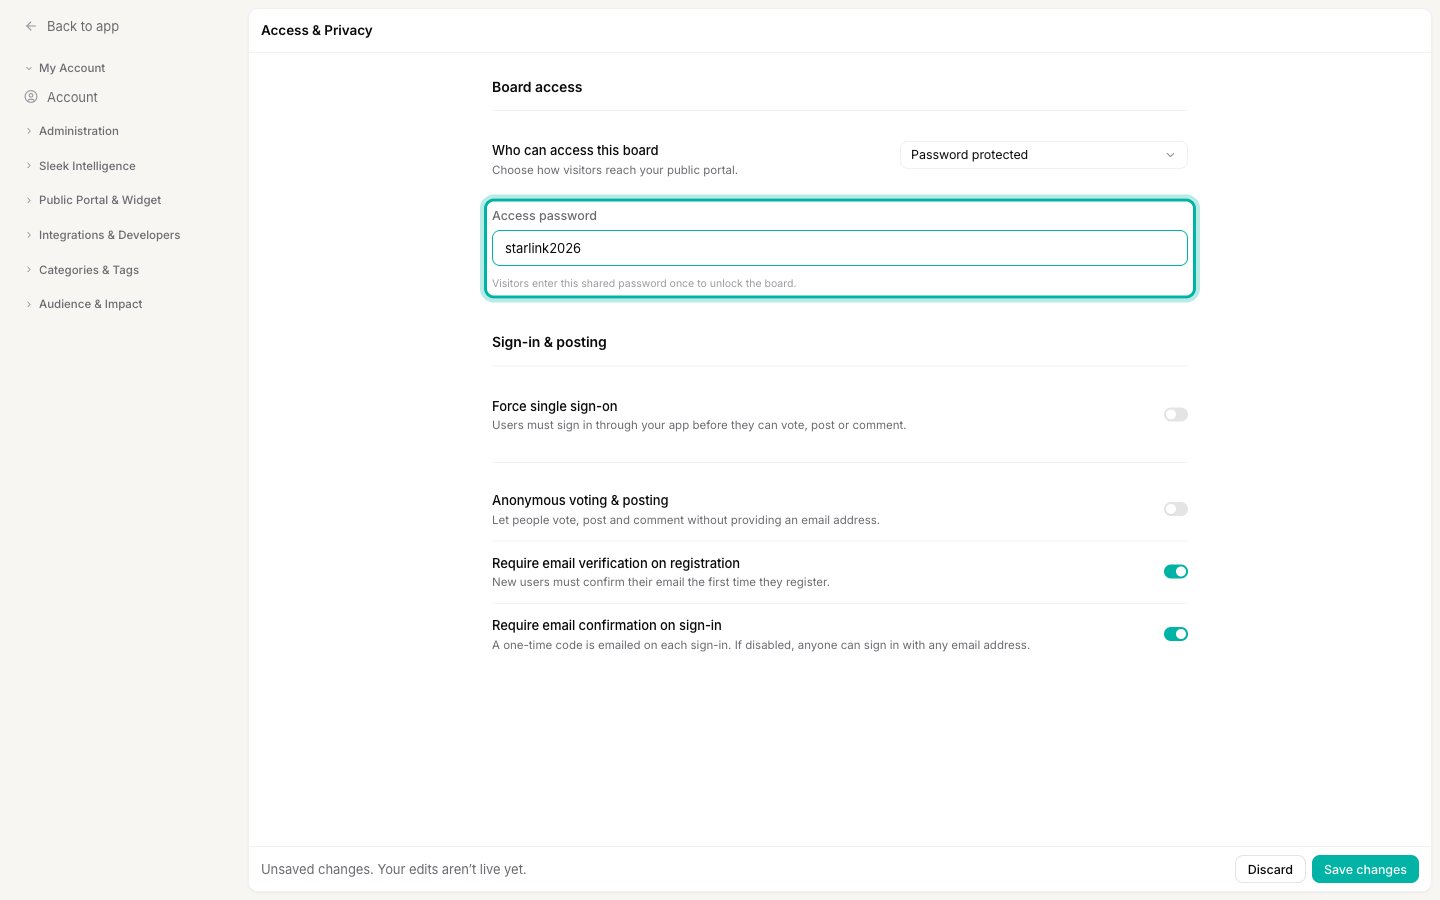
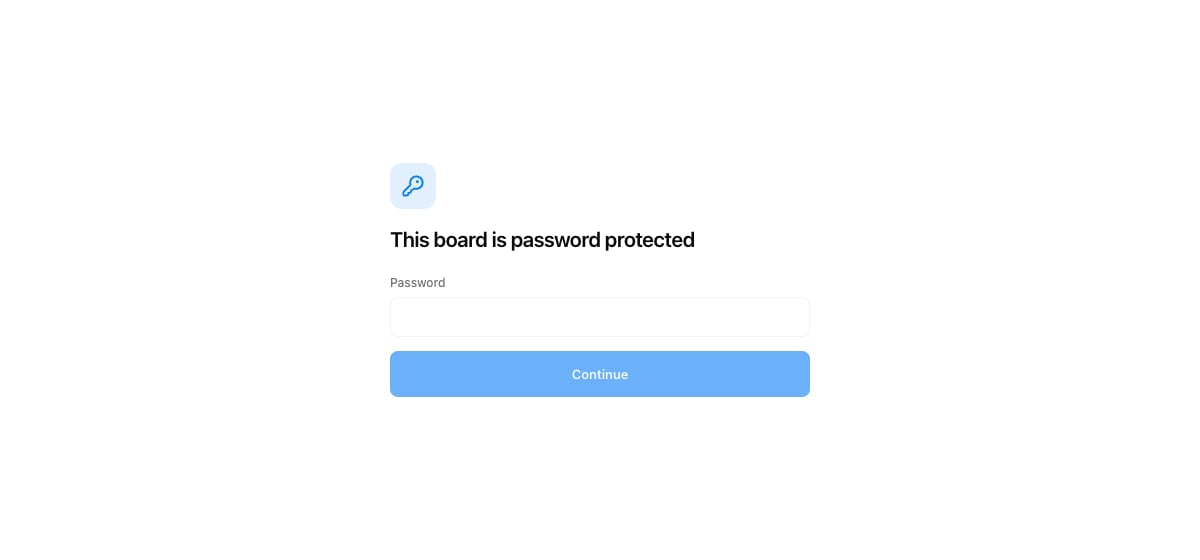
Restricted to email domains
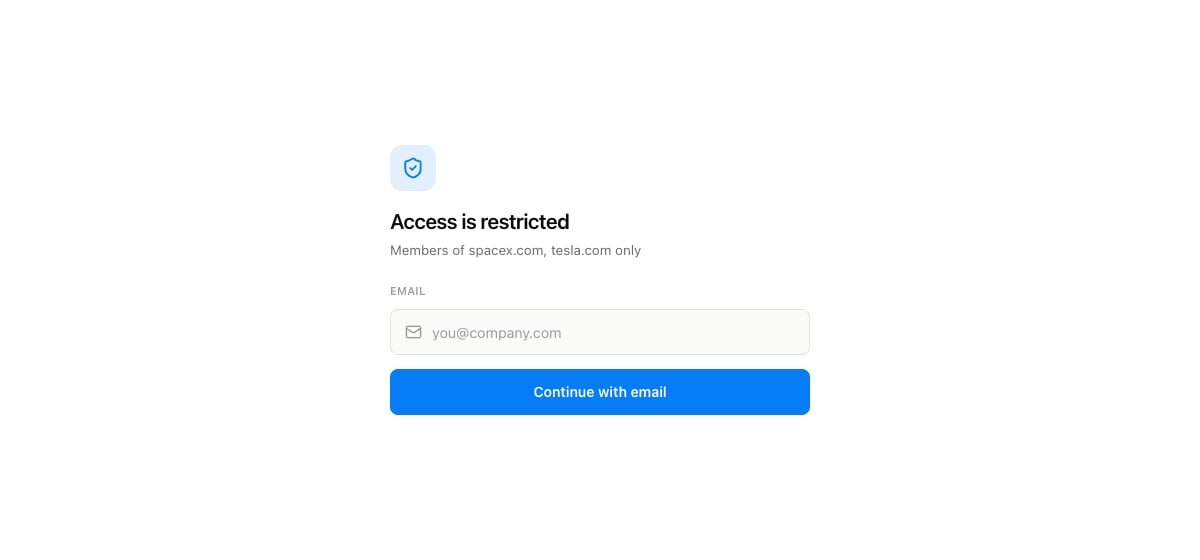
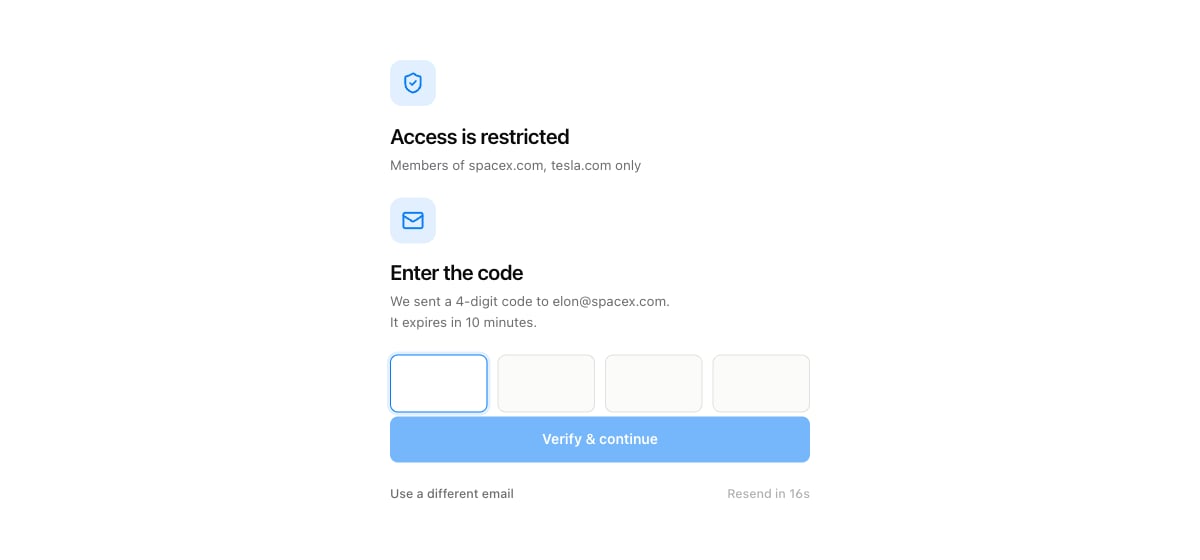
Only people whose email is on a domain you approve can get in. Choose Restricted to email domains, then list the domains in the Allowed email domains field, separated by commas.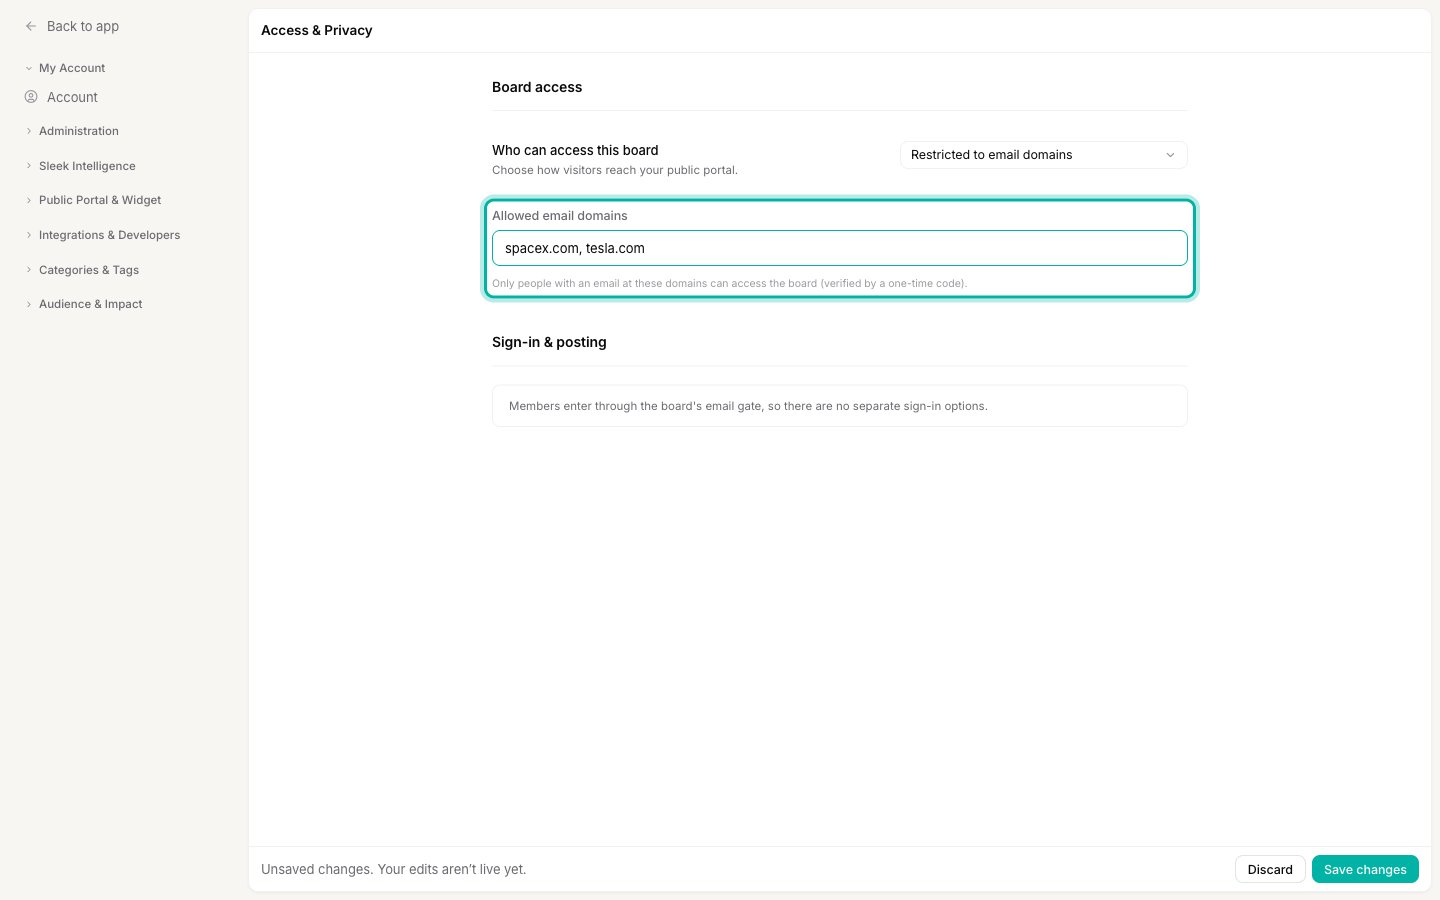
Single sign-on (JWT)
Visitors are sent to your own Sign-in URL to log in, then returned to the board with a signed token that tells Sleekplan who they are. Use this when your product already has its own login and you want those same, already-authenticated users on your board with no second sign-in. This method needs a one-time technical setup by a developer to generate the token. See the Single sign-on developer guide for how.Enterprise SSO (SAML)
Every visitor is authenticated against your identity provider, such as Okta or OneLogin. Picking this option prompts you to finish the connection on the Access Management page, where you upload your provider’s SAML certificate. Open it from the button on this screen, or go to Settings → Access Management.Control how people sign in
The Sign-in & posting section decides what Sleekplan asks of visitors before they vote, post, or comment. These options apply only to Public and Password protected boards, because those are the only cases where a visitor arrives without already being identified. For email domain, JWT, and SAML boards, this section is replaced by a note, since visitors are identified the moment they pass the gate.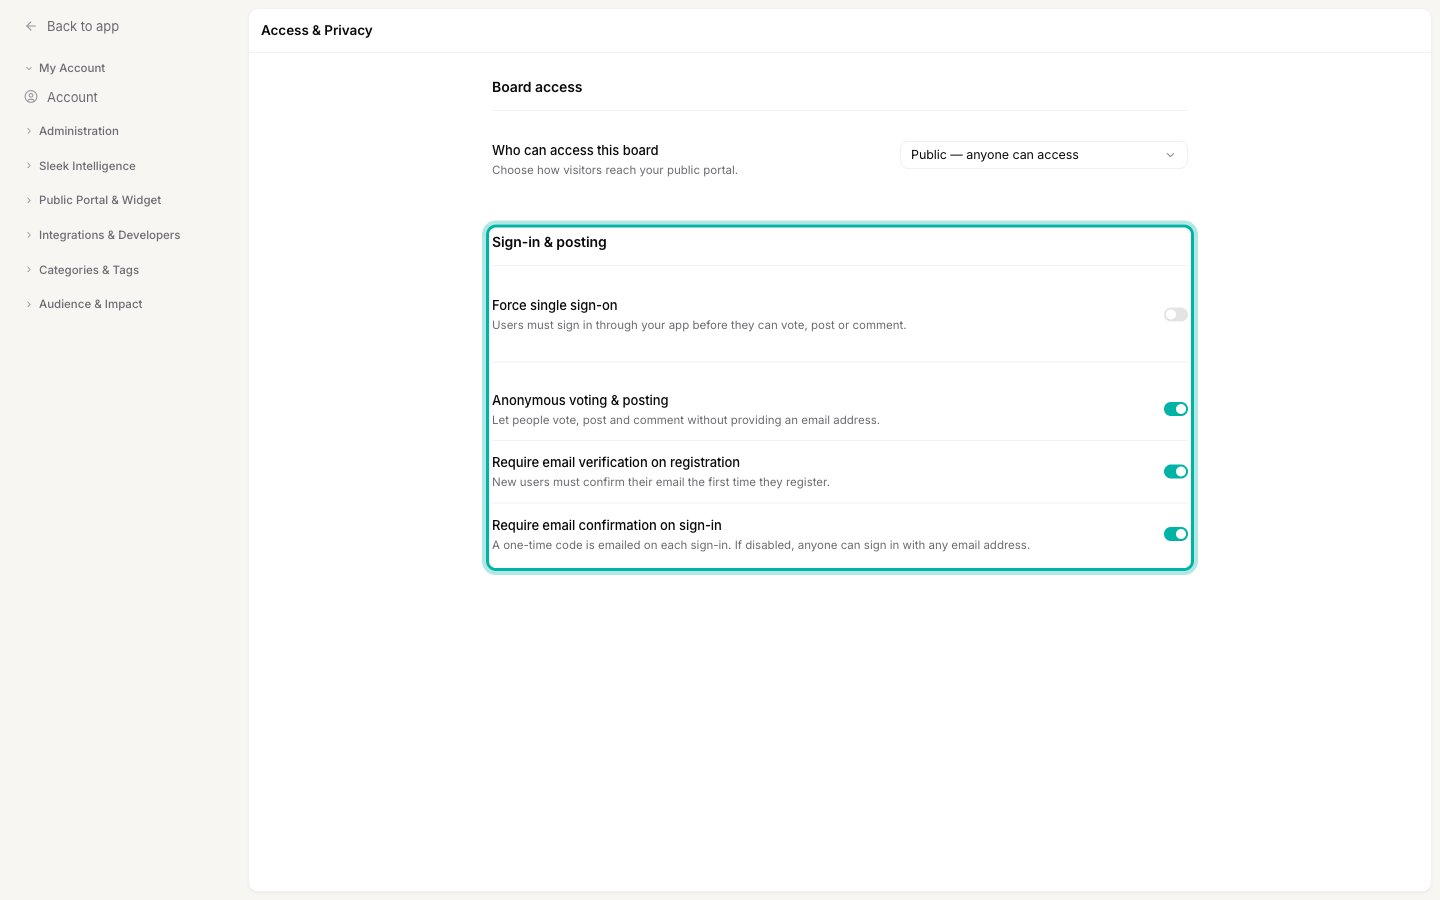
Force single sign-on
When Force single sign-on is on, visitors must sign in through your app before they can do anything on the board. Turning it on reveals a Sign-in URL field, where you point Sleekplan at your login page, and it hides the individual sign-in toggles below, because your app now owns identity. Leave it off if you want Sleekplan to handle sign-in itself, using the three toggles below.Anonymous voting & posting
Let people vote, post, and comment without giving an email address at all. Turn this on to remove every barrier and collect the most feedback, at the cost of not knowing who left it. Turn it off to require an identity (an email) before anyone can contribute.Require email verification on registration
When on, a new user must confirm their email address the first time they register. This keeps fake or mistyped addresses out of your user list. It applies once, at registration.Require email confirmation on sign-in
When on, Sleekplan emails a one-time code every time a returning user signs in, so only someone with access to the inbox can post as that person. To understand how these accounts work and why your end users never create a Sleekplan login, see How Sleekplan handles end-user accounts. For the one-time codes and confirmation messages these options trigger, see Emails Sleekplan sends to your users.Hide who your customers are
The third section, Customer identity, is about what the board reveals once someone posts. Two settings let you replace customer usernames with random ones and hide real names and profile pictures from everyone but your team, which is what most compliance reviews ask for on a public board. See Hide customer identity on your board for what each one does and which to choose.Save your changes
Every change on this page is a draft until you save it. Whenever you have unsaved edits, a bar appears at the bottom reading “Unsaved changes. Your edits aren’t live yet.” with Discard and Save changes buttons. Your board keeps its current access rules until you click Save changes, so you can switch modes and fill in a password or domains without locking anyone out mid-edit.Next steps
Customer identity
Replace customer usernames with random ones and hide real names from the board.
End-user accounts
How customer accounts differ from admin accounts and live only in your workspace.
Emails to your users
Every message your users receive, including sign-in and verification codes.
Single sign-on setup
The developer guide for wiring up JWT single sign-on with your own login.
Two-factor authentication
Add a second login step to your own admin account.