
Connecting integrations happens in workspace Settings, which is available to workspace owners and admins. See Roles and permissions.
What the integration does
Once connected, Sleekplan adds three things to Intercom:- Messenger home apps. Show buttons on your Messenger home that open your feedback board, roadmap, changelog, or your default board in a sheet inside the Messenger.
- A conversation app. From inside a conversation, search existing feedback, link a post, or create a new post on the customer’s behalf. Created posts capture the conversation and the customer’s email and name.
- A conversation sidebar. See the customer’s Sleekplan activity next to the conversation: their upvotes, CSAT and NPS scores, and the posts they’ve voted on, plus quick actions to search, vote for them, and create a post.
Connect Intercom
1
Open your integrations
2
Find Intercom and click Connect
In the All integrations list, find Intercom and click Connect. Once the connection finishes, Intercom moves up to the Connected section at the top of the page.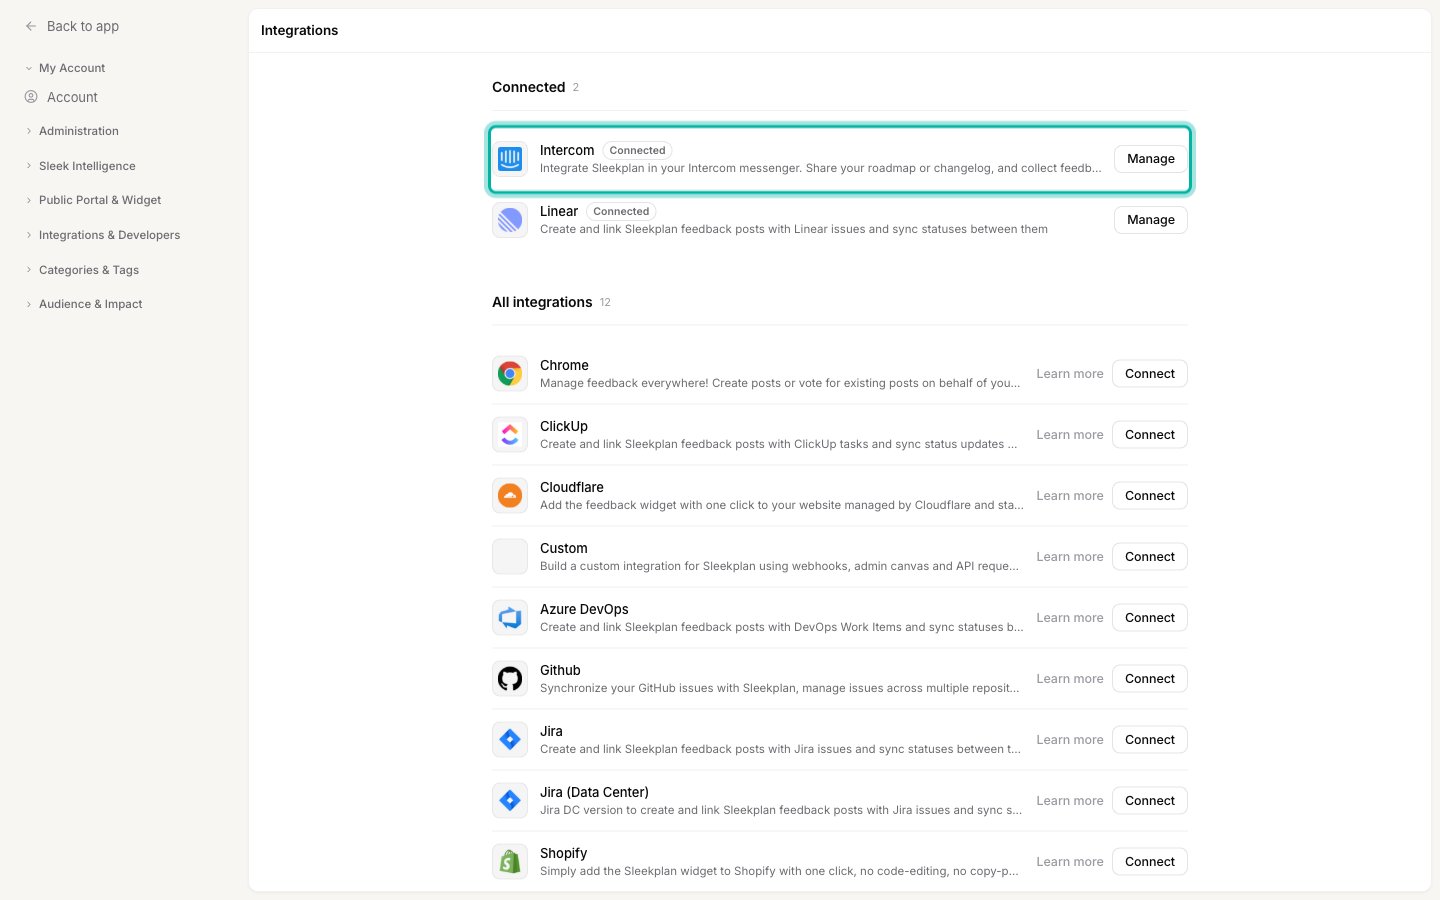
3
Authorize access in Intercom
A new tab opens Intercom’s authorization screen. Sign in to the Intercom workspace you want to connect and click Authorize access. Intercom sends you back to Sleekplan and the workspaces are linked.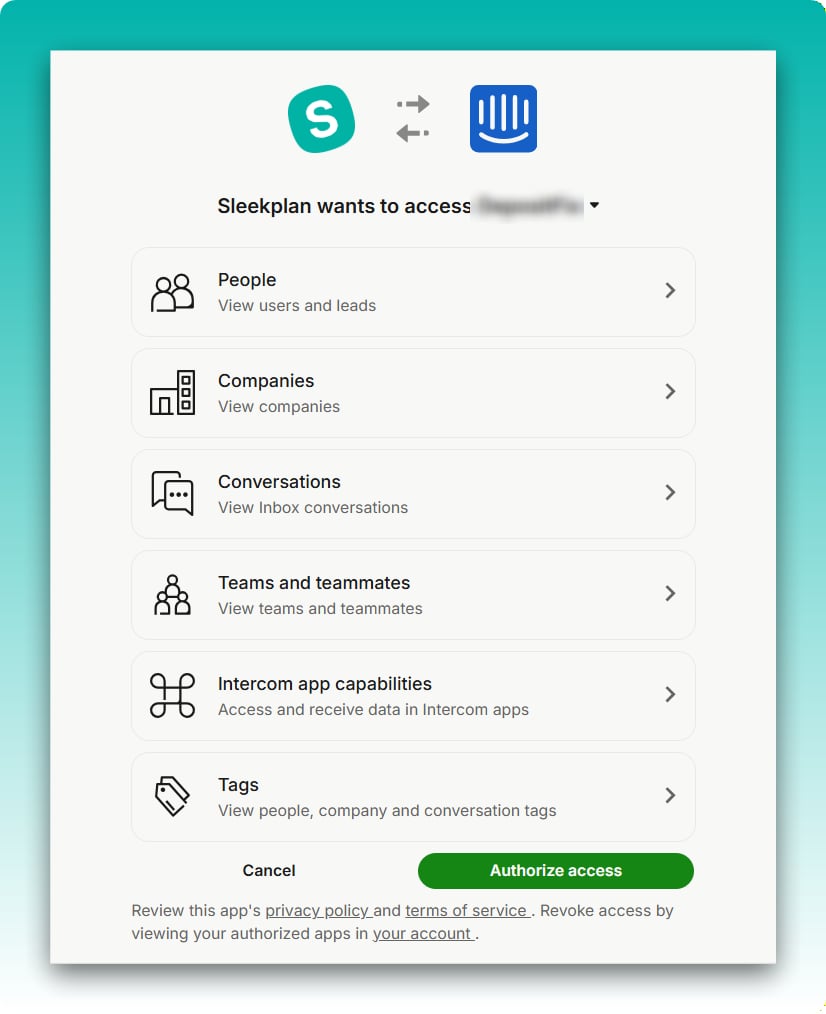
Each Intercom workspace can be connected to only one Sleekplan workspace. If the Intercom workspace is already linked elsewhere, the connection is rejected with a message telling you so.
Show Sleekplan on your Messenger home
After connecting, add Sleekplan to the Messenger home so customers can reach your board, roadmap, and changelog from the chat.1
Open your Messenger home settings in Intercom
In Intercom, go to Settings → Channels → Messenger, open the Web tab, and go to Content. Make sure a Home section exists (add one from the Spaces tab if it doesn’t).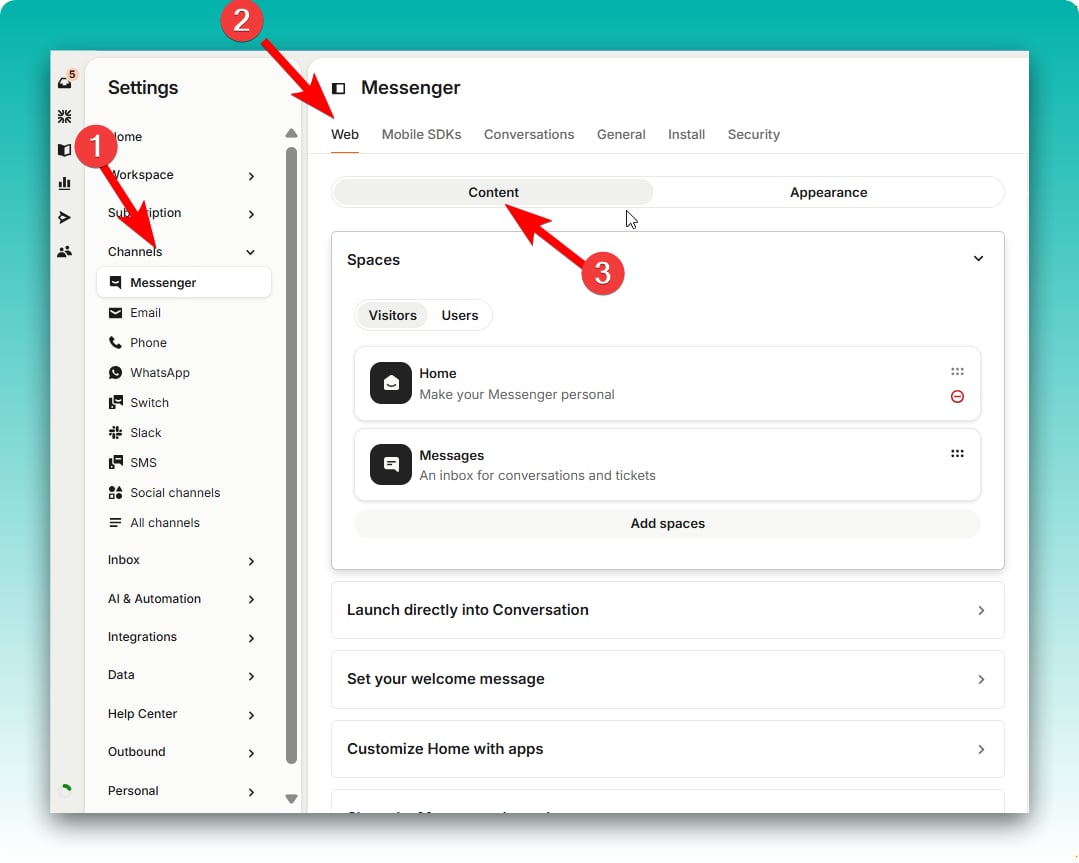
2
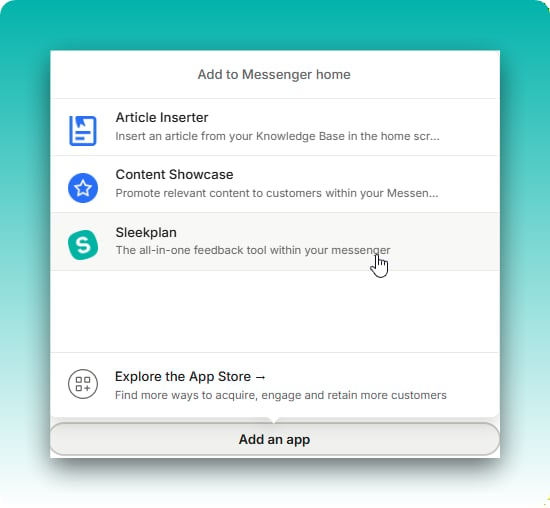
Add the Sleekplan app
Under Customize home with apps, click Add an app and choose Sleekplan.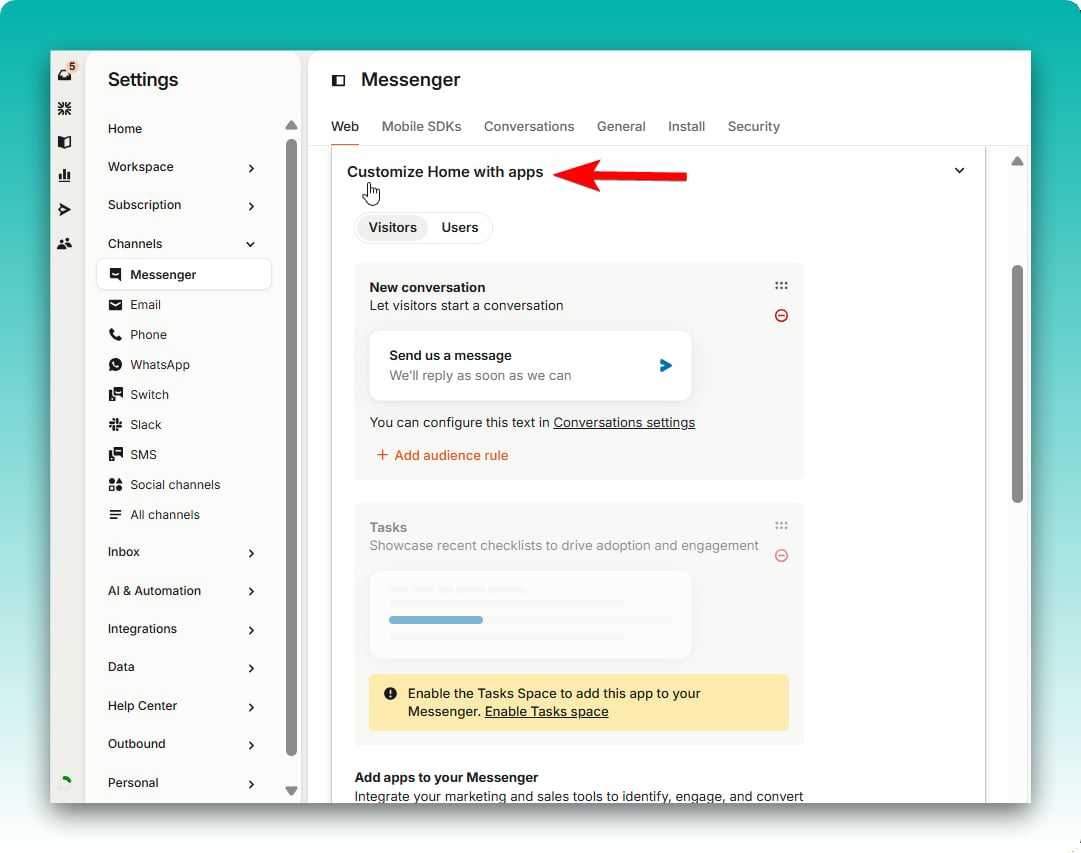
3
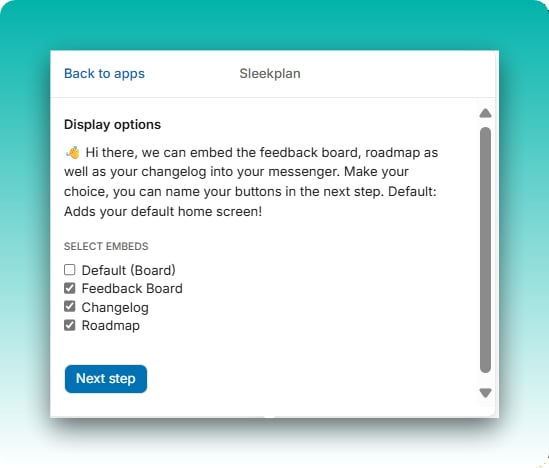
Choose what to embed
Select which sections to show as buttons. You can add any combination of: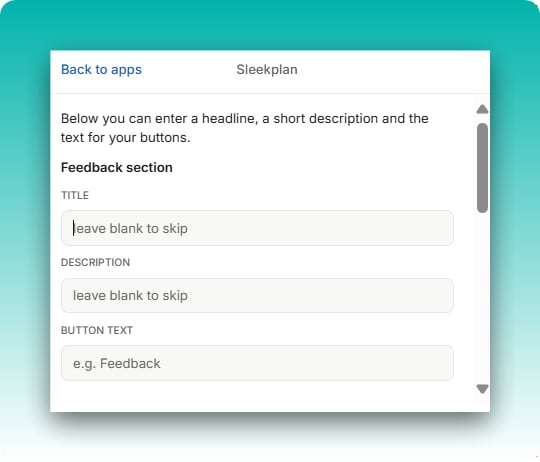
- Default (board), which opens your default home screen
- Feedback board
- Changelog
-
Roadmap
4
Save and set live
Check the preview, then click Save and set live. Each button opens the matching Sleekplan screen in a sheet inside the Messenger.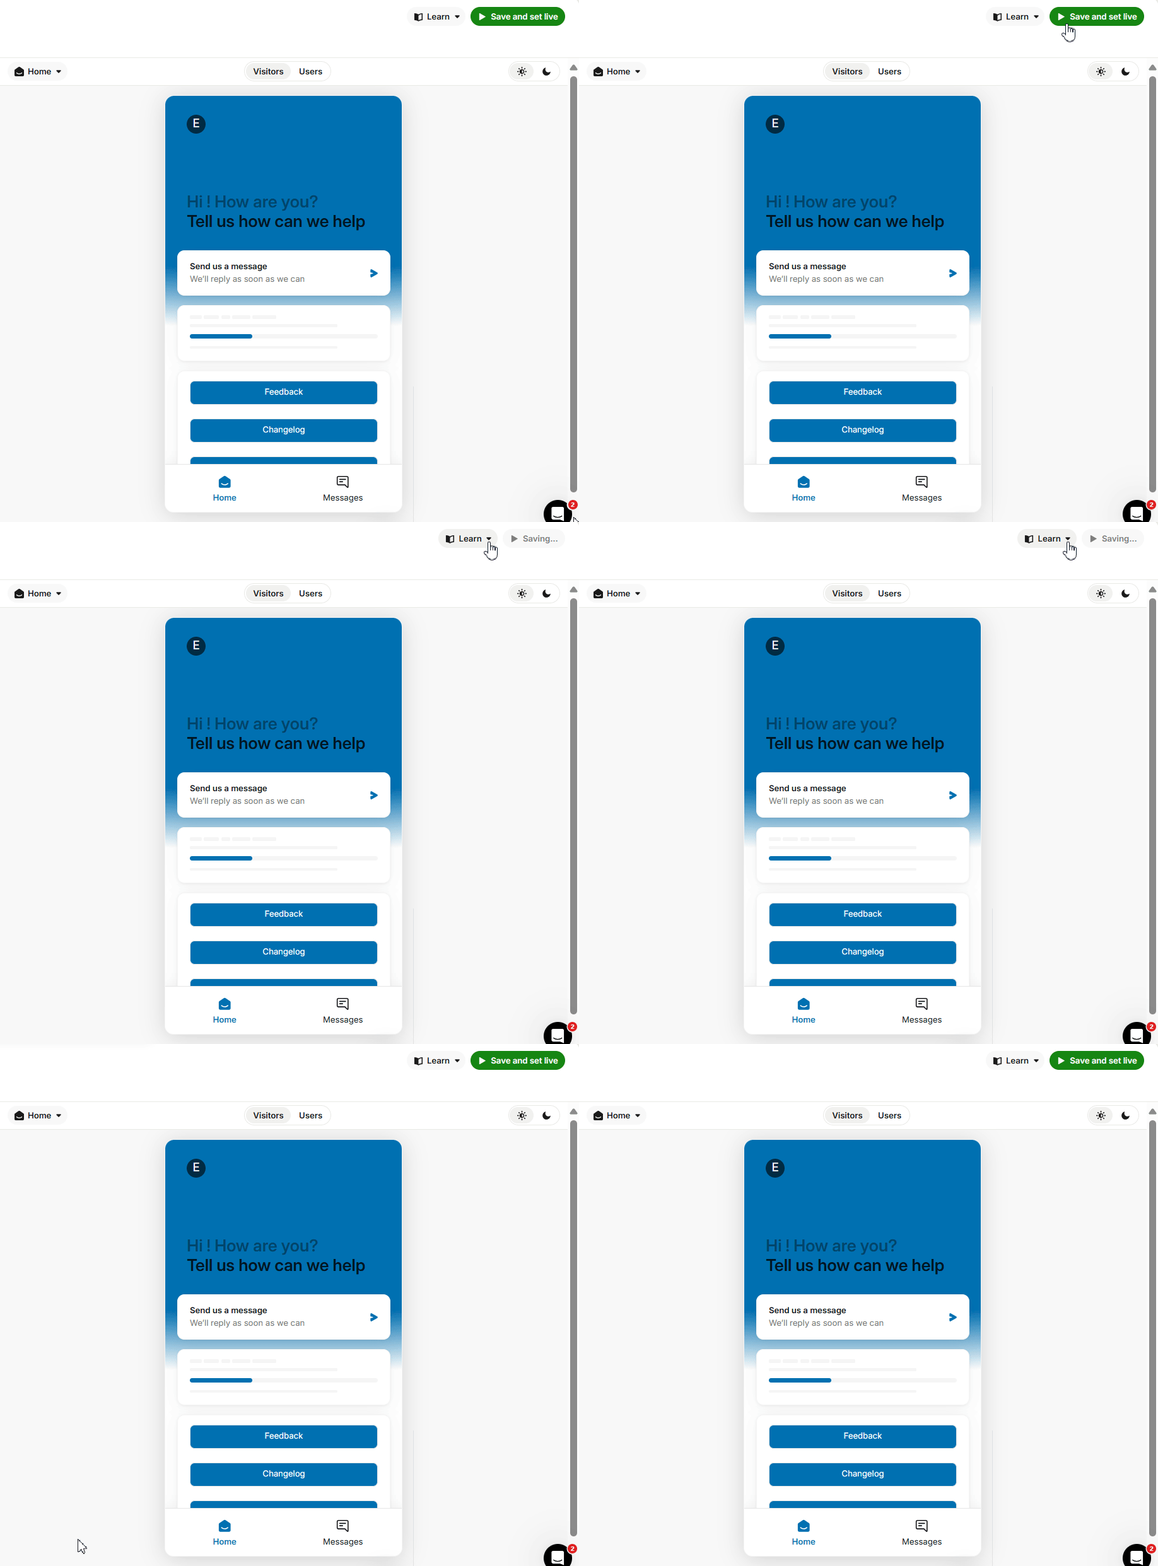
Work with feedback inside a conversation
Add Sleekplan as a conversation app to search and create posts while you chat with a customer.- Search and link. Search your feedback by keyword and pick a result to attach it to the conversation as a card showing the post’s title, category, status, and description, with a View submission button.
- Create a post. Fill in a title and description, pick a category, and submit. The new post is created on the customer’s behalf, using their Intercom email and name, and it records the conversation it came from.
See a customer’s activity in the sidebar
Pin the Sleekplan sidebar app to a conversation to see the customer’s Sleekplan activity alongside the chat. The sidebar shows:- Their totals: upvotes, CSAT score, and NPS score, when available.
- The posts they’ve voted on, each linking through to Sleekplan.
- A search box to find any post, plus a Vote for this button to add their vote, and a Create new post form, both acting on the customer’s behalf.
Manage or disconnect
To review the connection or remove it, open Settings → Integrations, find Intercom in the Connected section, and click Manage. Intercom has no extra settings to configure in Sleekplan, so the dialog only offers Disconnect, which stops syncing and removes the connection.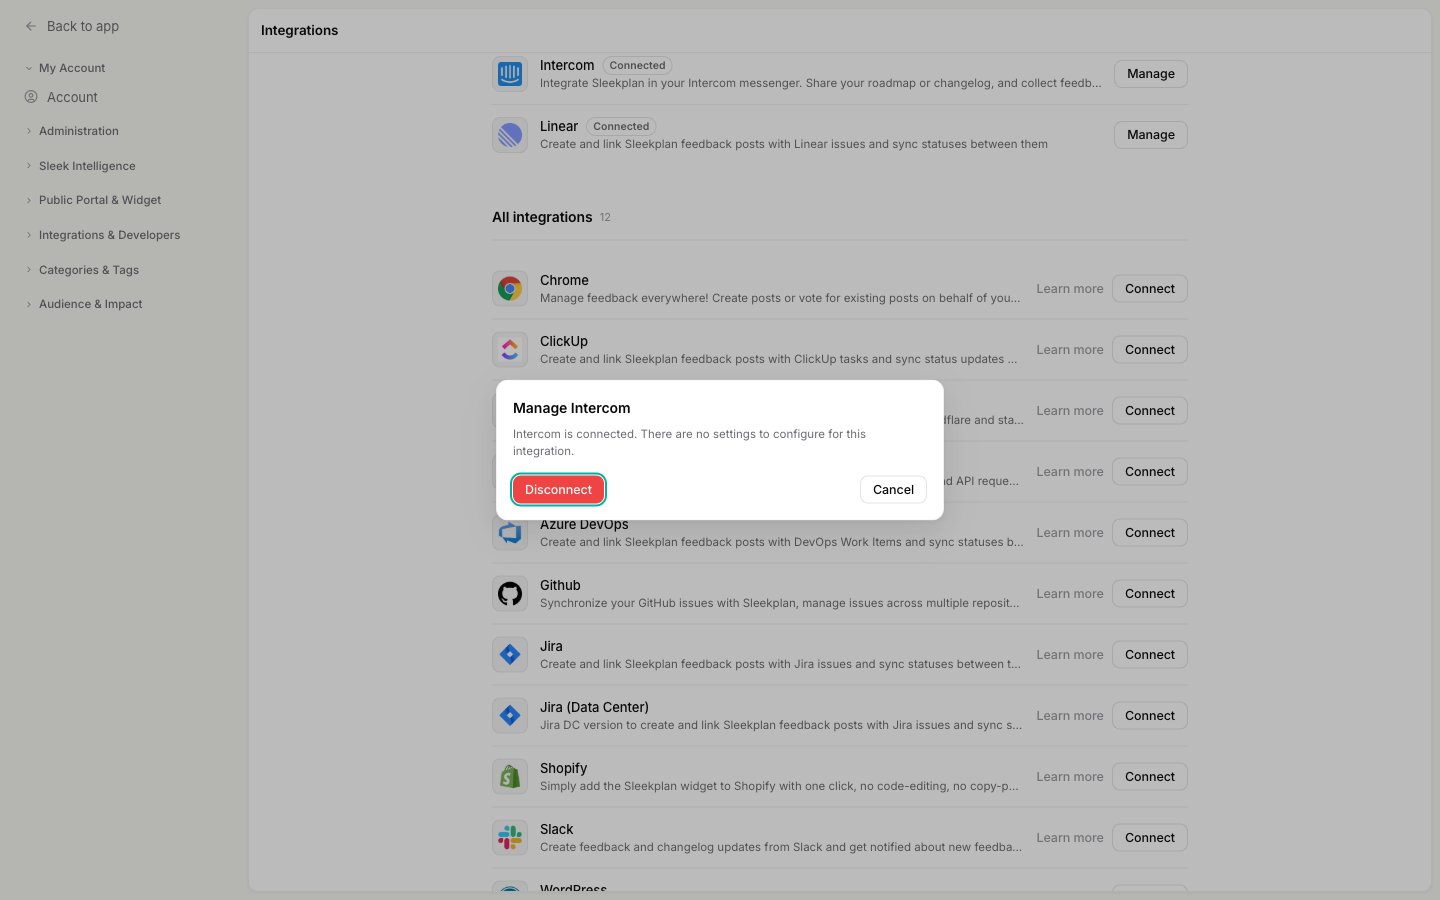
Related
End-user accounts
See how feedback captured from Intercom is tied to the right customer.
Create a feedback post
How posts work once they’re on your board.
Widget home screen
Control what customers see when the board opens in the Messenger.
Roadmap
Set up the roadmap you can embed in Intercom.