
Integration settings live in the workspace Settings, which are available to workspace owners and admins. Team members with the Member role won’t see the Integrations screen. See Roles and permissions.
Before you start
- You need a ClickUp account with access to at least one ClickUp workspace.
- One ClickUp workspace connects to one Sleekplan workspace. If a ClickUp workspace is already connected to another Sleekplan workspace, you cannot connect it again until you disconnect it there first.
Connect ClickUp
1
Open the Integrations settings
Go to Settings → Integrations. ClickUp is listed under All integrations.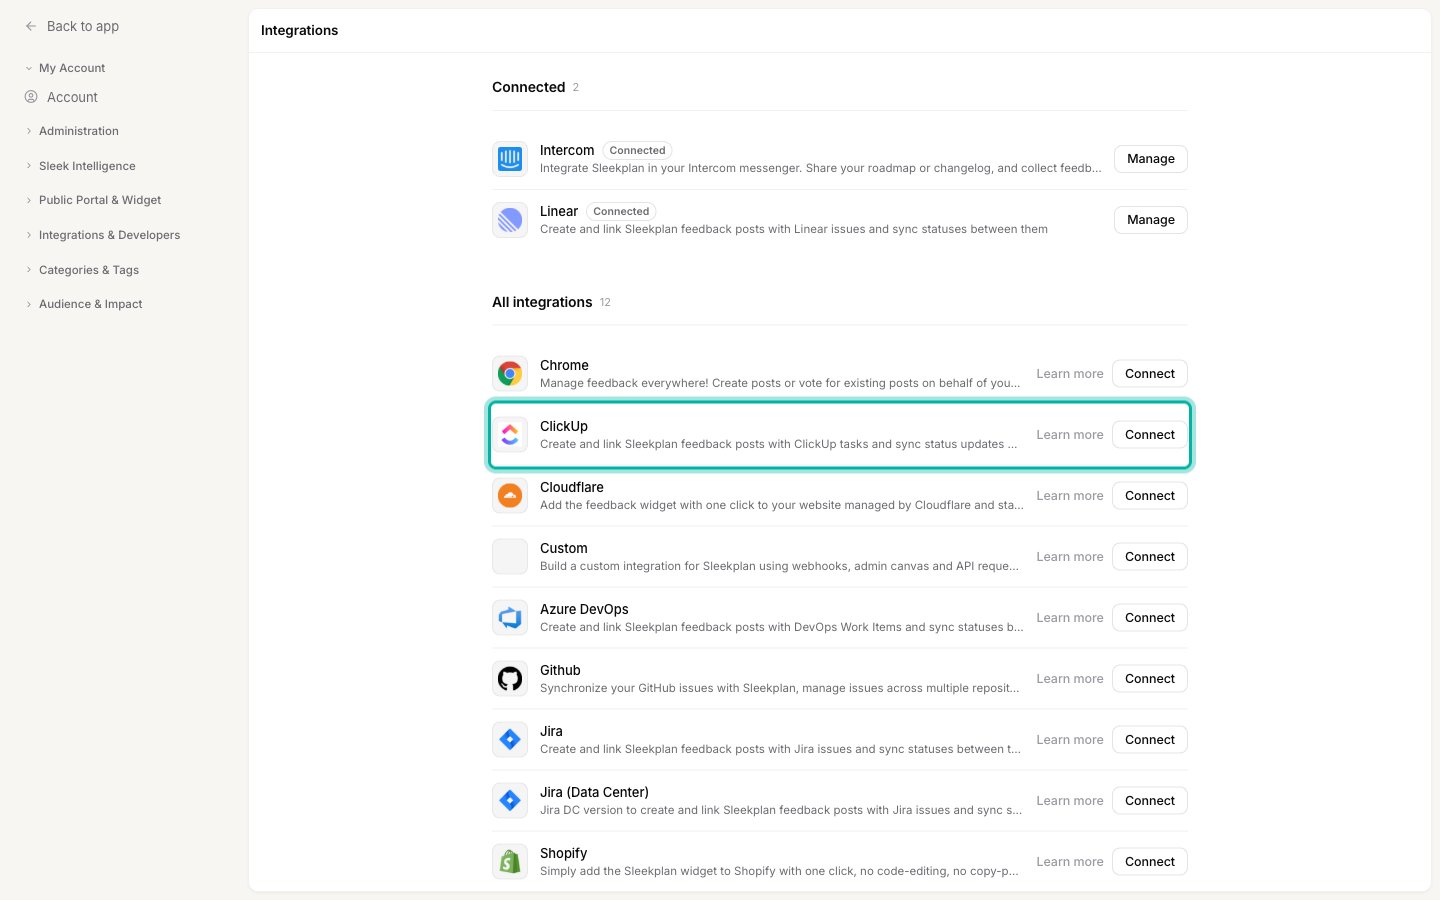
2
Start the connection
Find ClickUp in the list and click Connect. A ClickUp authorization window opens in a new tab.
3
Authorize in ClickUp
Sign in to ClickUp if you are prompted, then approve access for Sleekplan. On ClickUp’s Connect ClickUp screen, select the ClickUp workspaces you want to grant access to and click Connect Workspace. ClickUp sends you back to Sleekplan and the connection is activated.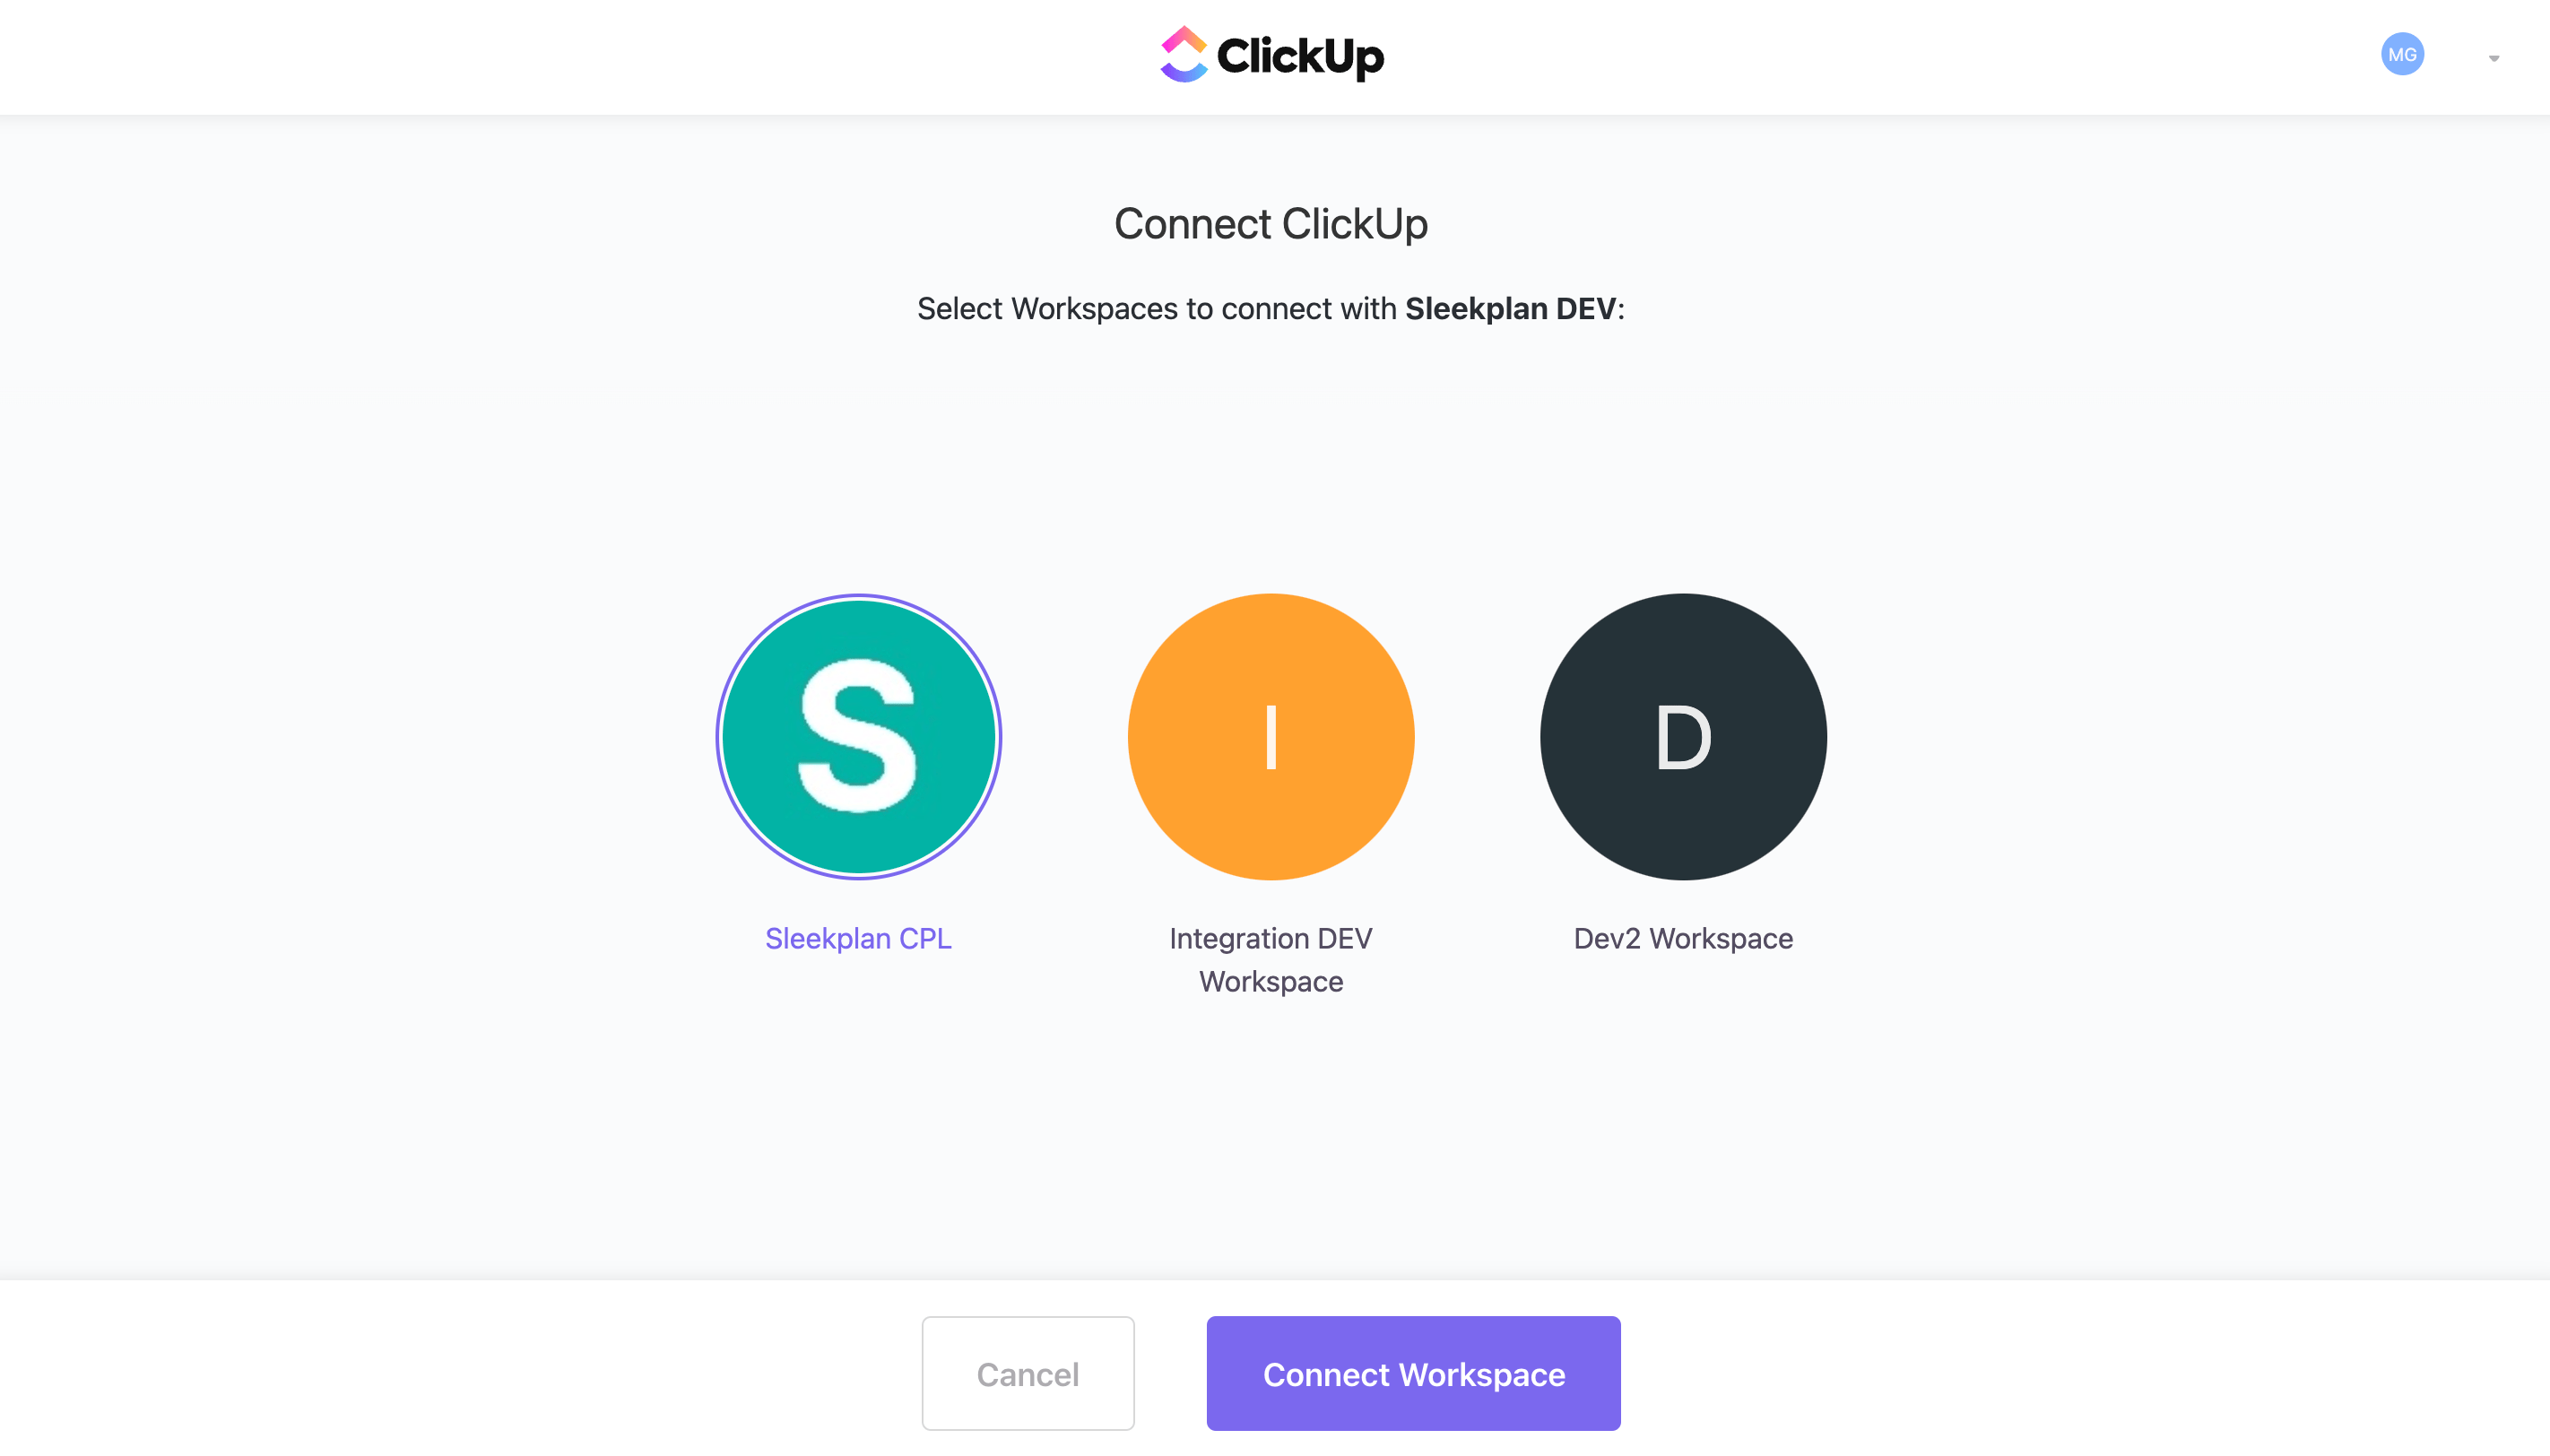
4
Confirm it connected
Back on Settings → Integrations, ClickUp now appears under Connected with a Connected tag. Click Manage to configure it.
Choose the ClickUp workspace
When you connect, Sleekplan links the first available ClickUp workspace. If your ClickUp account has more than one workspace, you can switch which one is connected.1
Open ClickUp's settings
On Settings → Integrations, find ClickUp under Connected and click Manage.
2
Select a workspace
Use the Select Workspace picker to choose the ClickUp workspace you want to connect, then click Save.
Switching the connected workspace resets the status sync mapping below, because statuses belong to the lists in a specific workspace. Set your status mapping again after changing workspaces.
Sync statuses both ways
Status sync keeps a post and its linked task aligned. It works in both directions:- When a linked ClickUp task changes status, the mapped Sleekplan post moves to the matching status.
- When you change a post’s status in Sleekplan, the linked ClickUp task moves to a matching status.
1
Turn on the lists you want to sync
For each ClickUp list, there is a Sync status updates from “Space” > “List” toggle. Turn on the lists whose statuses you want to map, then click Save. Saving loads the available statuses from those lists so you can map them in the next step.
2
Map each ClickUp status to a Sleekplan status
Reopen Manage. For each ClickUp status pulled from your enabled lists, a Sync status ”…” picker appears. Choose the Sleekplan status it should map to, or leave it on None to skip that status. Click Save.
A status set to None is not synced in either direction. Only mapped statuses trigger updates.
Link and create tasks from a feedback post
Once ClickUp is connected, a ClickUp panel appears in the right sidebar of every feedback post. This is where you link, create, and unlink tasks.1
Open a feedback post
Go to your Feedback board and open the post you want to work on. Find the ClickUp panel in the post’s right sidebar.
2
Link an existing task
In the ClickUp panel, type a task title in the search field (or enter
# followed by a task ID) and submit. Pick the task from the results to link it. Sleekplan adds a comment to the ClickUp task with a link back to this post.3
Or create a new task
Click Create new task, then fill in a Title and Description, choose the List it should go into, and set a Priority (Low, Normal, High, or Urgent). Click Create. The new task is created in ClickUp, linked to the post, and gets a comment linking back to the post.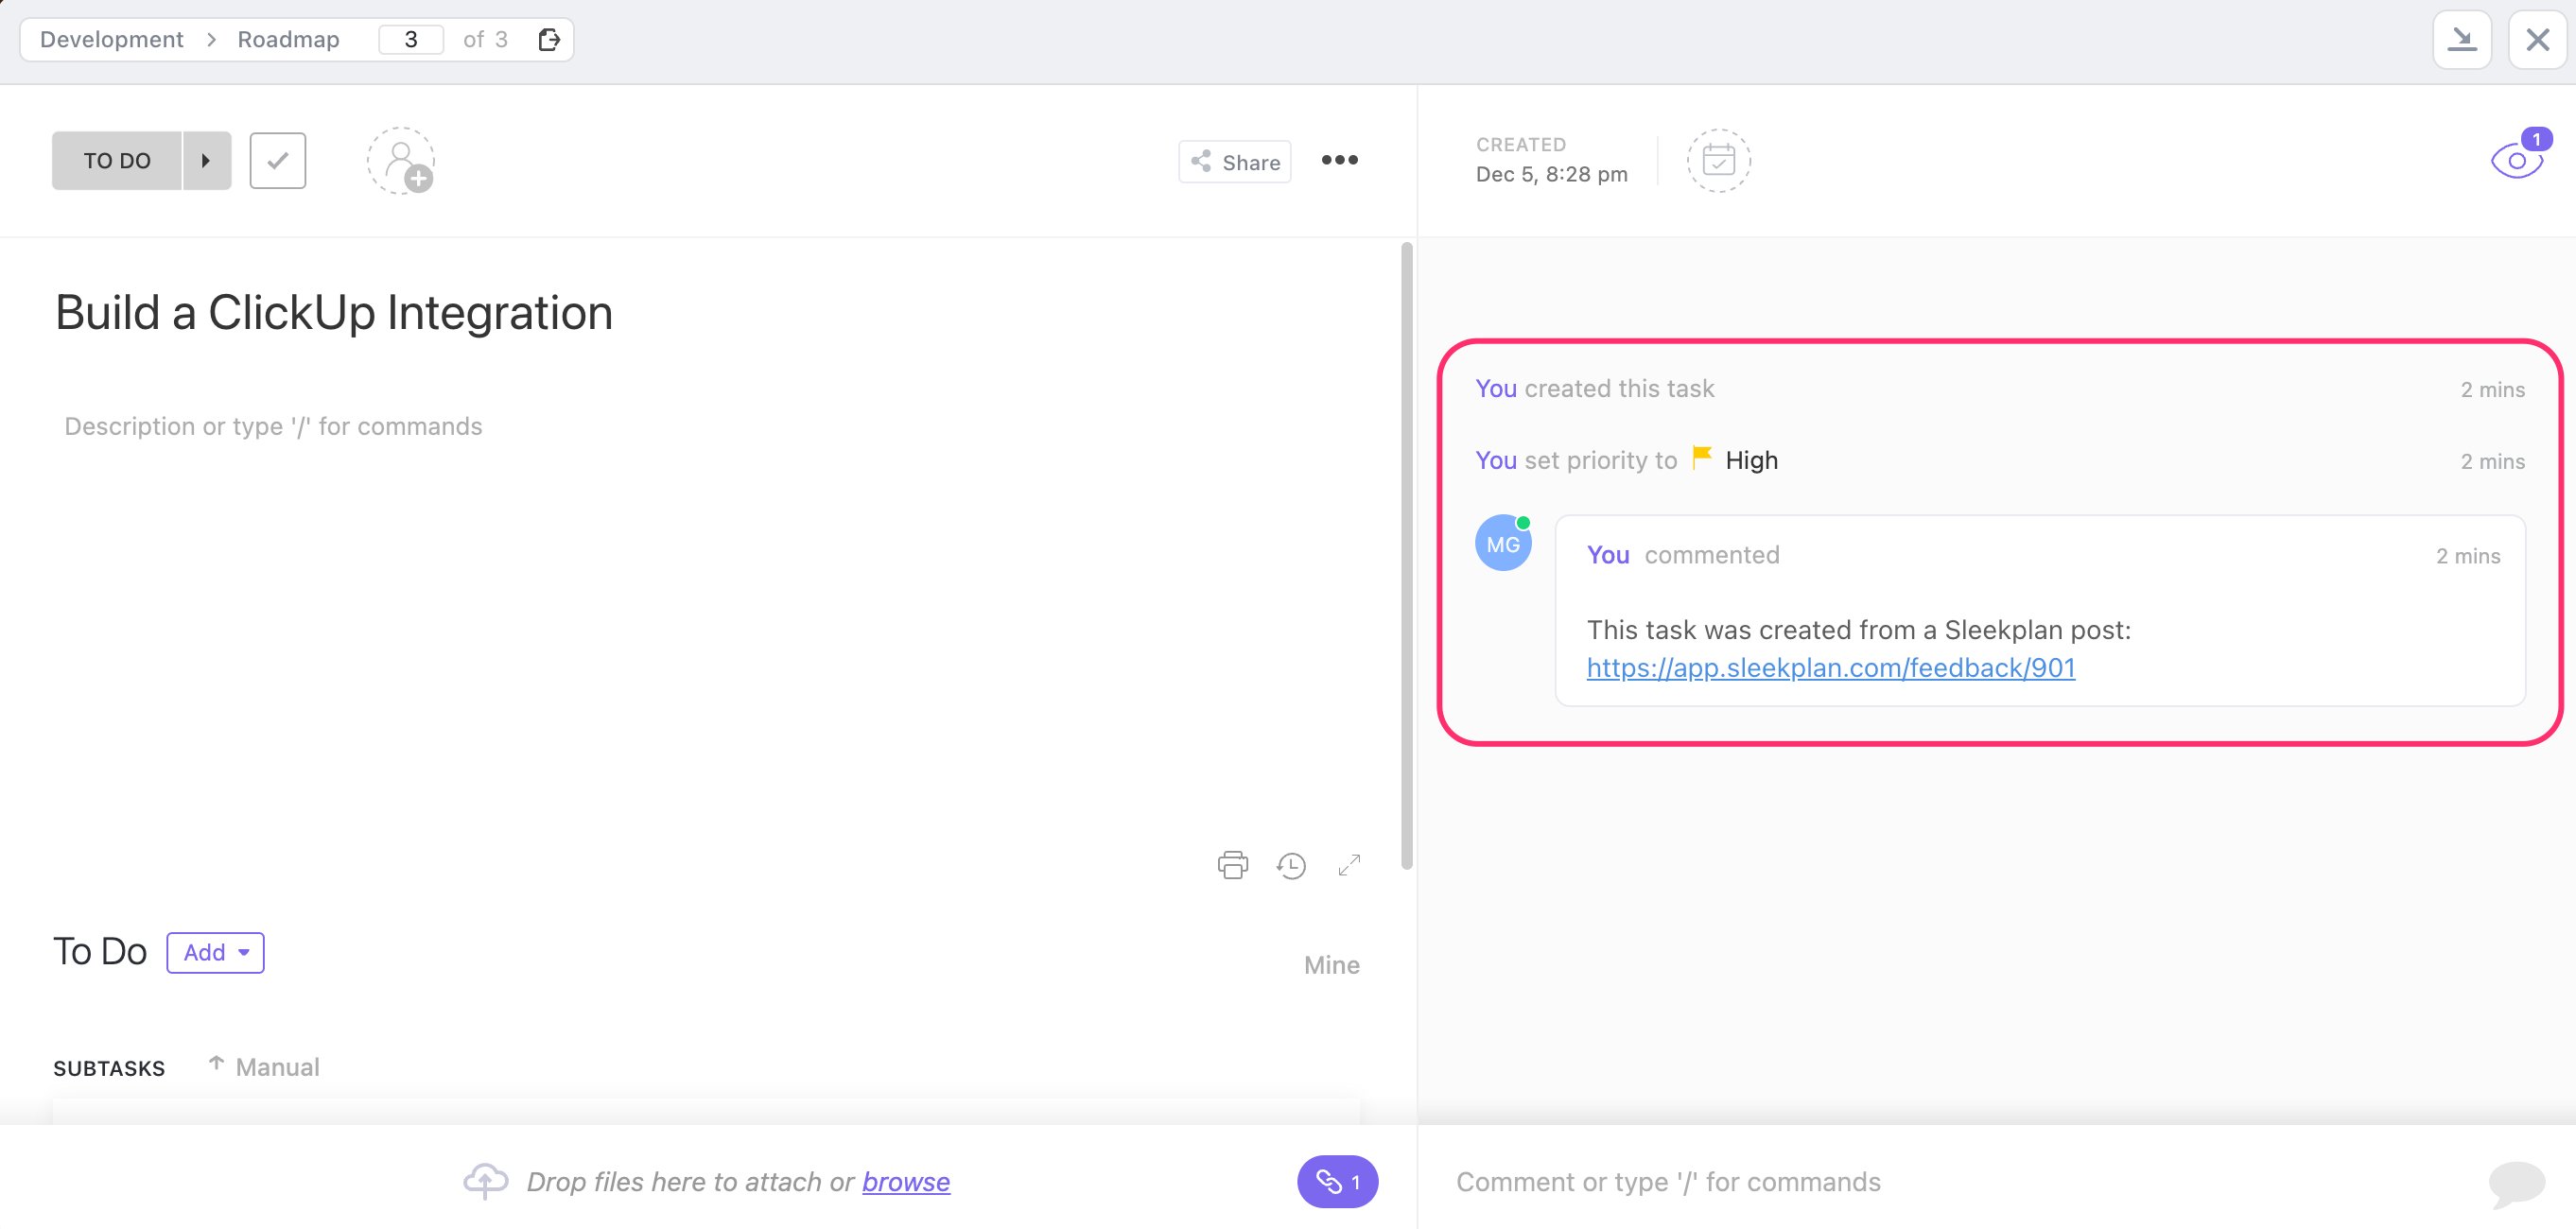
4
Unlink when you're done
To disconnect a task from a post, open the ClickUp panel and click Unlink task. The post and task are no longer linked, and a comment noting the unlink is added to the task. Unlinking does not delete the ClickUp task.
Disconnect ClickUp
To stop syncing, go to Settings → Integrations, click Manage on the ClickUp row, and click Disconnect. This stops status syncing and removes the connection. You can reconnect at any time by connecting again.Related
Feedback statuses
Set up the Sleekplan statuses you map ClickUp statuses to.
Import & export
Move your workspace data in and out of Sleekplan.