
Connecting integrations is available to workspace owners and admins. Team members with the Member role won’t see the Connect options. See Roles and permissions.
The Sleekplan Zapier app is currently in beta. It appears as Zapier (beta) in your integrations list.
Before you start
You’ll need:- A Zapier account. The free plan is enough to build simple Zaps.
- Your Sleekplan Workspace ID. Find it on Settings → General under Workspace ID. Zapier asks for this when you connect your account.
Connect Sleekplan to Zapier
1
Open the integrations list
In Sleekplan, go to Settings → Integrations. In the Settings sidebar, this lives under Integrations & Developers.
2
Find Zapier and click Connect
Scroll to Zapier (beta) under All integrations and click Connect. This opens the Sleekplan app page on Zapier in a new tab.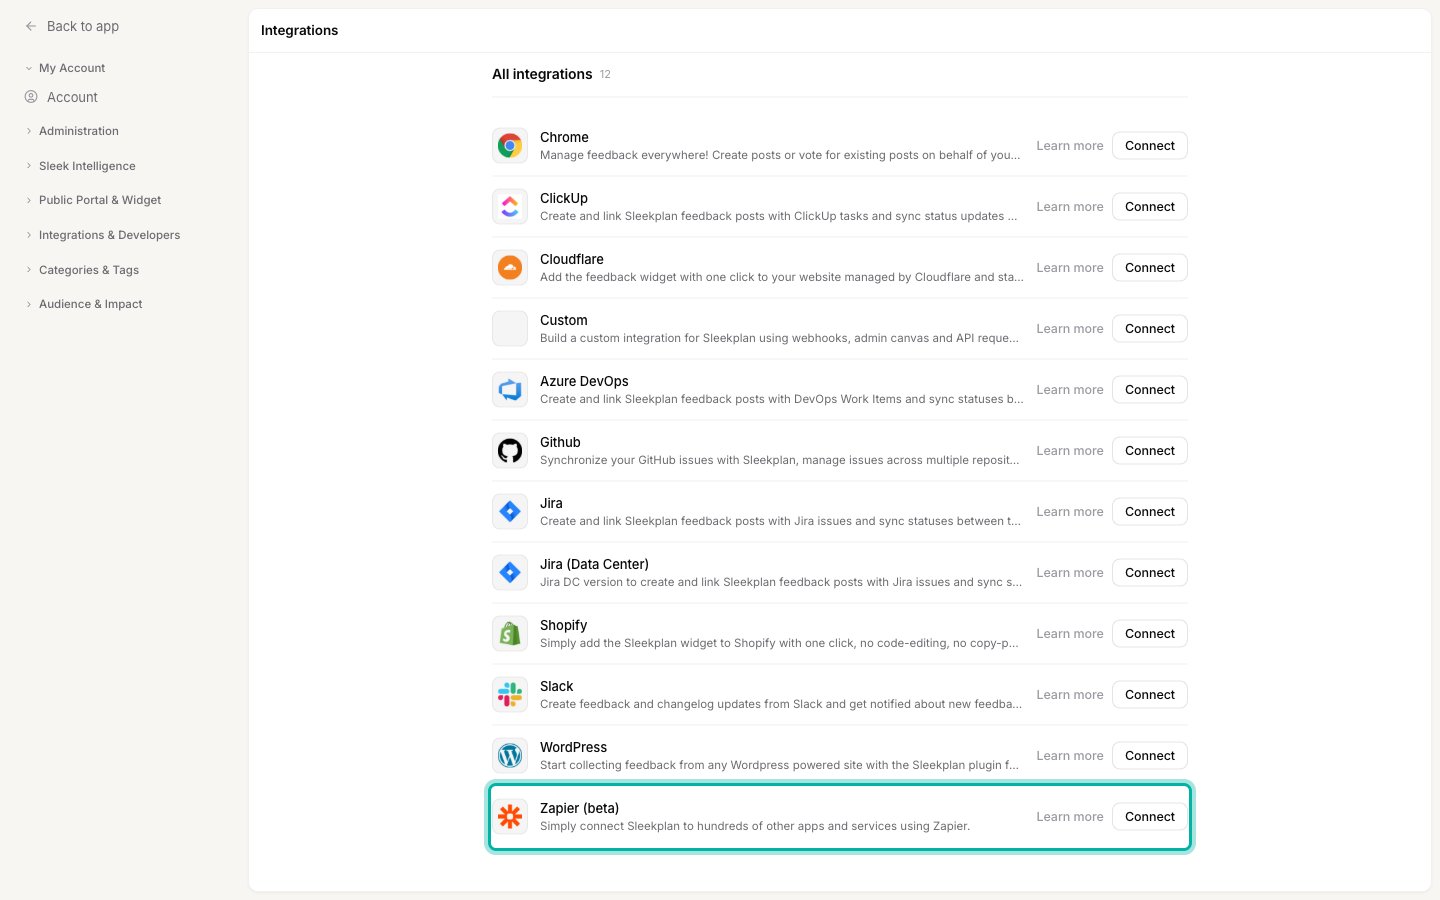
3
Sign in to Zapier
On the page that opens, sign in to your Zapier account (or create one). This is where you build and manage your Zaps.
Build a Zap
Once you’re in Zapier, you create the automation there. Sleekplan can act as the trigger (the event that starts the Zap) or the action (what the Zap does).1
Create a new Zap
In your Zapier dashboard, select Create → New Zap.
2
Choose Sleekplan as the trigger or action
Click the trigger or action step, search for Sleekplan, and select it. Then pick the event you want (see the lists below).
3
Connect your Sleekplan account
The first time you use Sleekplan in a Zap, Zapier asks you to connect your account. Enter your Workspace ID (from Settings → General) and complete the sign-in flow to authorize the connection.
4
Map your fields and test
Fill in the fields for the event, then use Zapier’s Test step to confirm data flows as expected. Turn the Zap on when you’re happy with it.
Available triggers
A trigger starts a Zap when the event happens in Sleekplan. The Sleekplan app provides these triggers:Available actions
An action lets a Zap write data into Sleekplan when another app’s trigger fires:For the Create feedback post action, if you pass a user email, Sleekplan finds or creates that end-user and attributes the post to them. Leave the email blank to create the post without a specific author.
Example workflows
- Post a message to a Slack or Microsoft Teams channel every time you get a new feedback post.
- Create a row in Google Sheets or Airtable for each new CSAT response to track satisfaction over time.
- When a deal closes in your CRM, use Create feedback post to log the customer’s requested feature on your board.
- When a support ticket is tagged in your help desk, Create feedback post so the request is captured for your product team.
Related
Import feedback
Bring existing feedback into Sleekplan from a CSV or another tool.
Export your data
Download a CSV snapshot of feedback, votes, users, and surveys.
Roles and permissions
Control who can connect and manage integrations.
Developer docs
Build a deeper custom integration with the REST API and webhooks.