
Exporting is available to workspace owners and admins. Team members with the Member role won’t see the Export screen. See Roles and permissions.
Where to find it
Open Settings → Export. In Settings, it lives in the left sidebar under Integrations & Developers, next to Import.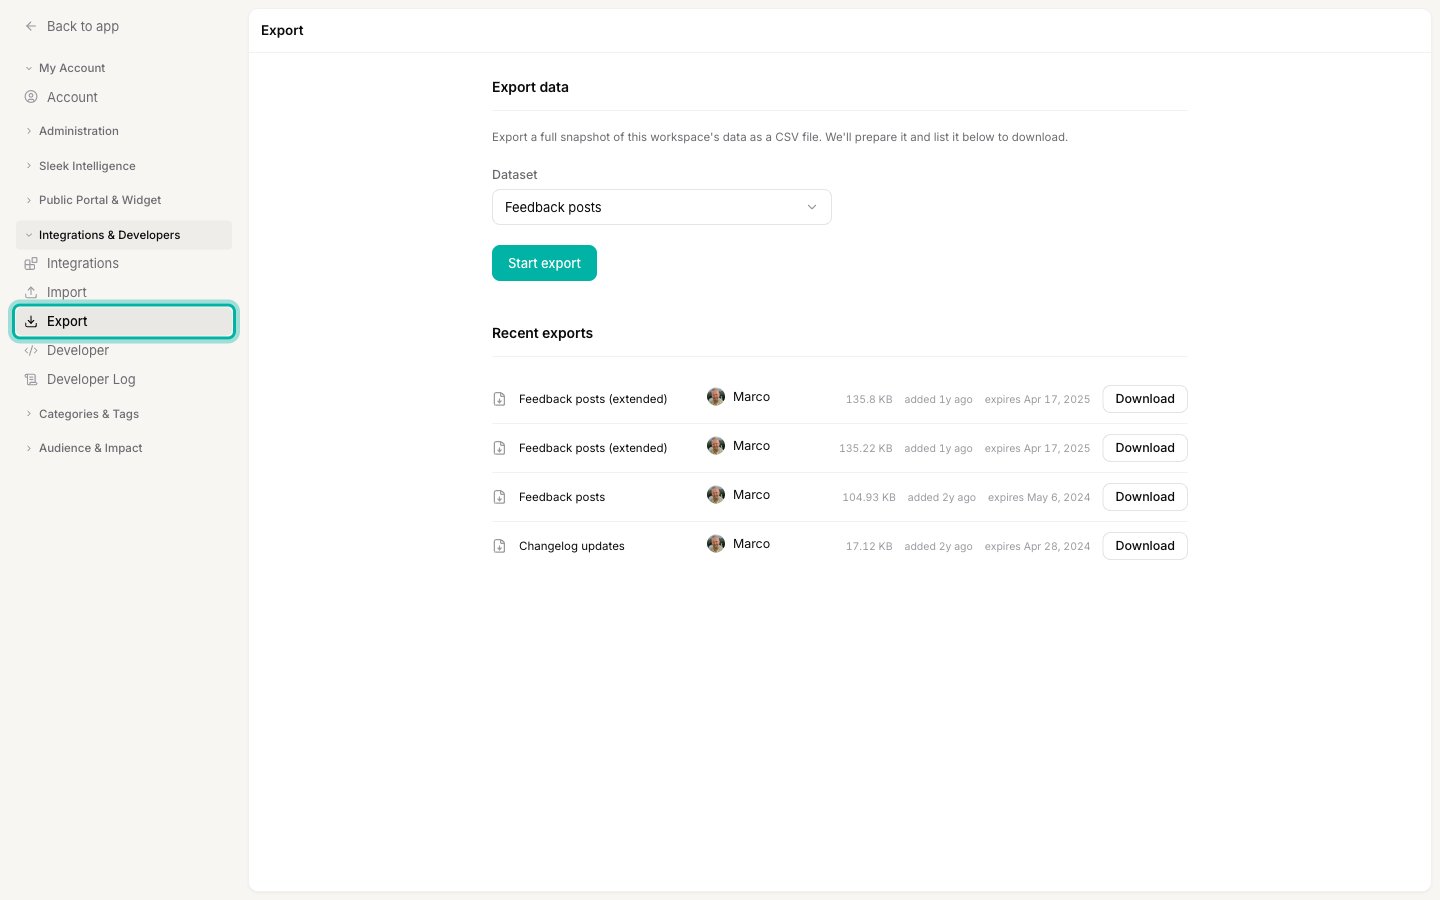
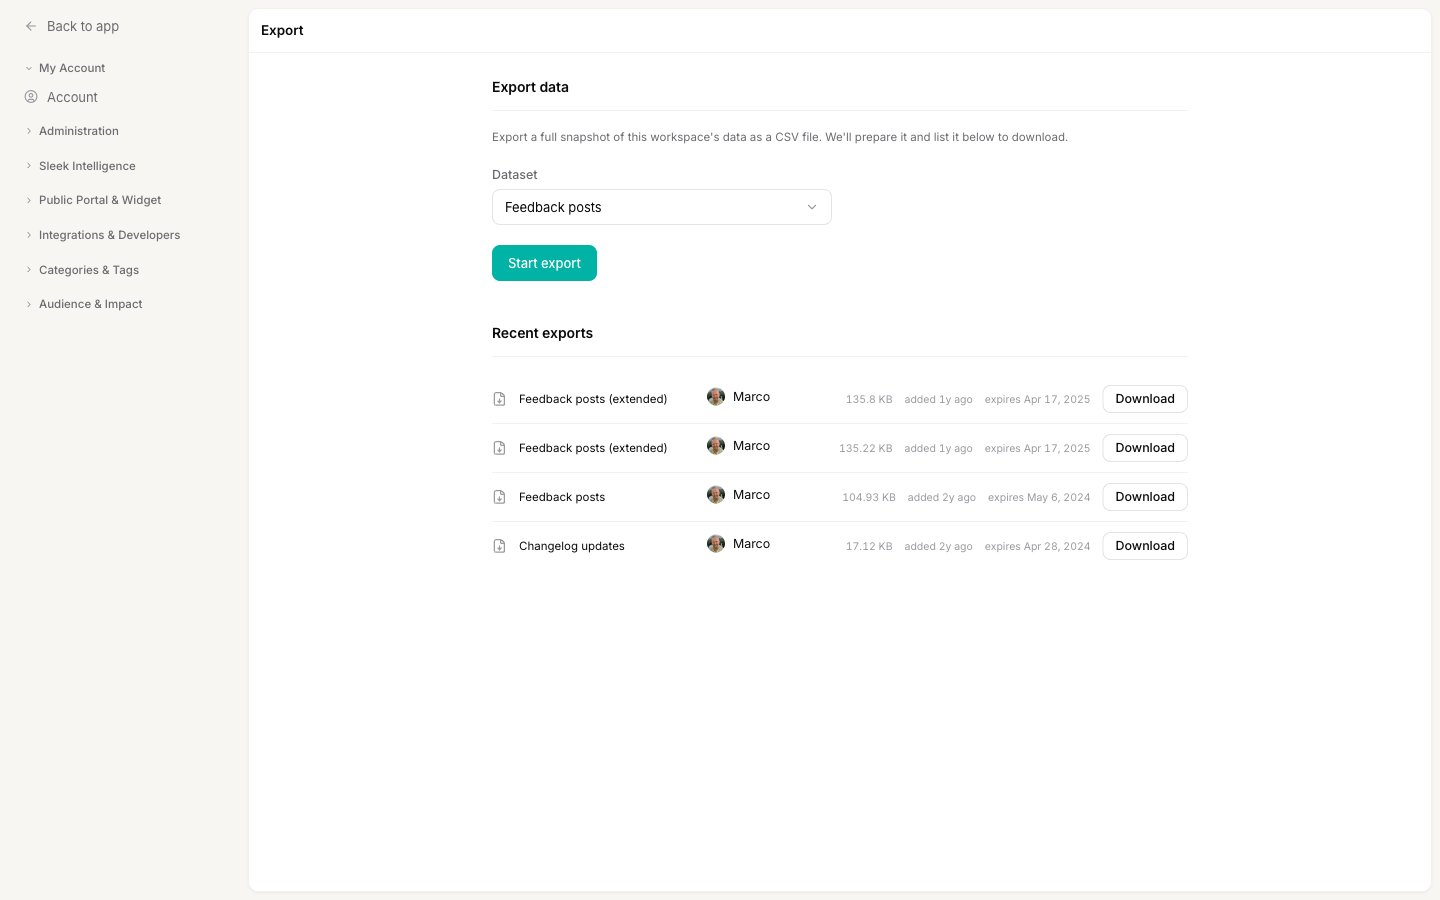
What you can export
Each export covers one dataset for the whole workspace. Pick the one you need from the Dataset menu: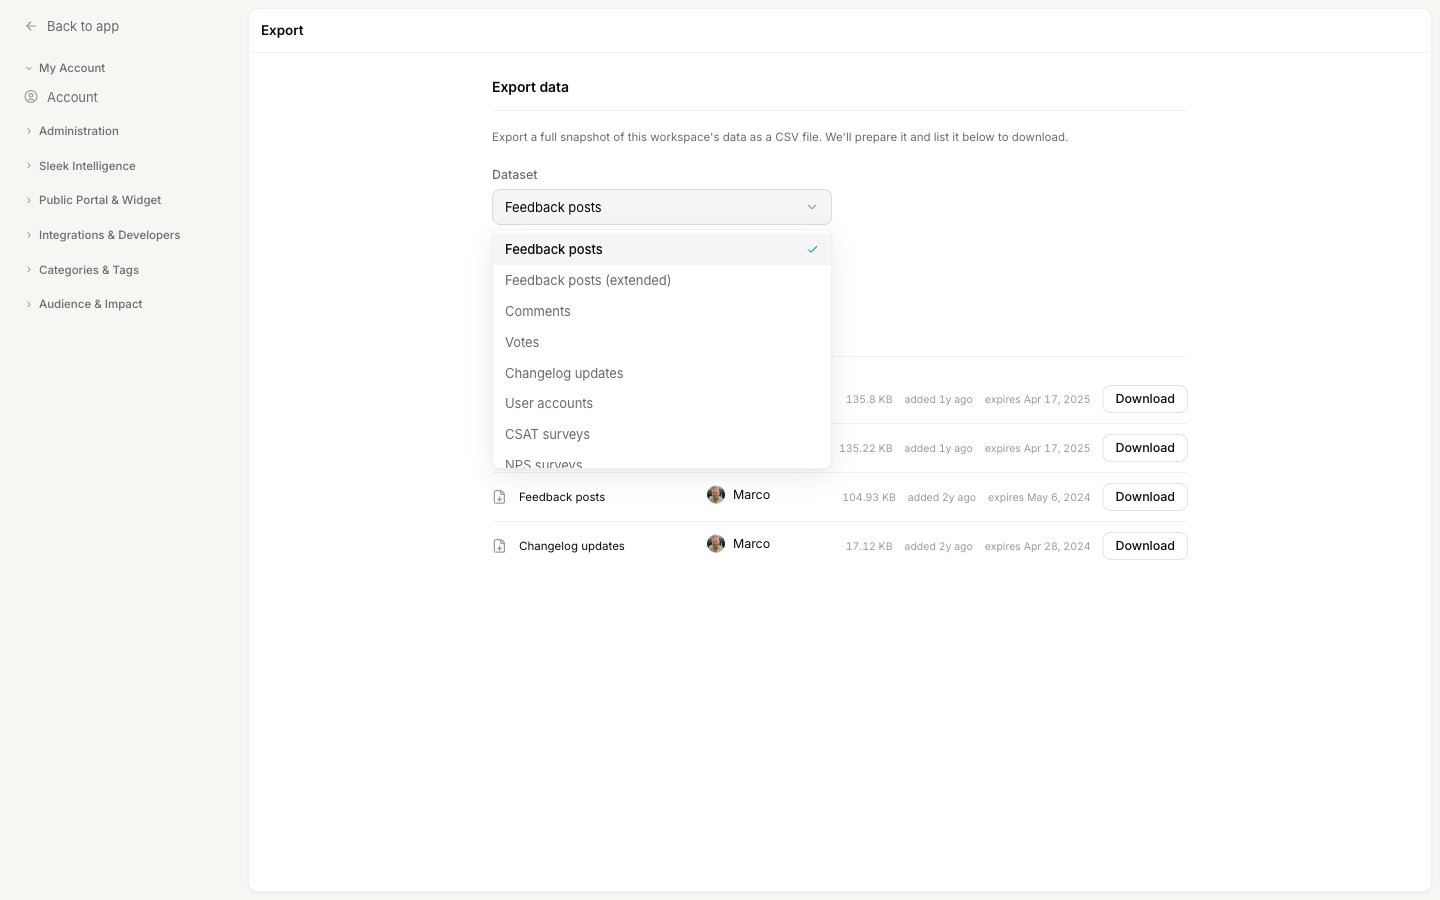
An export is always a full snapshot of the chosen dataset. You can’t export a filtered subset (for example, only posts with a certain status). The filters on the feedback board change what you see in the app, but they don’t scope an export.
Start an export
1
Choose a dataset
On Settings → Export, open the Dataset menu and select what you want to export.
2
Start the export
Click Start export. You’ll see a confirmation that the export was scheduled, and it moves into preparation in the background. You don’t need to keep the page open.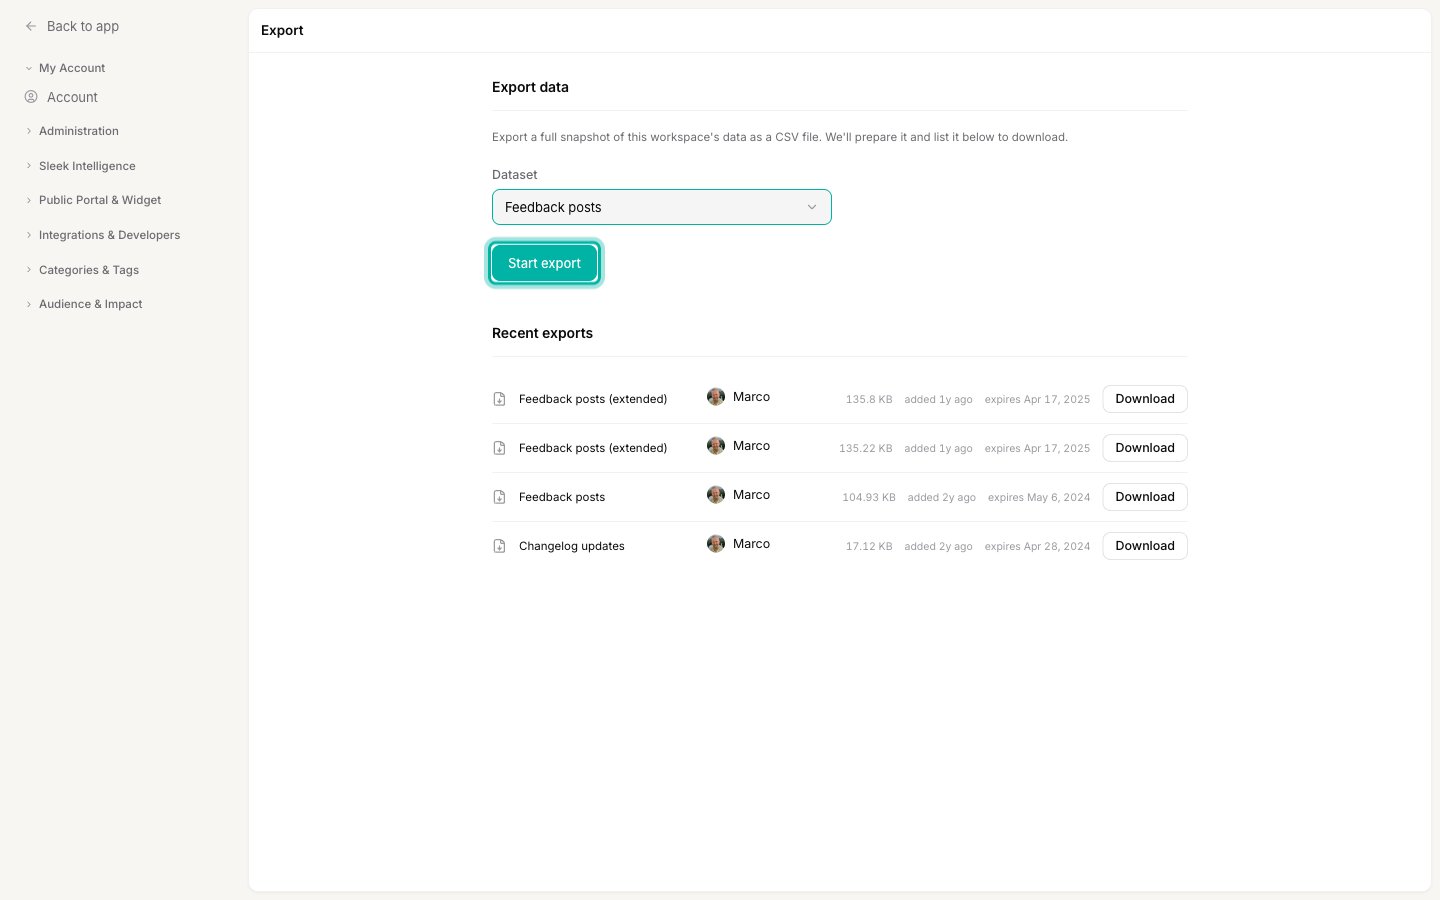
3
Wait for it to finish
We build the file on a schedule, so it usually takes a few minutes to appear. When it’s ready, we email a download link to the admin who started the export, with the CSV attached. The file also shows up under Recent exports on this screen.
4
Download the file
Under Recent exports, find your file and click Download. Each row shows the dataset, who requested it, the file size, when it was added, and when it expires.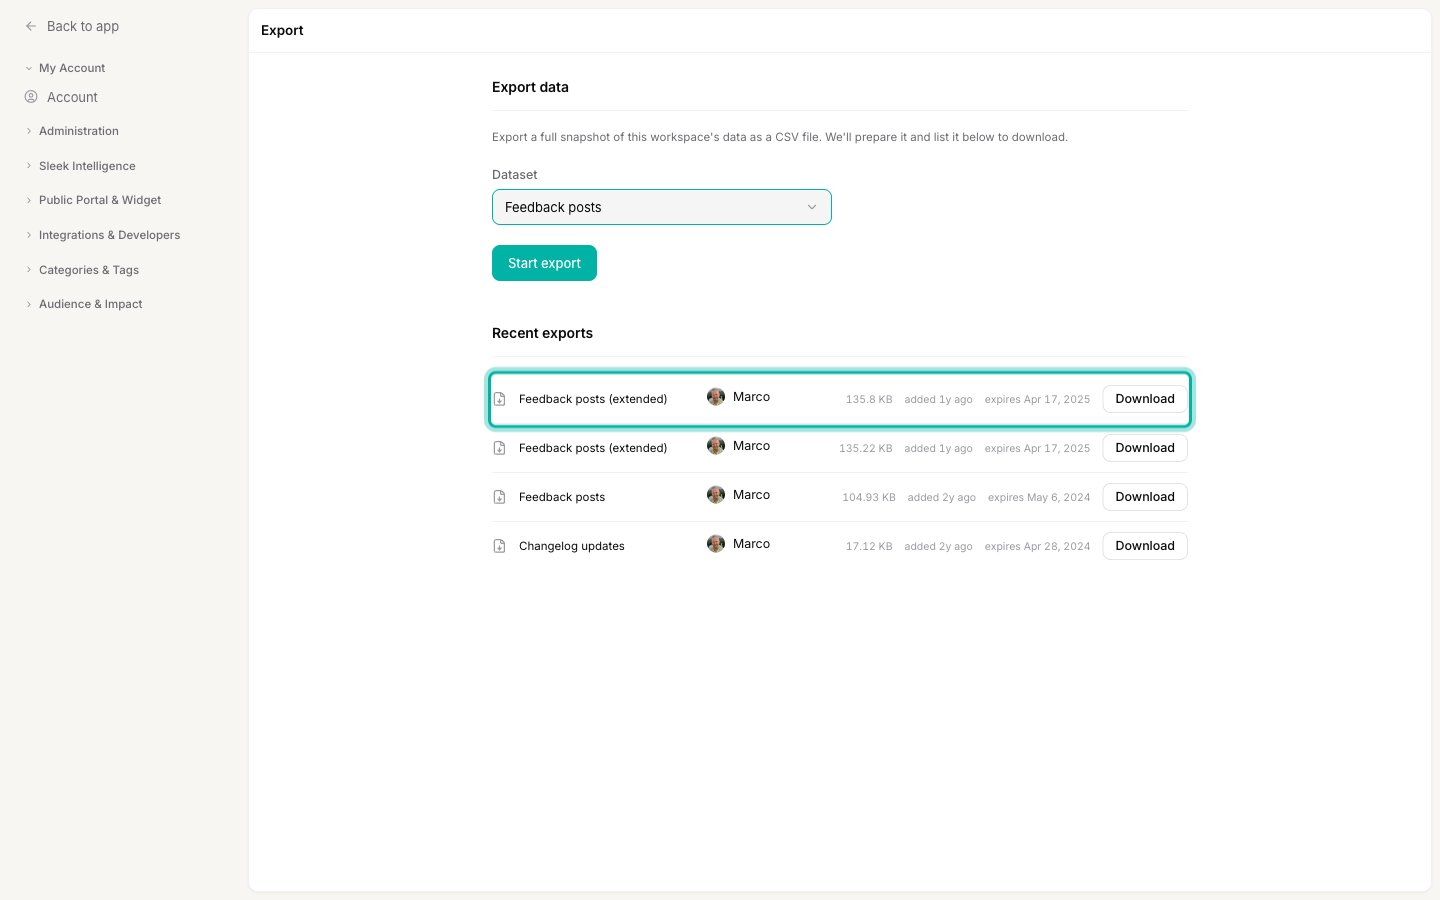
Finished exports stay under Recent exports for 14 days, then expire and are removed. Download the file (or use the emailed copy) before then. If you need the data again later, just run a fresh export.
Good to know
- Format is CSV. Every export is a comma-separated file you can open in Excel, Google Sheets, Numbers, or any data tool. There’s no JSON or Excel option.
- Large datasets are capped. Each export includes up to 5,000 rows, newest first. If a dataset is bigger than that, the export covers the most recent 5,000 records rather than the entire history.
- The email includes the file. The notification we send has both a download link and the CSV as an attachment, so you can grab it straight from your inbox.
- Exports contain personal data. The extended feedback, comments, votes, user accounts, and survey datasets include names and email addresses. Store and share the files responsibly.
Cancel an export in progress
If you started an export by mistake, you can stop it before it’s built. While an export is preparing, it appears in an Active exports section between Export data and Recent exports. Click Cancel on that row to remove the pending request. Once a file has finished and moved to Recent exports, there’s nothing to cancel: just let it expire or ignore it.Related
End-user accounts
Understand the people behind the User accounts export.
Filter, sort, and search feedback
Narrow your board in the app (note: filters don’t scope exports).