Collecting feedback is a crucial aspect of any website or application development process. The native Sleekplan feedback button provides an excellent solution for gathering user feedback effortlessly. However, if you want to enhance the user experience, you can make the feedback button movable, allowing users to position it according to their preference. In this post, we will walk you through the process of making the Sleekplan feedback button draggable using a simple HTML snippet and JavaScript code.
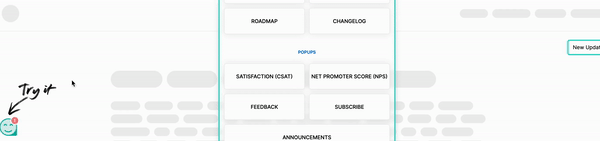
Before we start, ensure that you have already integrated the Sleekplan feedback button into your website or web application. If you haven't done so yet, head over to the installation docs (opens new window) and follow the instructions to install the feedback widget on your site. Make sure you don't disable the feedback button.
# Making the Sleekplan Feedback Button Movable
To make the Sleekplan feedback button movable, we will use JavaScript to add the necessary functionality. The following code snippet will enable users to drag and drop the feedback button to a new position on the screen:
// Call the dragElement function on the Sleekplan feedback button element
dragElement(document.getElementById("sleek-button"));

function dragElement(elmnt) {
  var pos1 = 0, pos2 = 0, pos3 = 0, pos4 = 0;
  if (document.getElementById(elmnt.id + "header")) {
    // If present, the header is where you move the DIV from:
    document.getElementById(elmnt.id + "header").onmousedown = dragMouseDown;
  } else {
    // Otherwise, move the DIV from anywhere inside the DIV:
    elmnt.onmousedown = dragMouseDown;
  }

  function dragMouseDown(e) {
    e = e || window.event;
    e.preventDefault();
    // Get the mouse cursor position at startup:
    pos3 = e.clientX;
    pos4 = e.clientY;
    document.onmouseup = closeDragElement;
    // Call a function whenever the cursor moves:
    document.onmousemove = elementDrag;
  }

  function elementDrag(e) {
    e = e || window.event;
    e.preventDefault();
    // Calculate the new cursor position:
    pos1 = pos3 - e.clientX;
    pos2 = pos4 - e.clientY;
    pos3 = e.clientX;
    pos4 = e.clientY;
    // Set the element's new position:
    elmnt.style.top = (elmnt.offsetTop - pos2) + "px";
    elmnt.style.left = (elmnt.offsetLeft - pos1) + "px";
  }

  function closeDragElement() {
    // Stop moving when the mouse button is released:
    document.onmouseup = null;
    document.onmousemove = null;
  }
}
# Explanation
- The
dragElement()function takes the "sleek-button" element as an argument and adds the necessary event listeners to enable dragging. - The
dragMouseDown()function is triggered when the user clicks on the feedback button. It records the initial mouse cursor position and sets up the event listeners for dragging. - The
elementDrag()function is called when the user drags the button. It calculates the new position of the button based on the mouse movement and updates the button's style accordingly. - Finally, the
closeDragElement()function is called when the user releases the mouse button, indicating the end of the drag operation. It removes the event listeners, stopping the dragging process. - The
elementDrag()function is called when the user drags the button. It calculates the new position of the button based on the mouse movement and updates the button's style accordingly.