> ## Documentation Index
> Fetch the complete documentation index at: https://sleekplan.com/llms.txt
> Use this file to discover all available pages before exploring further.
# Add, remove, and reorder statuses
> Statuses track a feedback post through your workflow. Create your own statuses, choose which appear on the roadmap, reorder them, and delete the ones you no longer use.
A **status** marks where a feedback post is in your workflow, for example Under Review, Planned, or In Progress. Every post has exactly one status, and the statuses you set to show on the roadmap become the columns of the [roadmap's Status view](/help/roadmap#status-view). Managing your statuses is how you shape both your internal workflow and the plan your users see.
You manage them in [**Settings → Statuses**](https://app.sleekplan.com/settings/statuses).
Statuses are workspace-wide. Adding, renaming, reordering, or deleting one affects every post and, for statuses shown on the roadmap, what your users see on the public roadmap.
## System vs. custom statuses
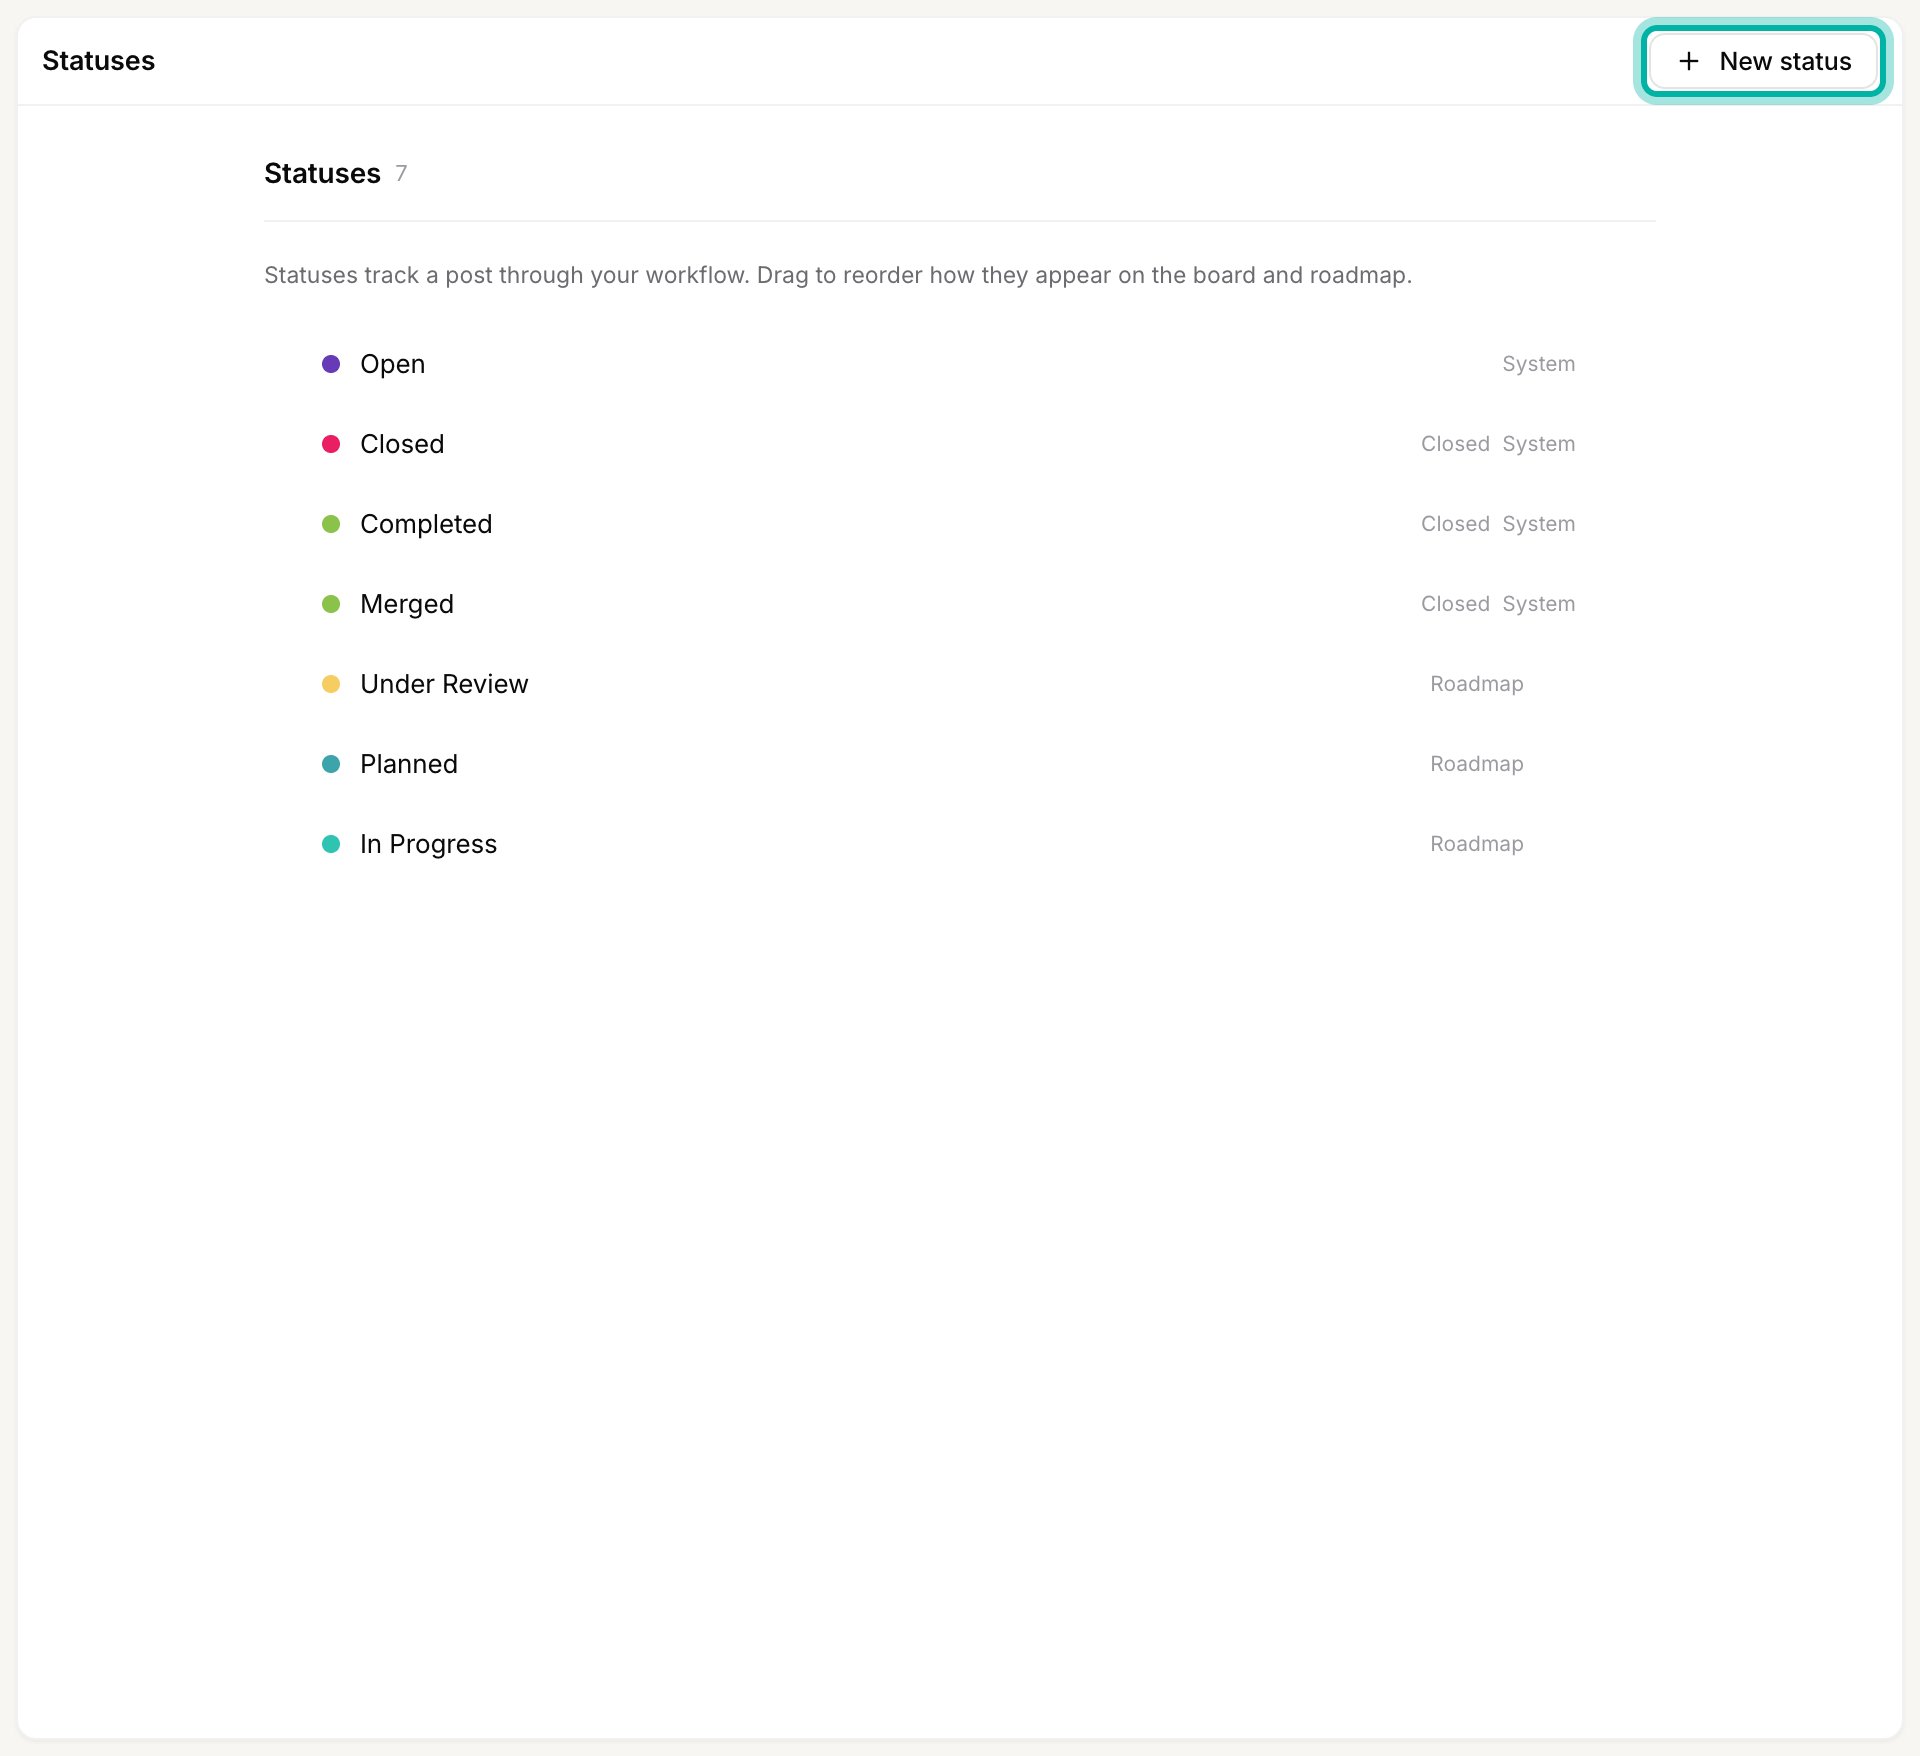
Four statuses are built in and marked **System**: **Open**, **Closed**, **Completed**, and **Merged**. Sleekplan uses them for built-in operations (a new post starts as Open, merging a post sets it to Merged, and so on), so you can rename and recolor them but you cannot delete them. Every other status is yours to add, change, reorder, or remove.
 ## Add a status
Go to [**Settings → Statuses**](https://app.sleekplan.com/settings/statuses) and click **New status** in the top right.
Give the status a short name and choose a color. The color is the dot shown next to the status everywhere it appears, so pick something distinct from your other statuses.
## Add a status
Go to [**Settings → Statuses**](https://app.sleekplan.com/settings/statuses) and click **New status** in the top right.
Give the status a short name and choose a color. The color is the dot shown next to the status everywhere it appears, so pick something distinct from your other statuses.
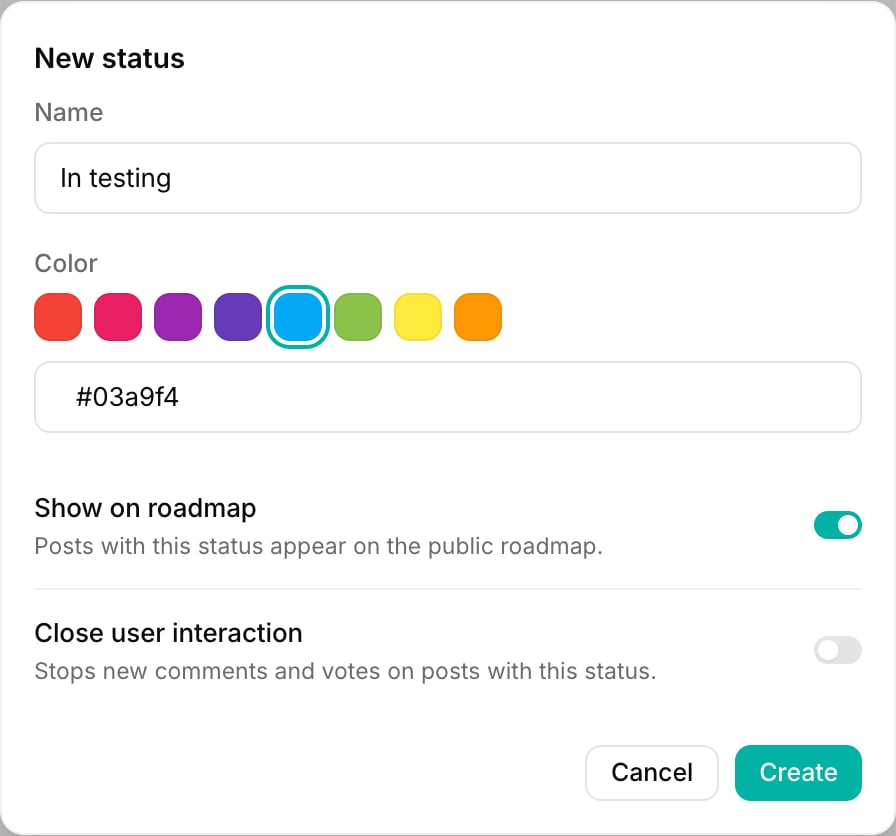 Set the two toggles for the new status:
* **Show on roadmap** adds the status as a column on the [public roadmap](/help/roadmap). Leave it off for internal-only stages you do not want users to see.
* **Close user interaction** stops new comments and votes on posts with this status, for finished or rejected work. Statuses with this on are labelled **Closed** in the list.
Click **Create**. The status is available immediately on every post and, if you enabled it, on the roadmap.
## Reorder statuses
The order of your statuses here sets the order they appear in status pickers, on the feedback board, and as columns on the roadmap. Put them in the sequence a post naturally moves through, for example Under Review, then Planned, then In Progress.
Hover a status row to reveal the drag handle on its left.
Set the two toggles for the new status:
* **Show on roadmap** adds the status as a column on the [public roadmap](/help/roadmap). Leave it off for internal-only stages you do not want users to see.
* **Close user interaction** stops new comments and votes on posts with this status, for finished or rejected work. Statuses with this on are labelled **Closed** in the list.
Click **Create**. The status is available immediately on every post and, if you enabled it, on the roadmap.
## Reorder statuses
The order of your statuses here sets the order they appear in status pickers, on the feedback board, and as columns on the roadmap. Put them in the sequence a post naturally moves through, for example Under Review, then Planned, then In Progress.
Hover a status row to reveal the drag handle on its left.
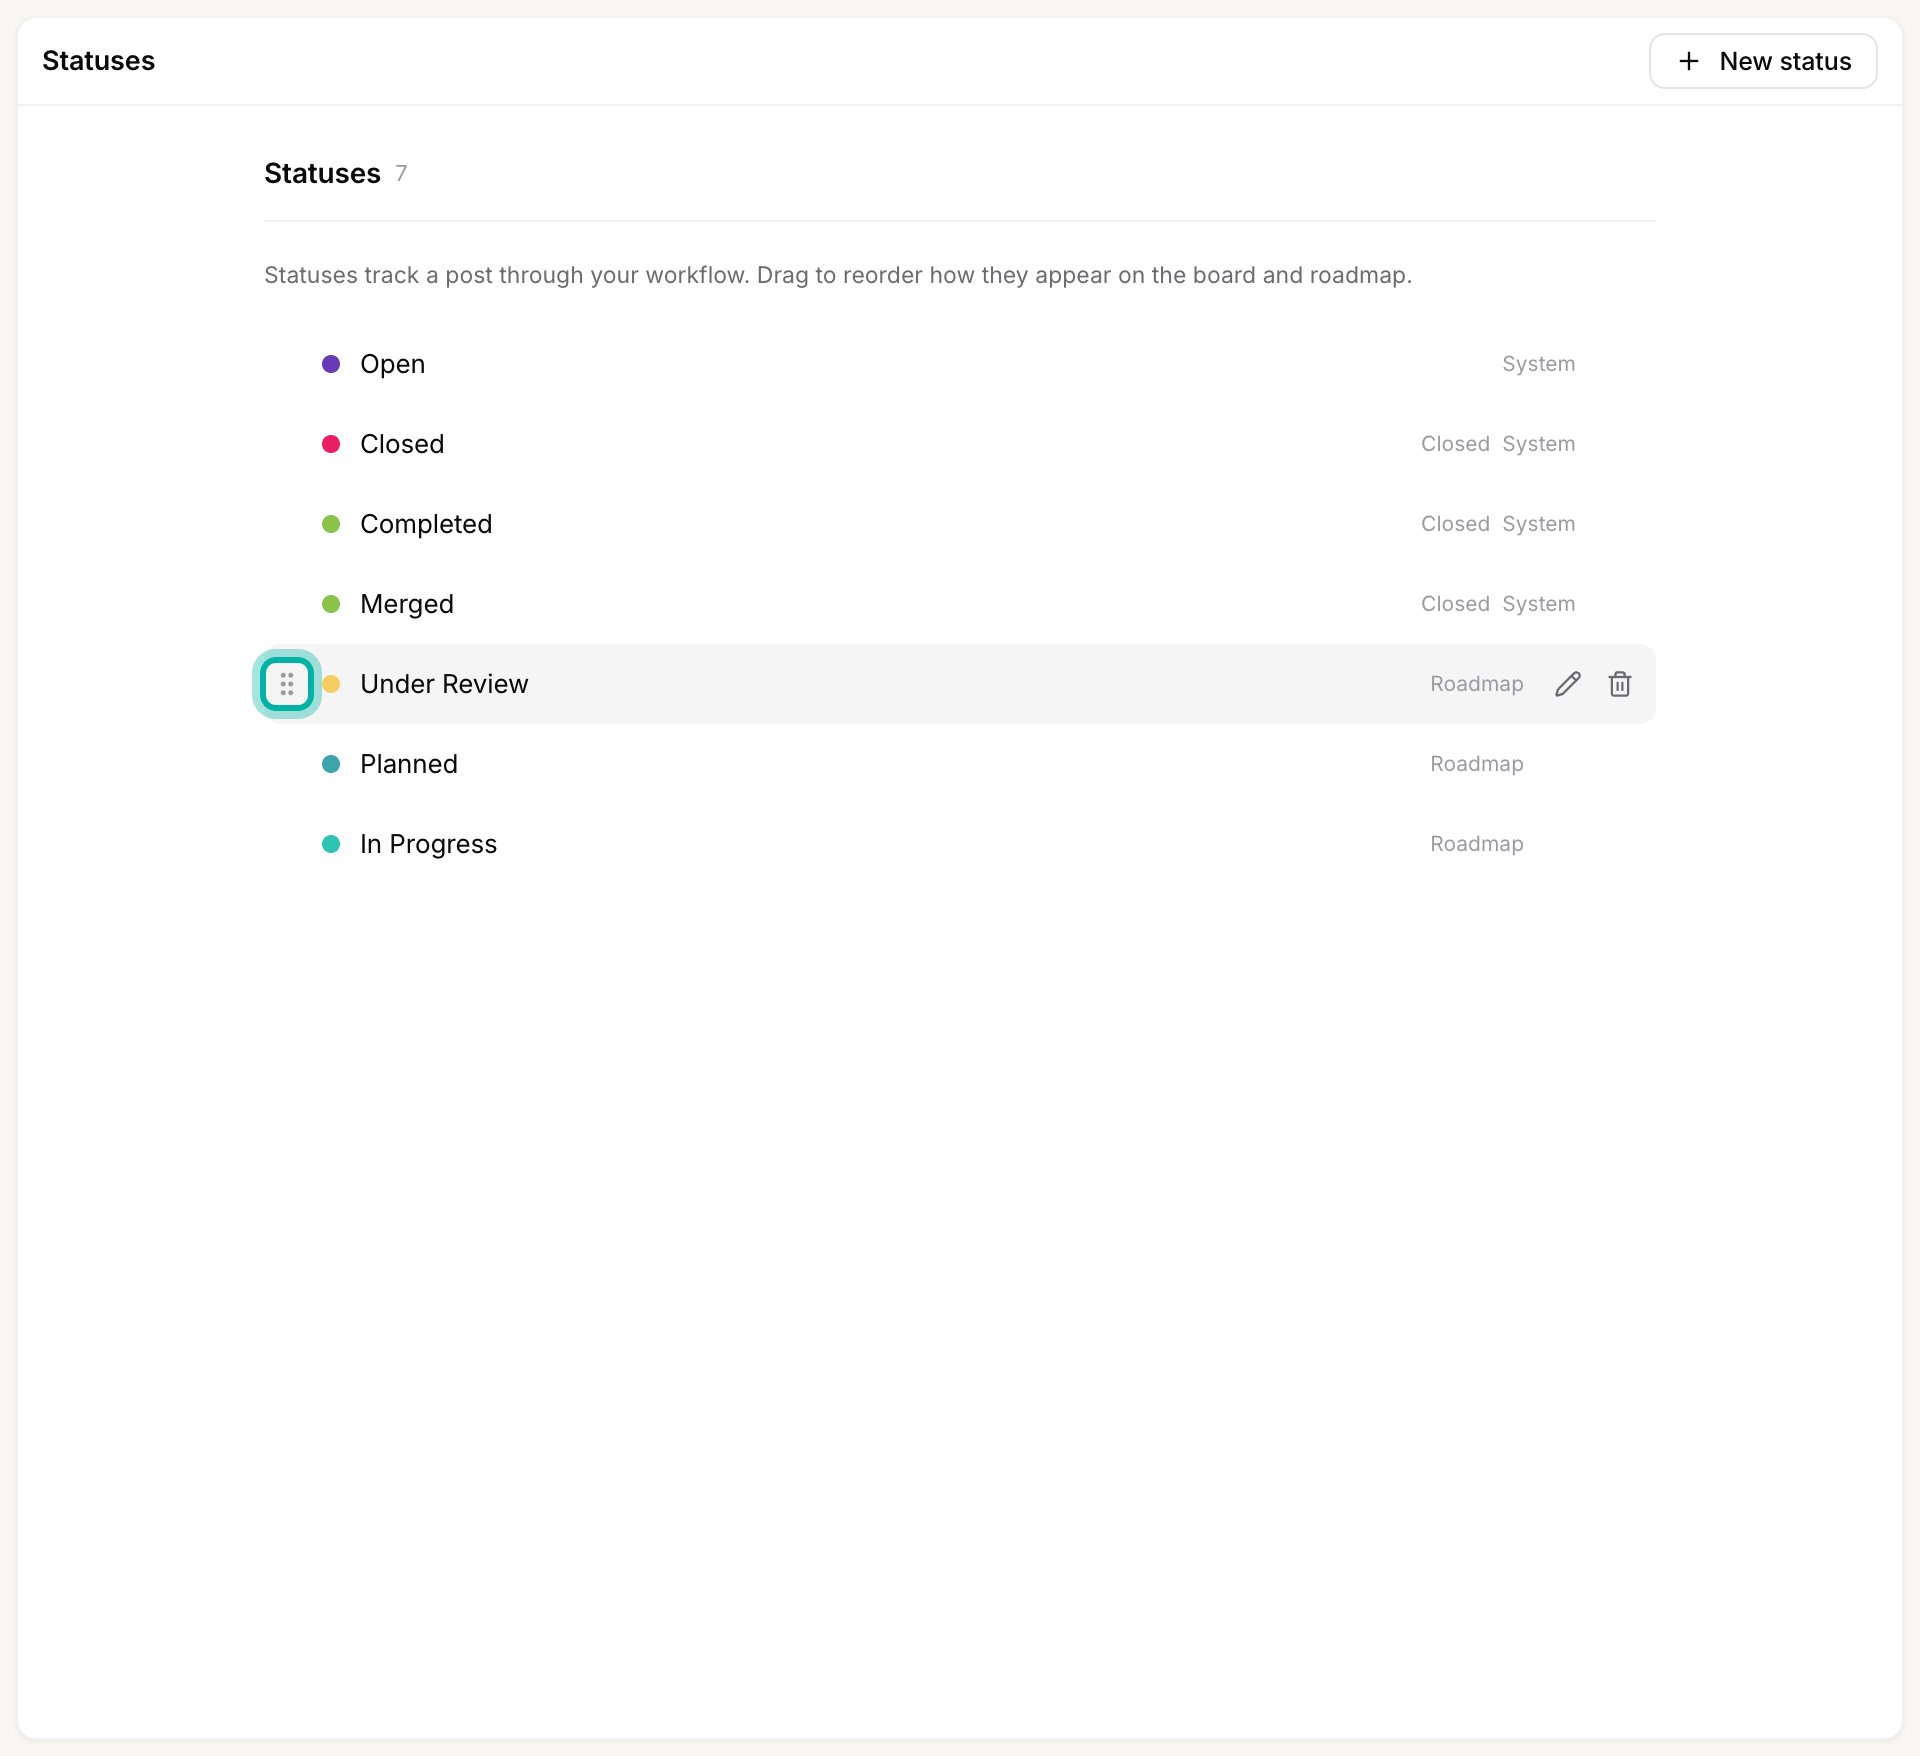 Drag the row up or down and drop it where you want it. The new order saves on its own and applies to the roadmap right away.
## Edit a status
Click a status name, or the pencil icon that appears when you hover its row, to reopen the same form and change its name, color, or toggles. You can edit system statuses too, you just cannot delete them.
## Delete a status
Hover the status you want to remove and click the trash icon on the right. System statuses have no trash icon because they cannot be deleted.
Drag the row up or down and drop it where you want it. The new order saves on its own and applies to the roadmap right away.
## Edit a status
Click a status name, or the pencil icon that appears when you hover its row, to reopen the same form and change its name, color, or toggles. You can edit system statuses too, you just cannot delete them.
## Delete a status
Hover the status you want to remove and click the trash icon on the right. System statuses have no trash icon because they cannot be deleted.
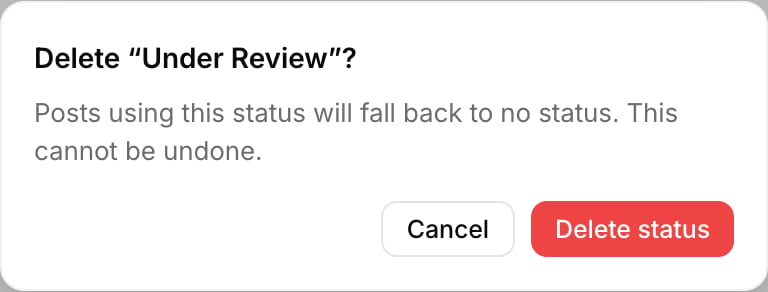 Click **Delete status**. Any posts that were using it fall back to no status (they are not deleted), and the status is removed from the board and roadmap. This cannot be undone, so if posts still need a stage, reassign them first or [edit the status](#edit-a-status) instead of deleting it.
## Related
Statuses set to show on the roadmap become its Status-view columns.
Set a post's status along with its category, owner, and estimate.
When to use each of the three ways to organize feedback.
Click **Delete status**. Any posts that were using it fall back to no status (they are not deleted), and the status is removed from the board and roadmap. This cannot be undone, so if posts still need a stage, reassign them first or [edit the status](#edit-a-status) instead of deleting it.
## Related
Statuses set to show on the roadmap become its Status-view columns.
Set a post's status along with its category, owner, and estimate.
When to use each of the three ways to organize feedback.